Historique de la page
...
| Sv translation | ||||||||||||
|---|---|---|---|---|---|---|---|---|---|---|---|---|
| ||||||||||||
Setting up an ActiveSync account
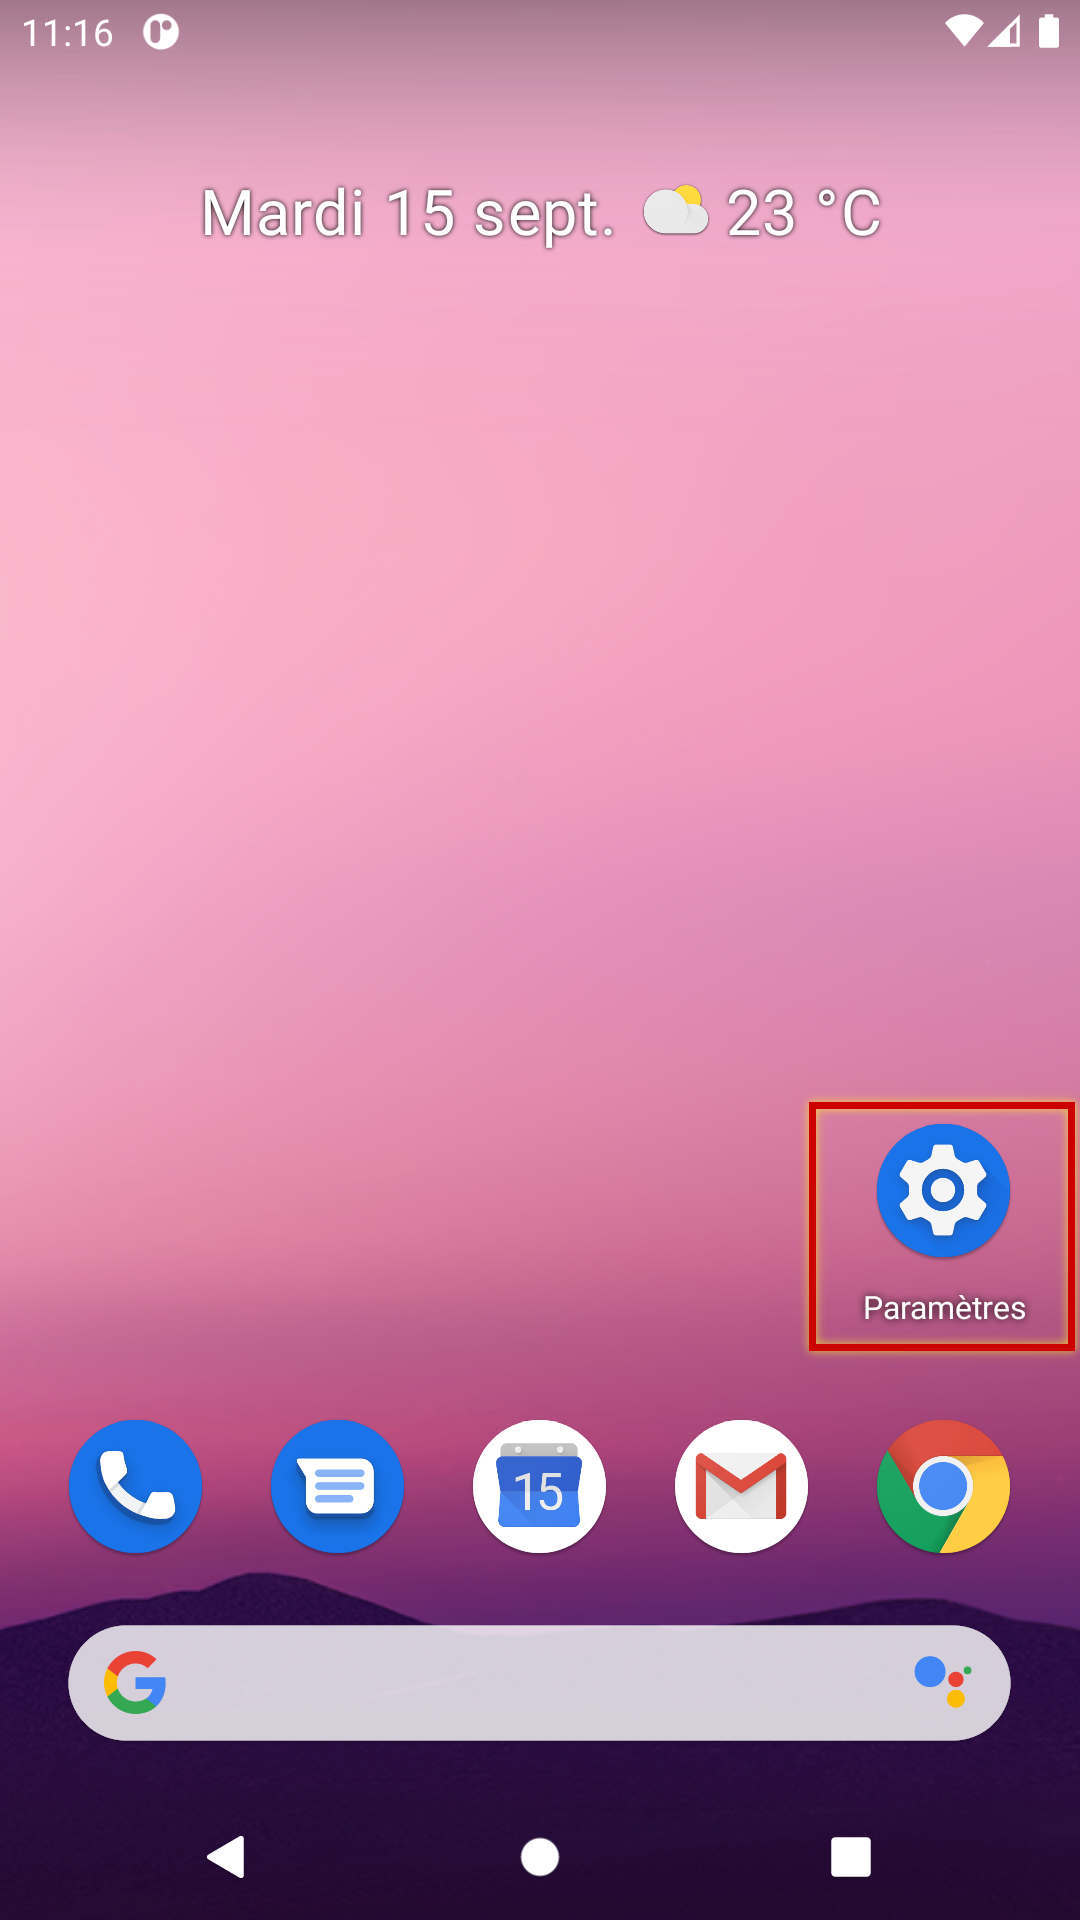
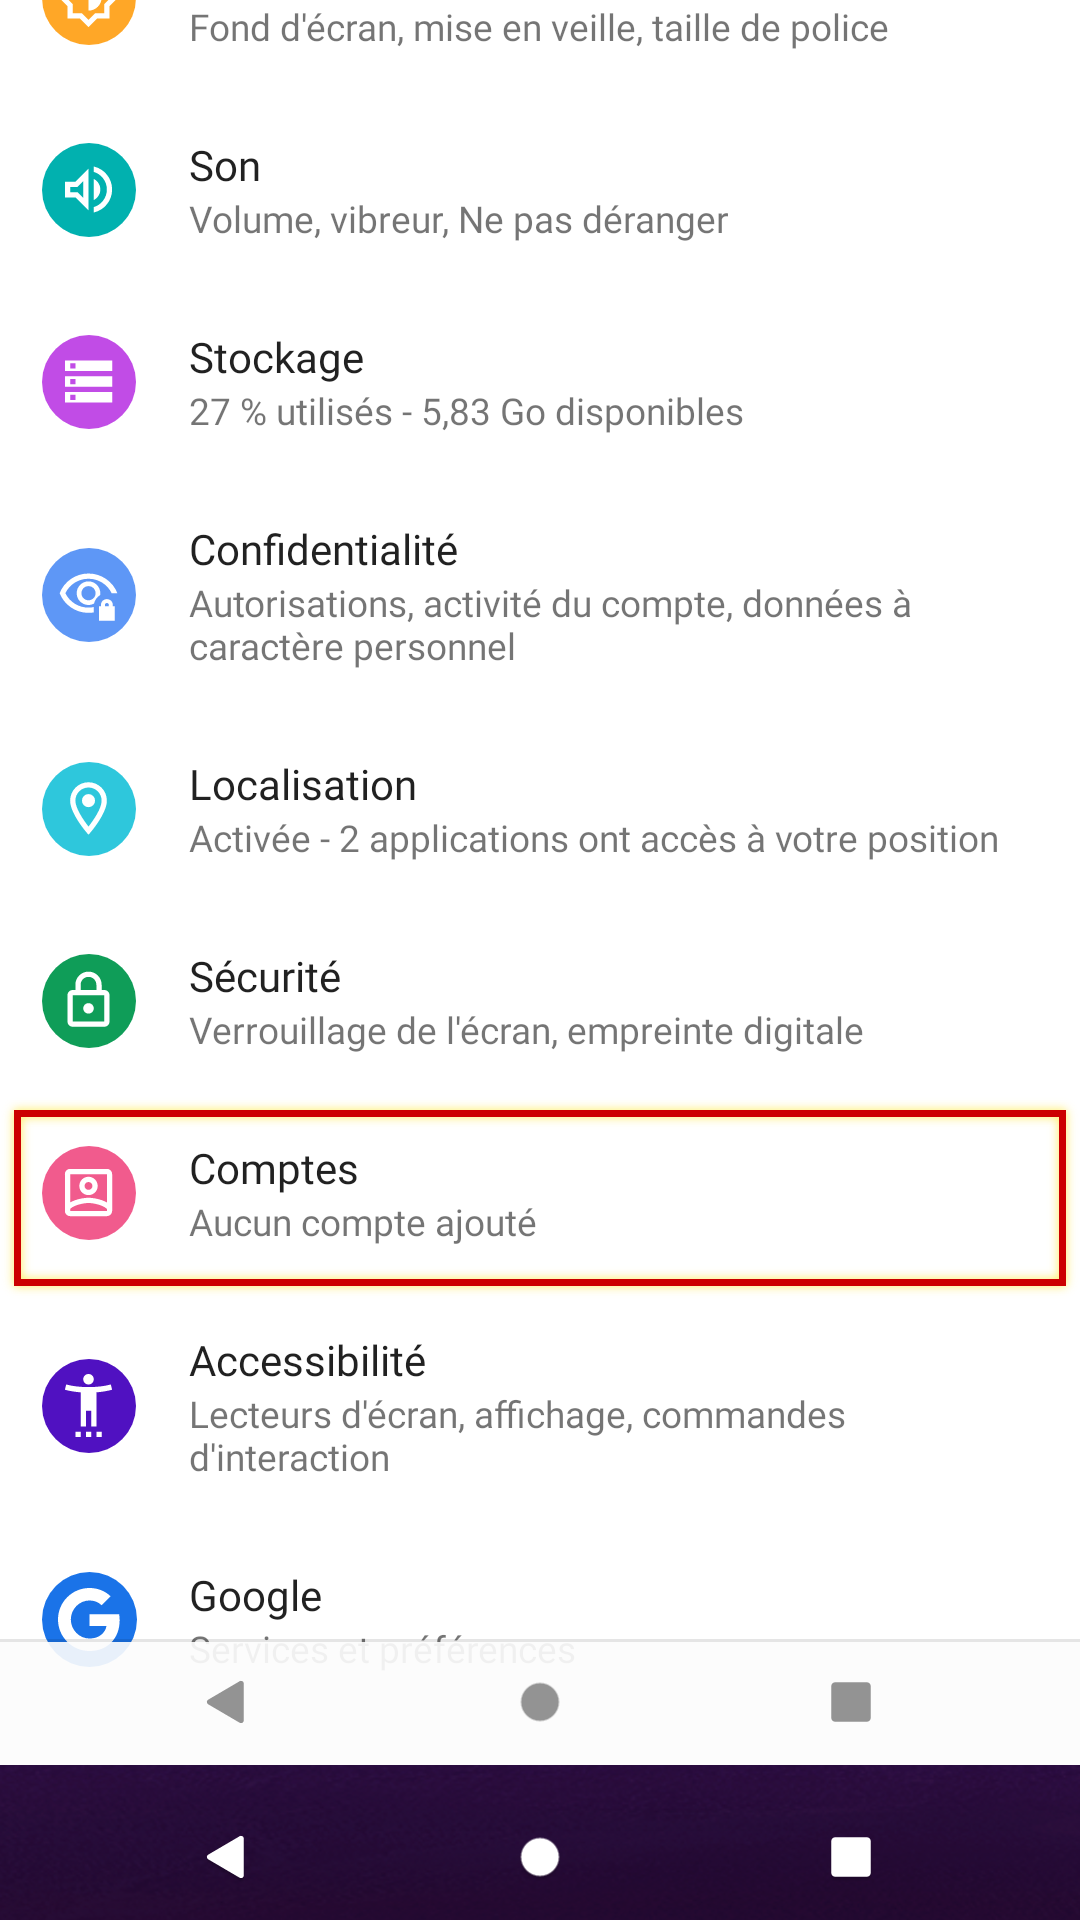
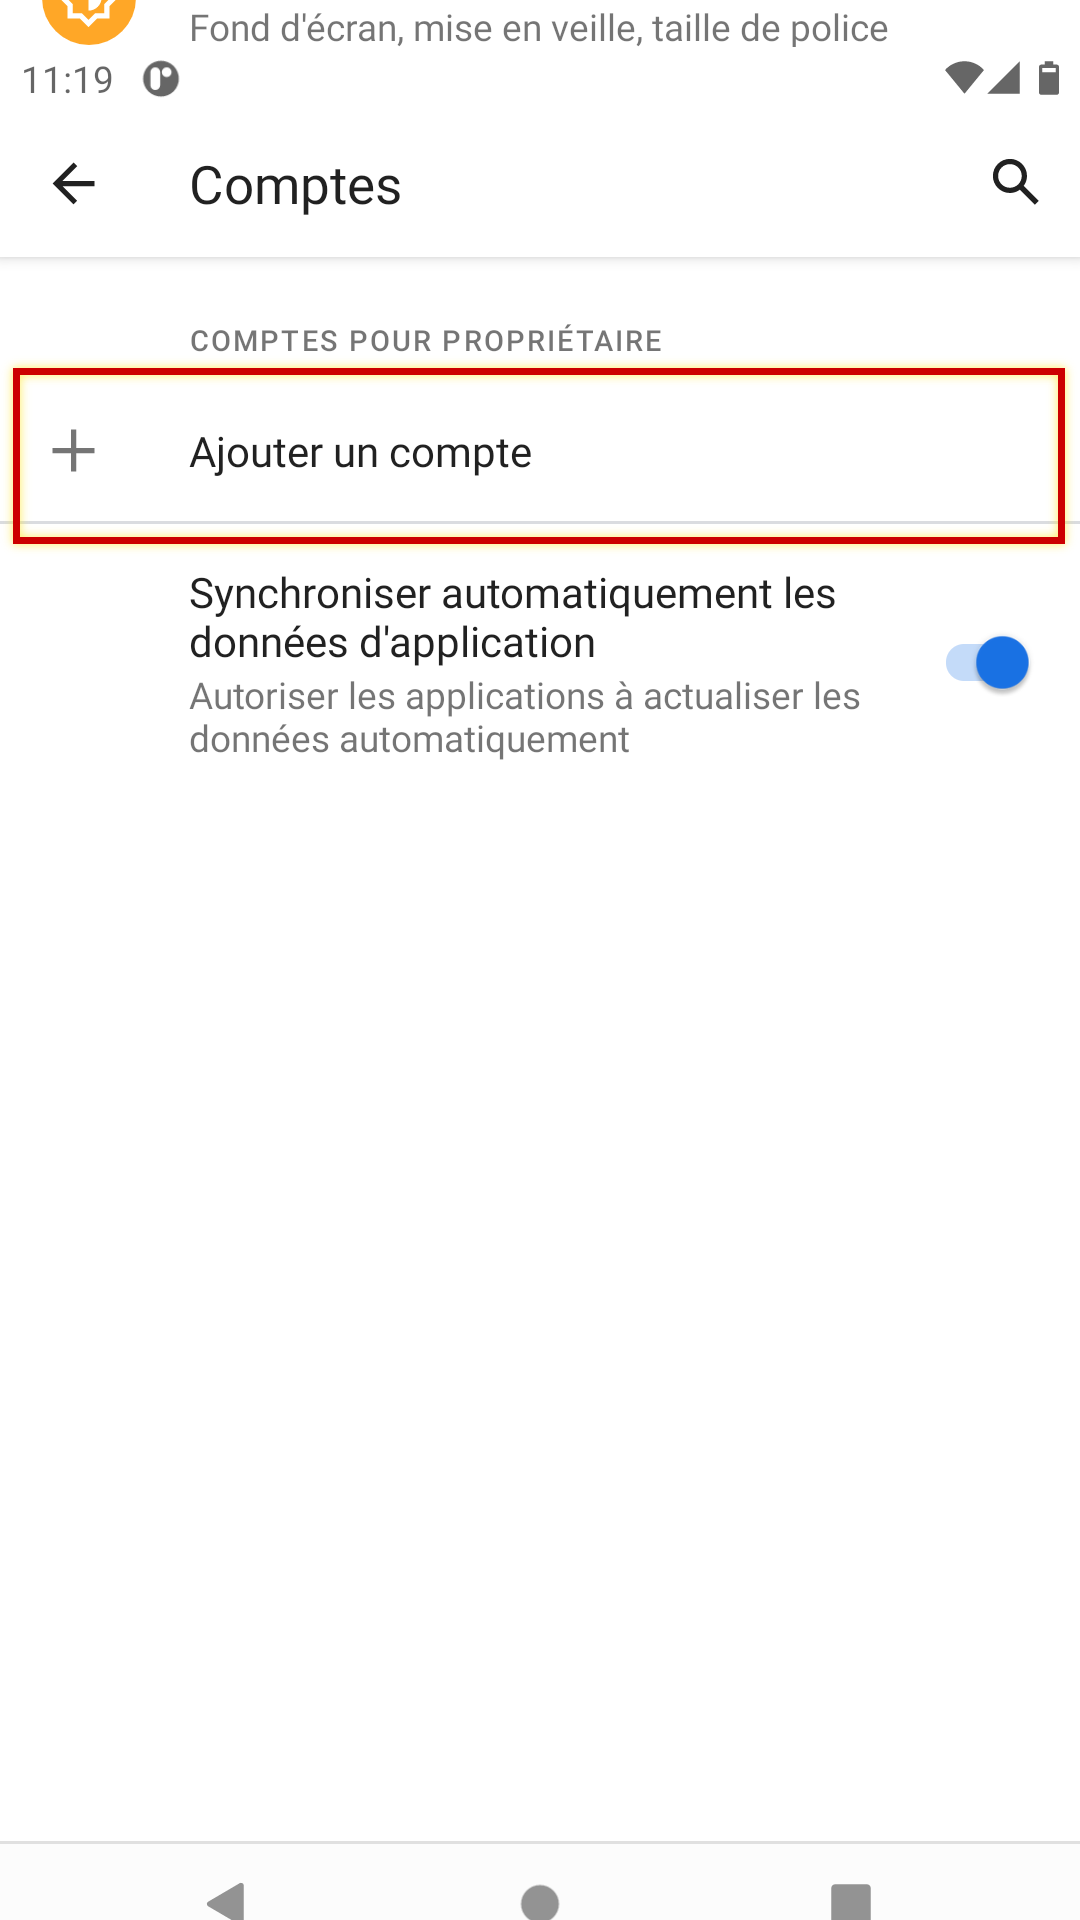
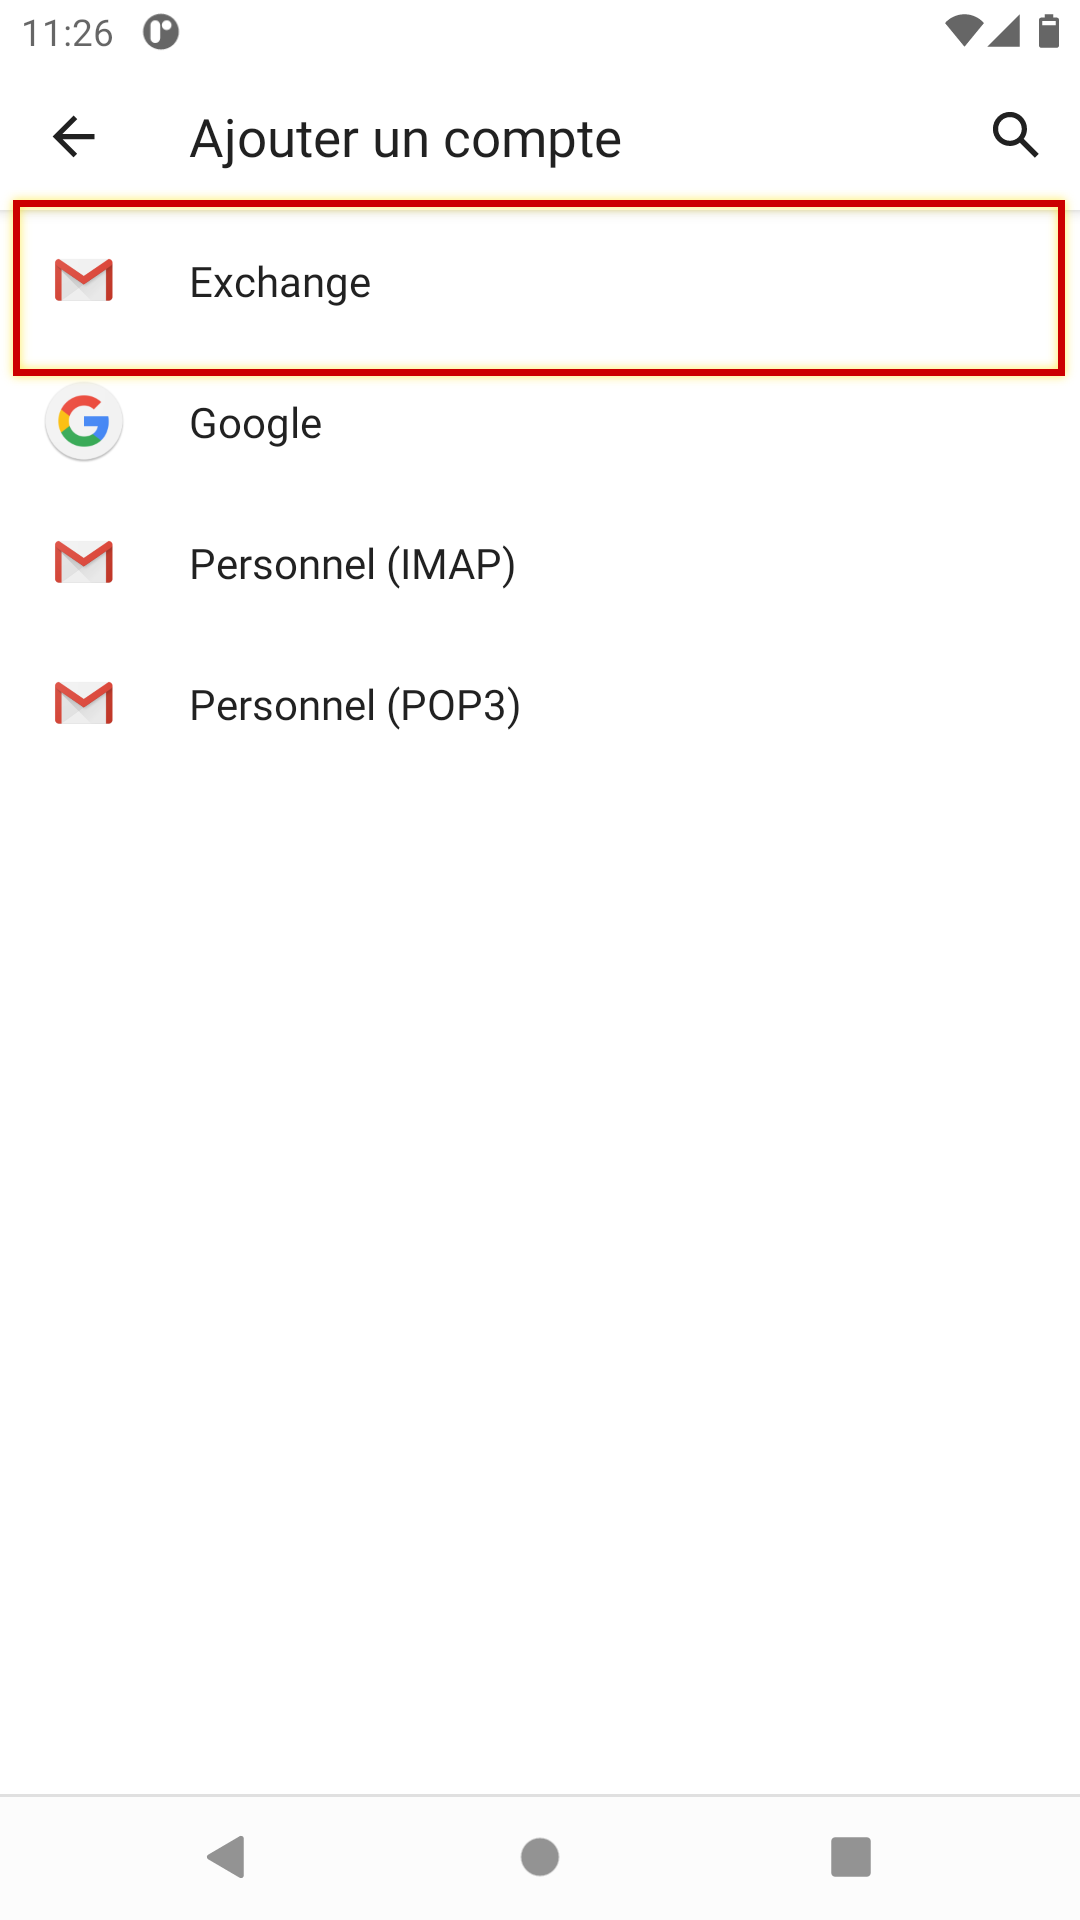
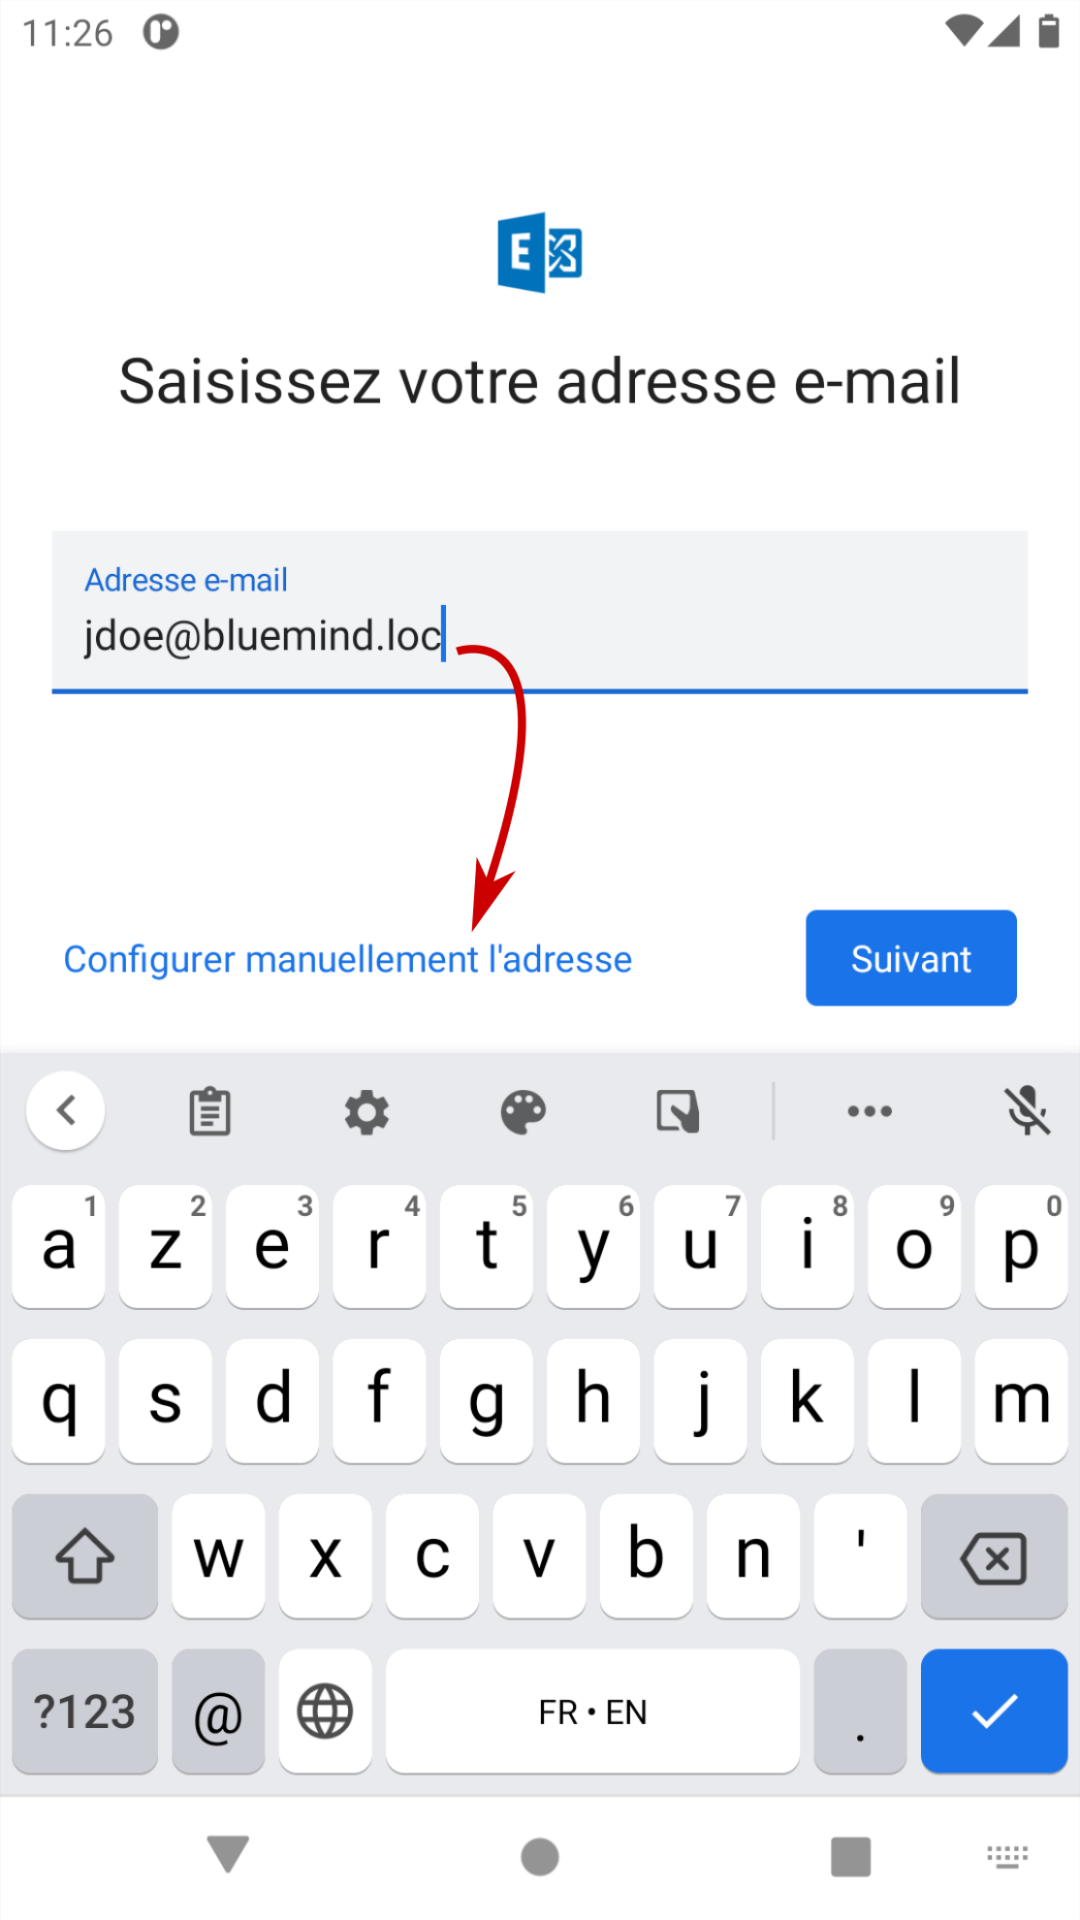
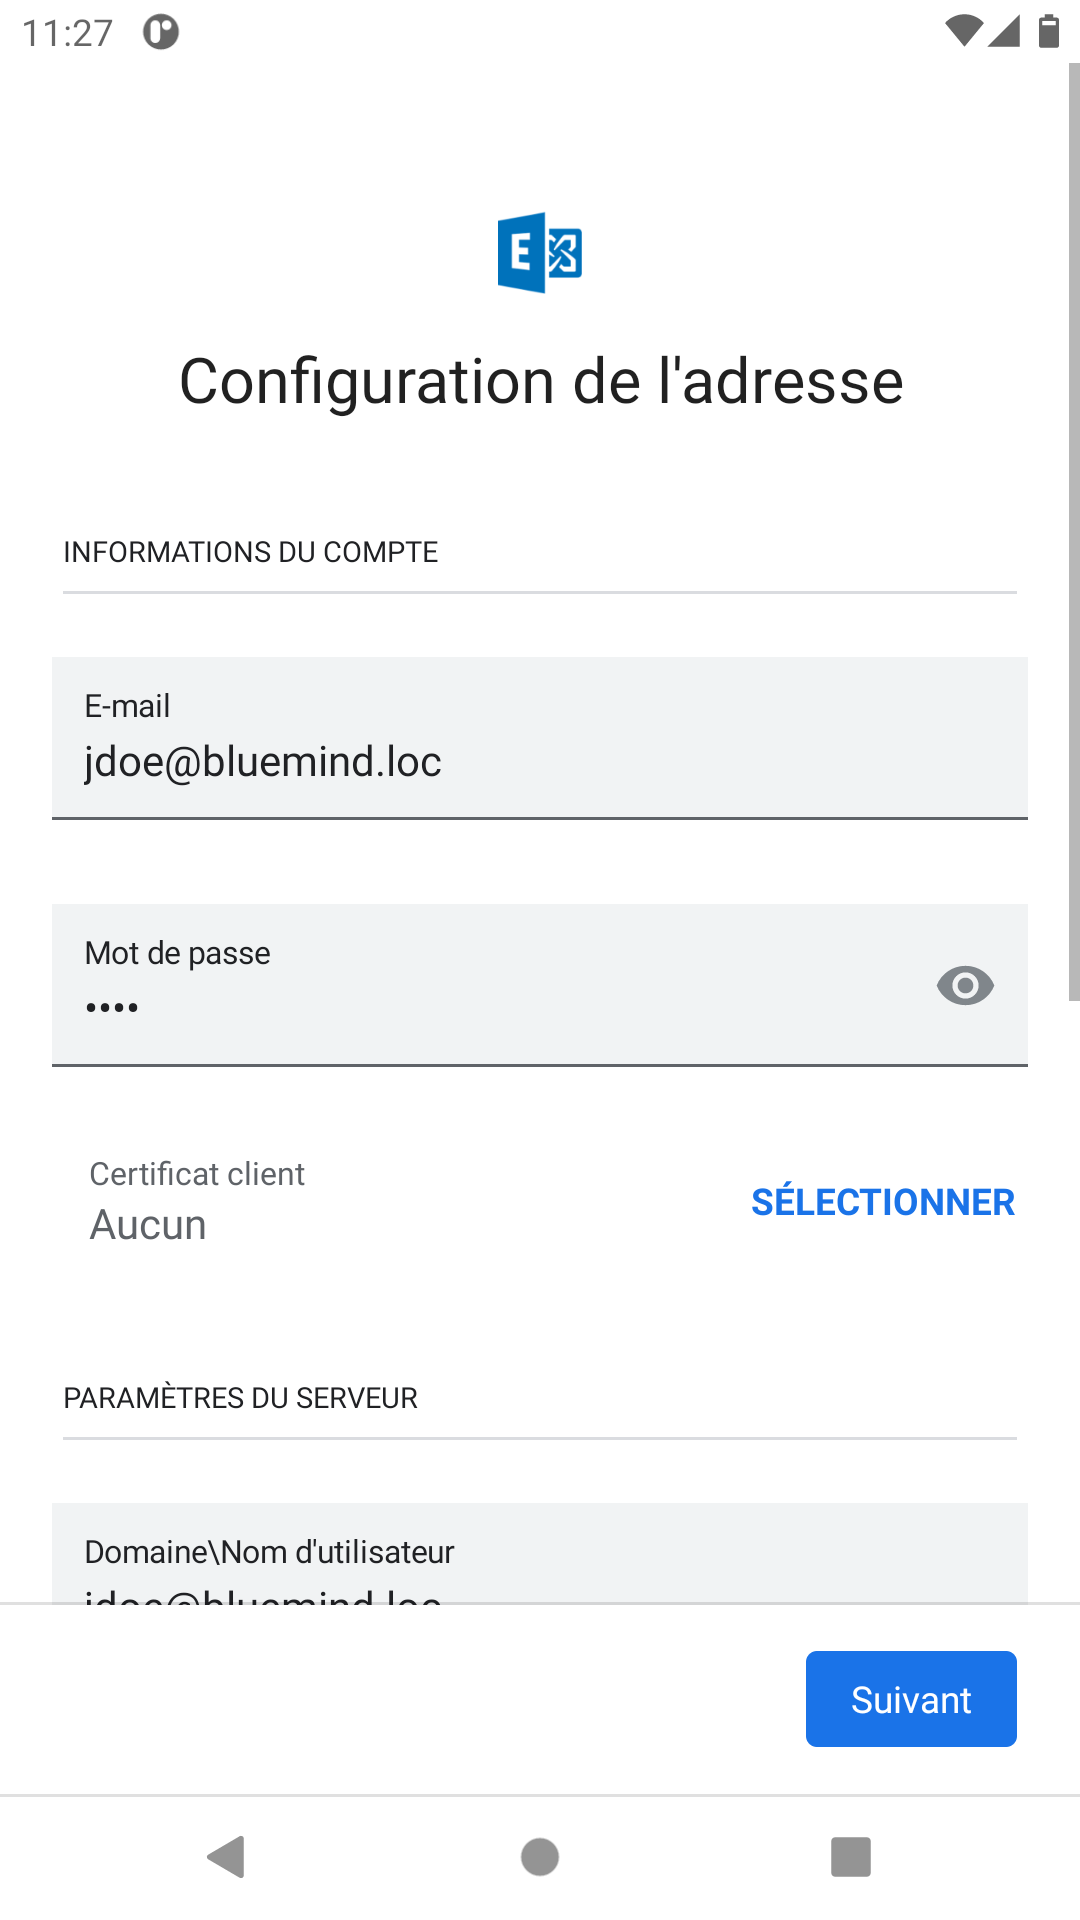
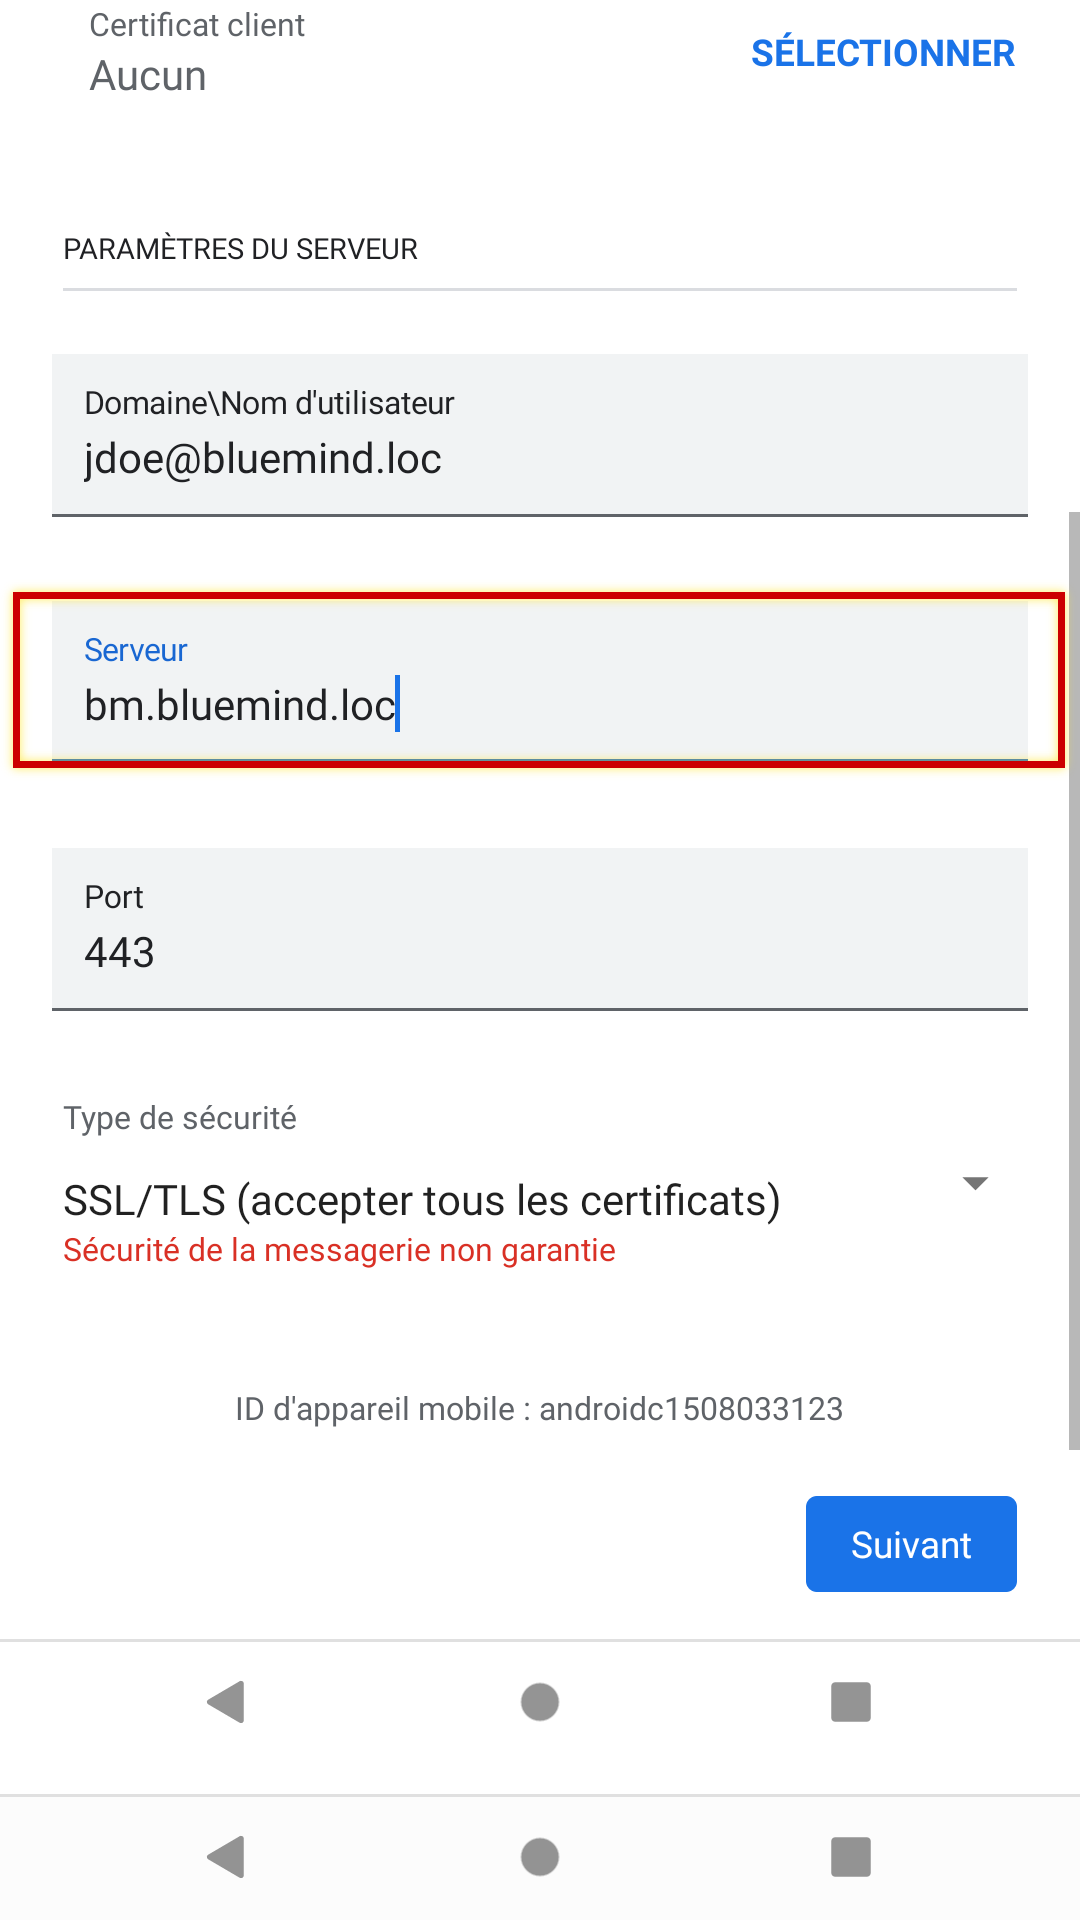
Creating an accountGo to your smartphone's "Settings": In the "Accounts" tab, tap "Add account": Select "Microsoft Exchange ActiveSync": Enter your email address and password and tap "Next": Server settings are filled in automatically based on your email address: Barring special cases, double check and correct the settings as follows:
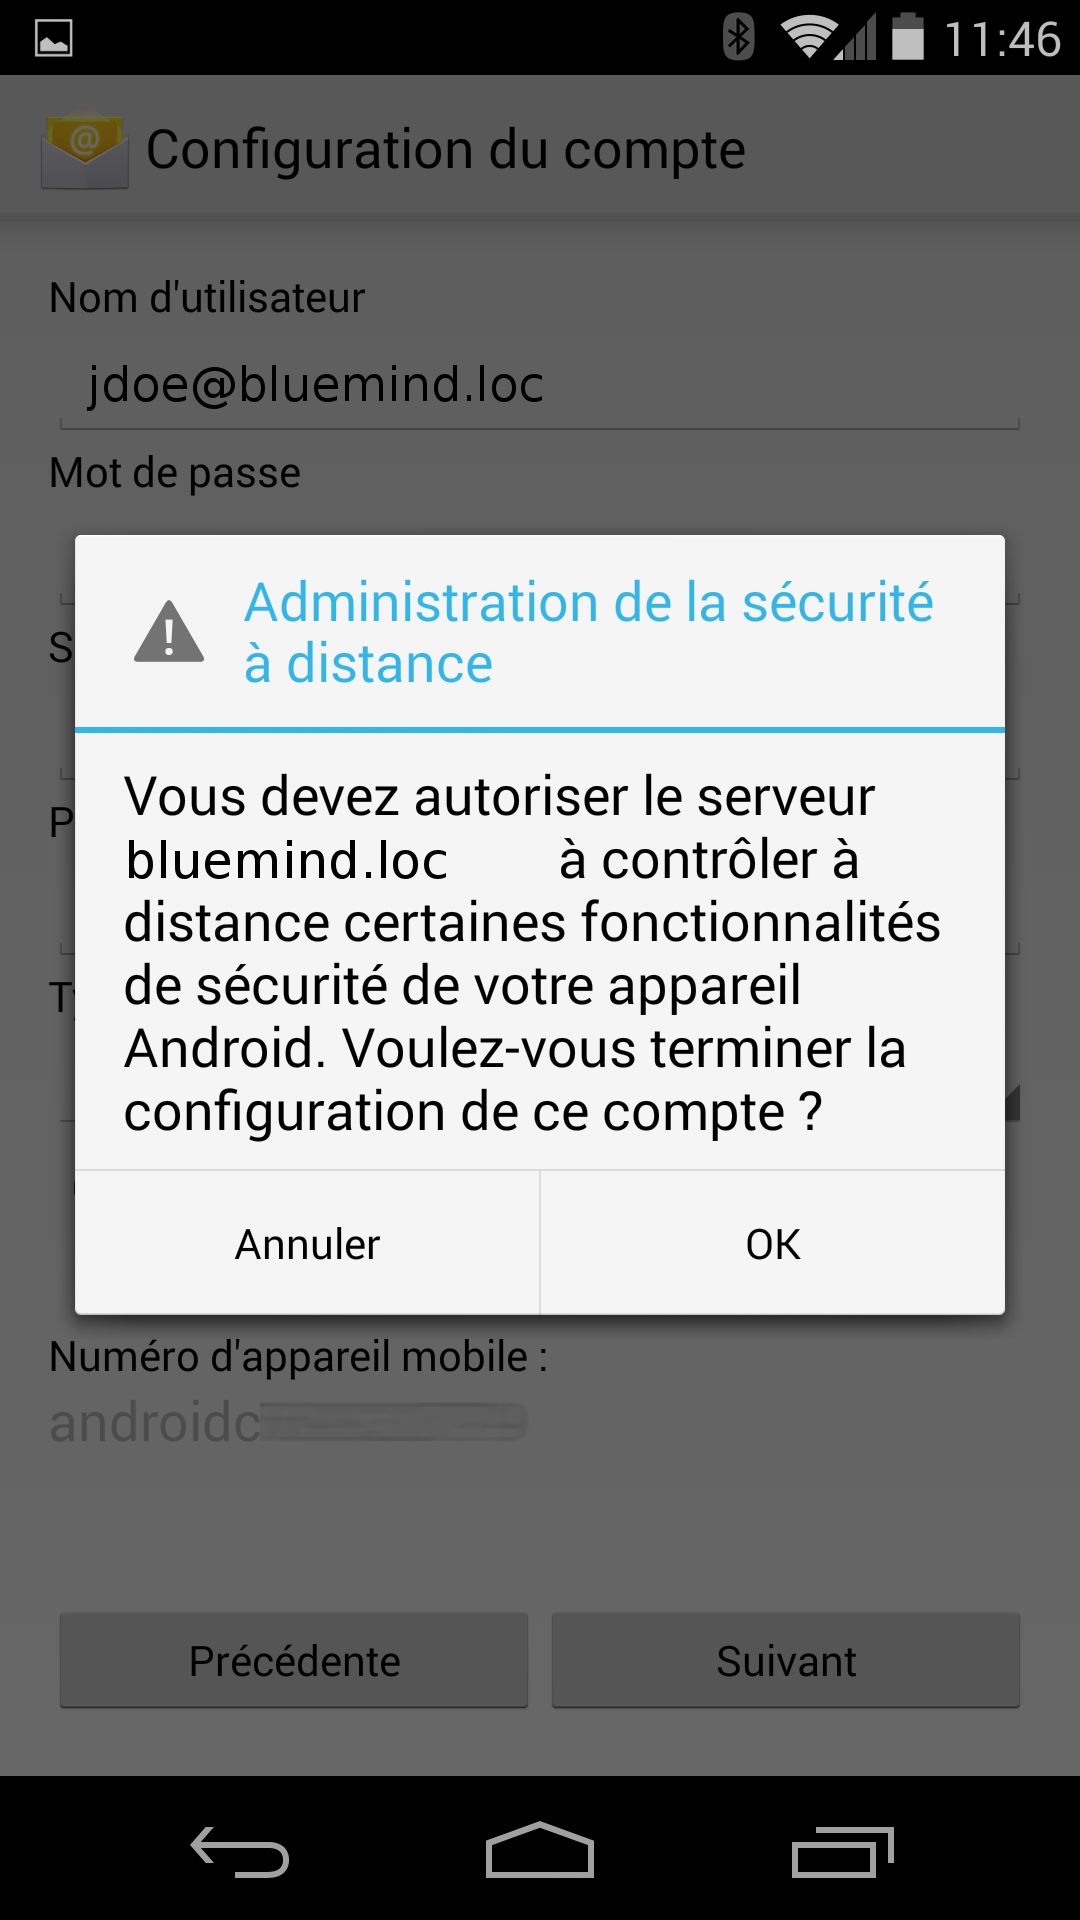
Once you've checked the settings, tap "Next". Confirm access authorization by tapping "OK": Choosing what items to synchronize
The application next displays synchronizing options. These can be modified later by going to "Account options":
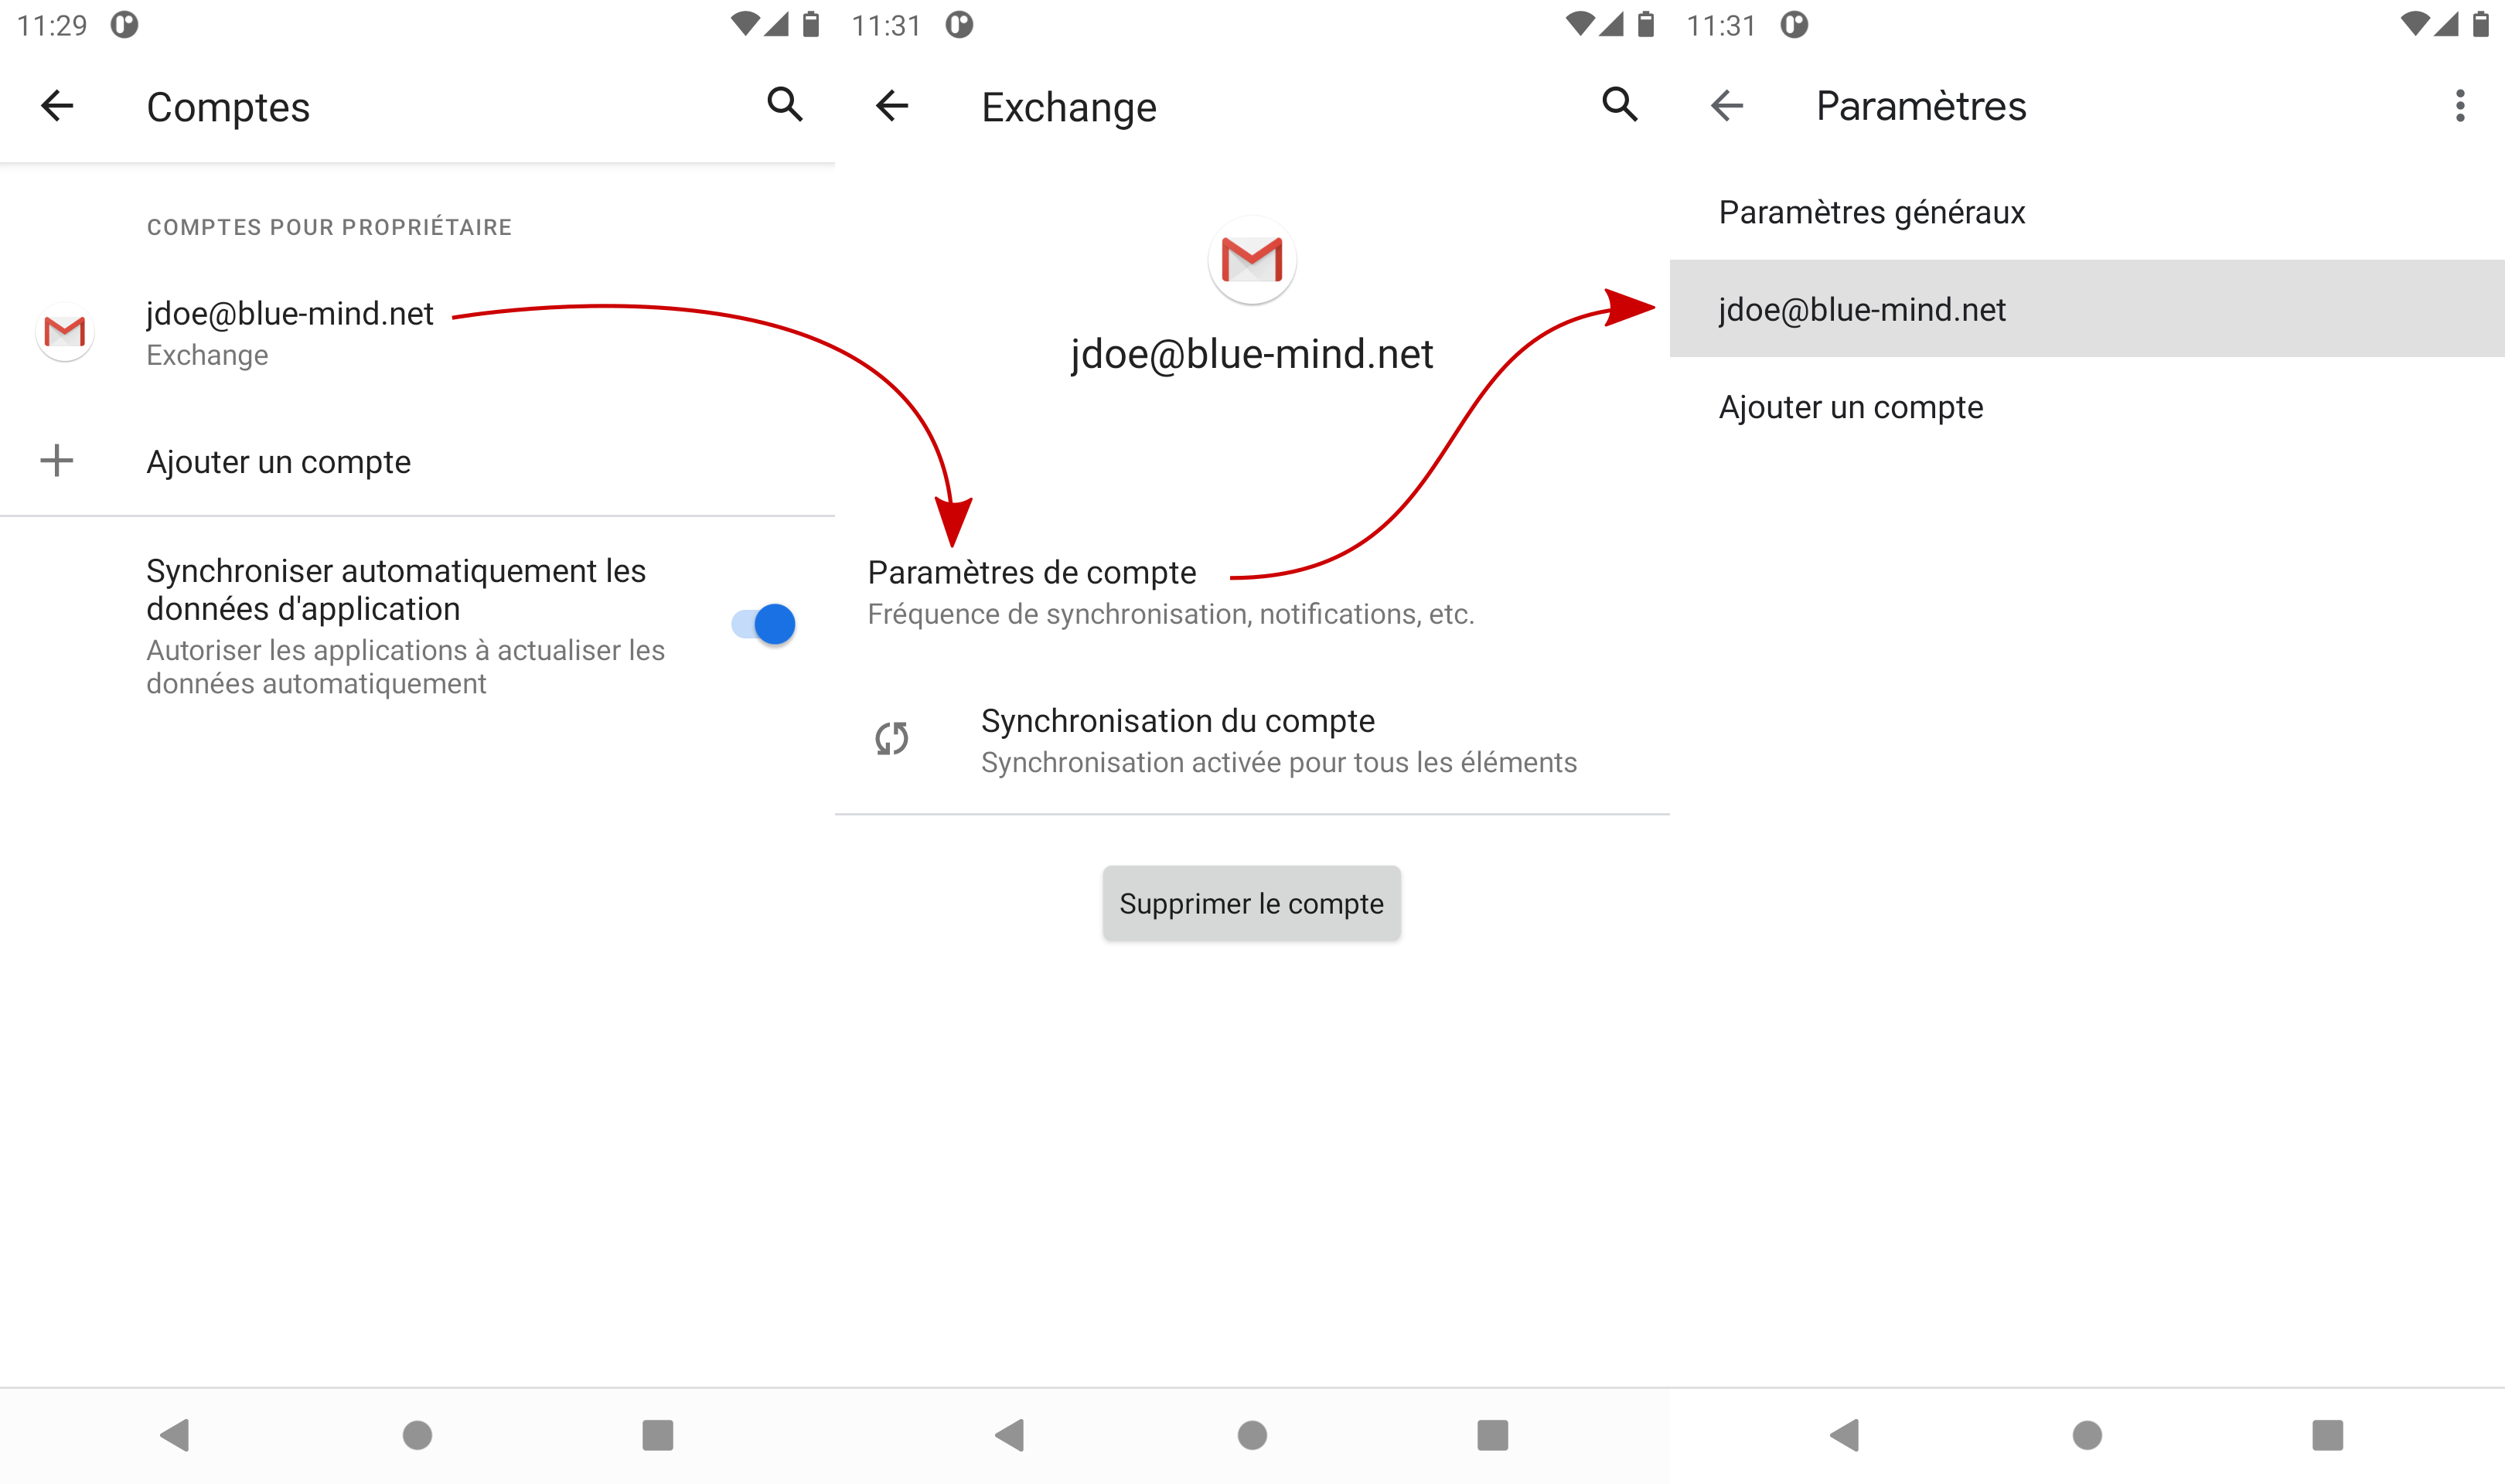
Tap "Next". Completing your account setupYour account is set up, you can now choose a name for it: Tap "Done" to complete setup. You can now see the account in Settings > Account > Microsoft Exchange ActiveSync and quickly access synchronizing options and information:
You can now access your messages from your smartphone's email app and appointments are synchronized in the calendar app. Forcing the calendar to refreshTo force the calendar to synchronize, open the menu in the top right corner of the application and tap "Refresh": |
| Sv translation | |||||||||||||||||||||||
|---|---|---|---|---|---|---|---|---|---|---|---|---|---|---|---|---|---|---|---|---|---|---|---|
| |||||||||||||||||||||||
ActiveSync-Konto einrichten
KontoerstellungGehen Sie in das Menü Ihres Handys und wählen Sie „Einstellungen“: Zu Kontoverwaltung gehen: Wählen Sie „Neues Konto hinzufügen“: Erstellen Sie ein „Exchange“-Konto: Geben Sie die E-Mail-Adresse und das Passwort des Benutzers ein und drücken Sie auf „Manuell konfigurieren“ Die Informationen werden dann entsprechend der E-Mail-Adresse vorausgefüllt. Prüfen Sie, ob diese korrekt sind, ggf. muss die Serveradresse korrigiert werden:
Außer in Sonderfällen:
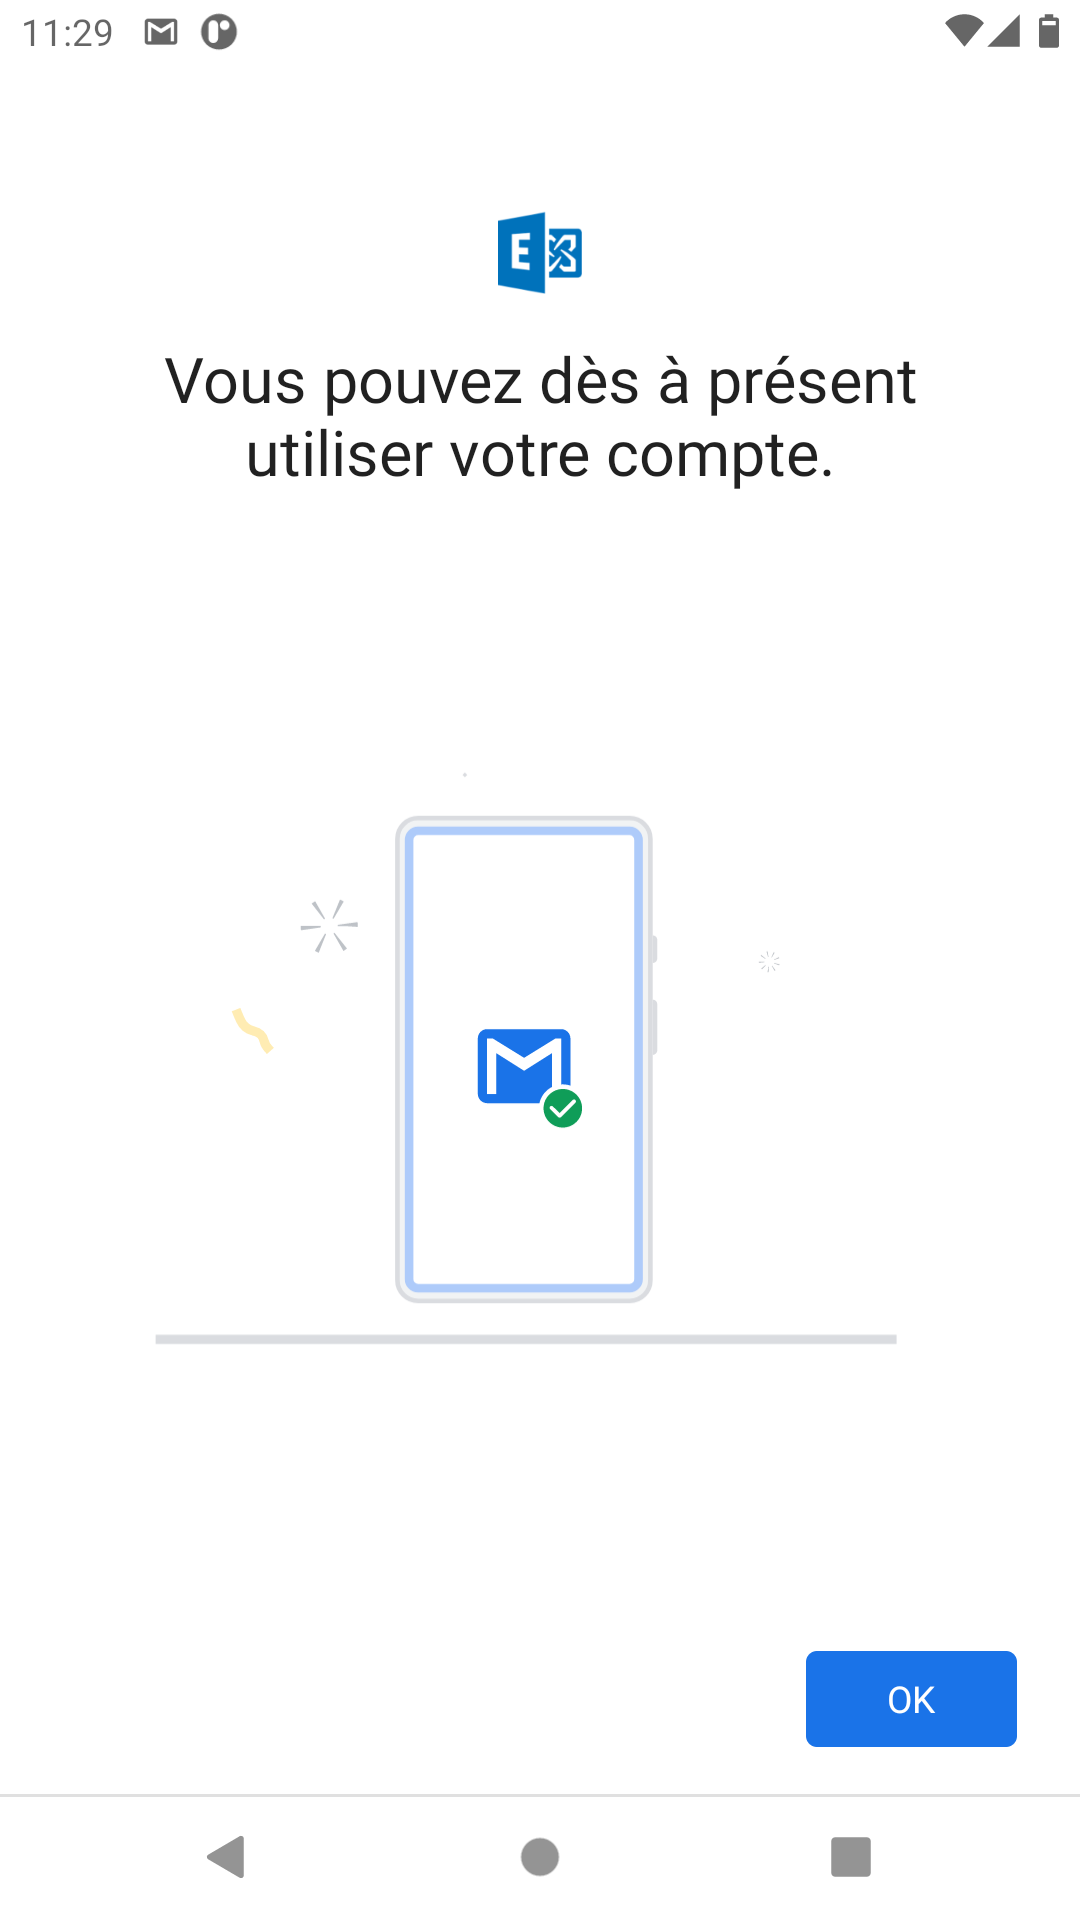
Bestätigen Sie ggf. die Zugangsberechtigung mit „OK“: Das Gerät führt dann die Einstellungen durch und zeigt die Bestätigung des erfolgreichen Abschlusses an:
Klicken Sie zum Abschluss auf OK. Auswahl der zu synchronisierenden Elemente
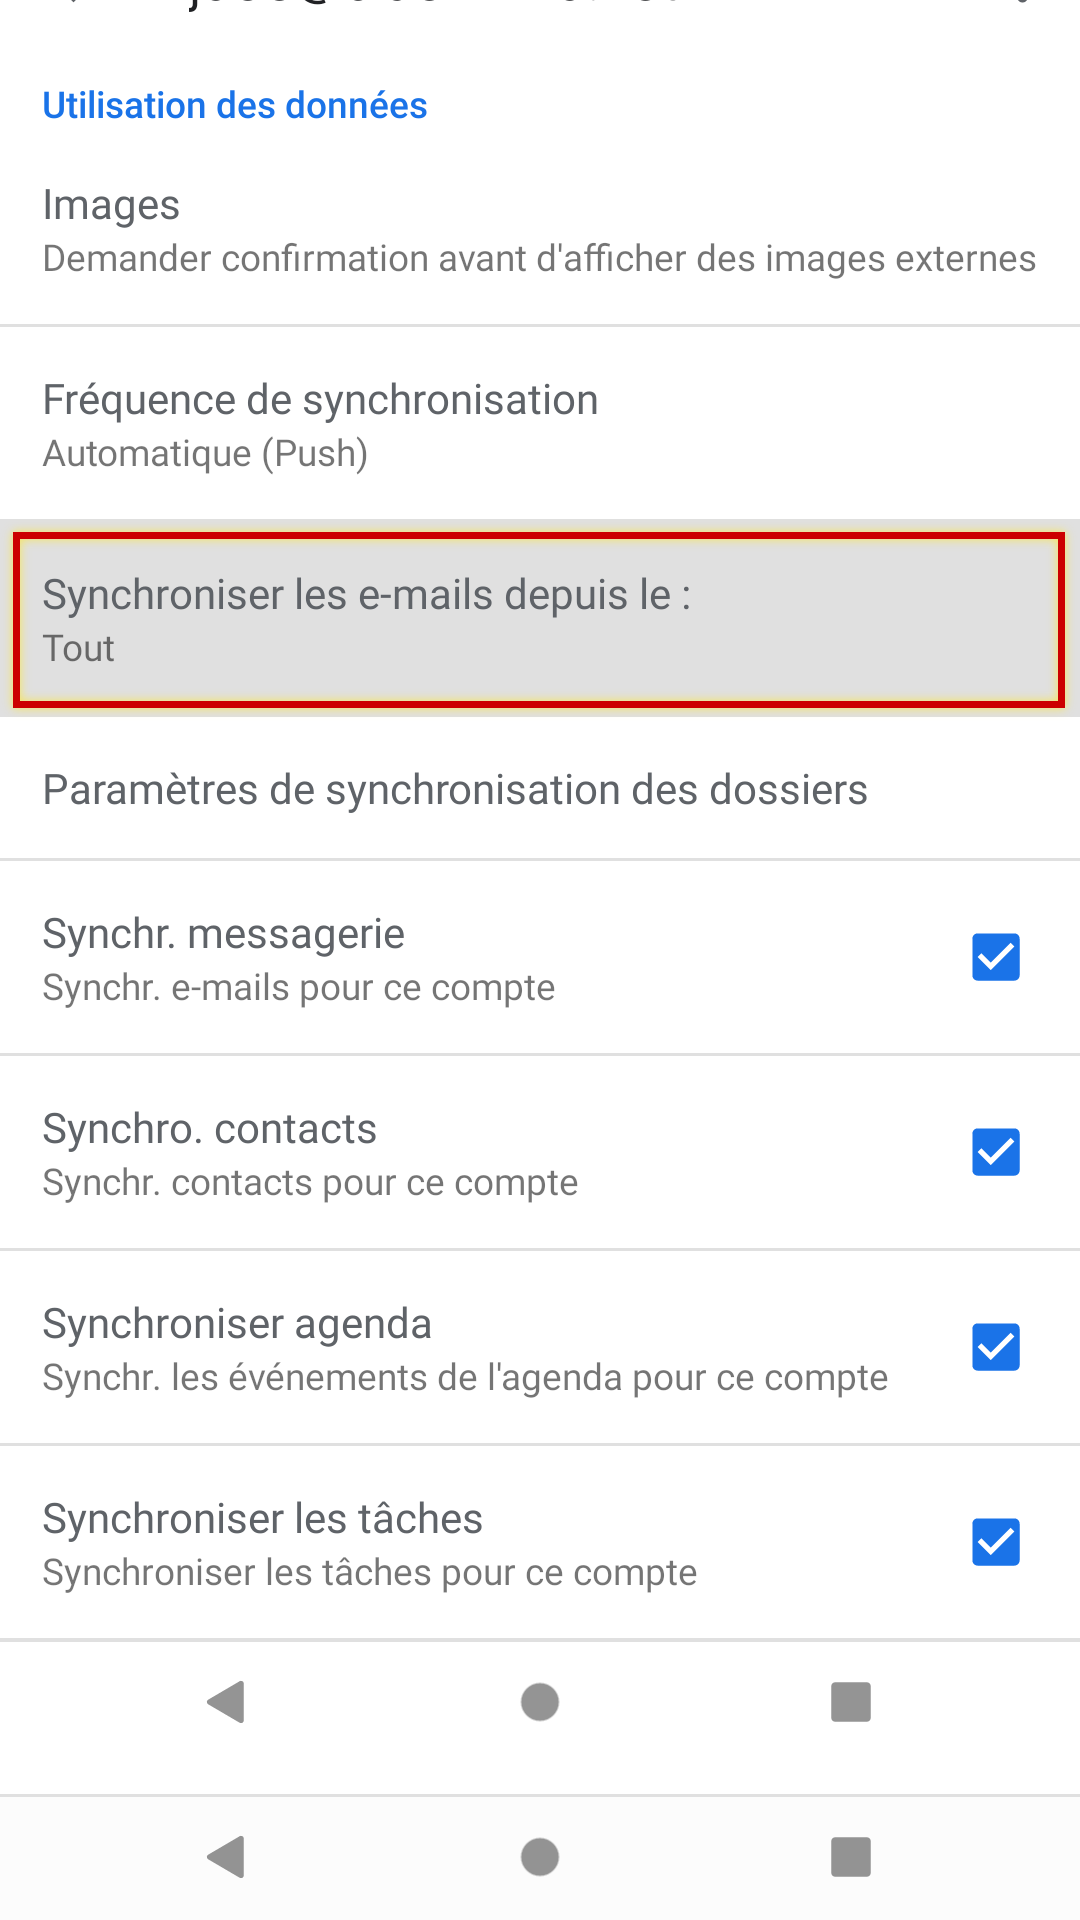
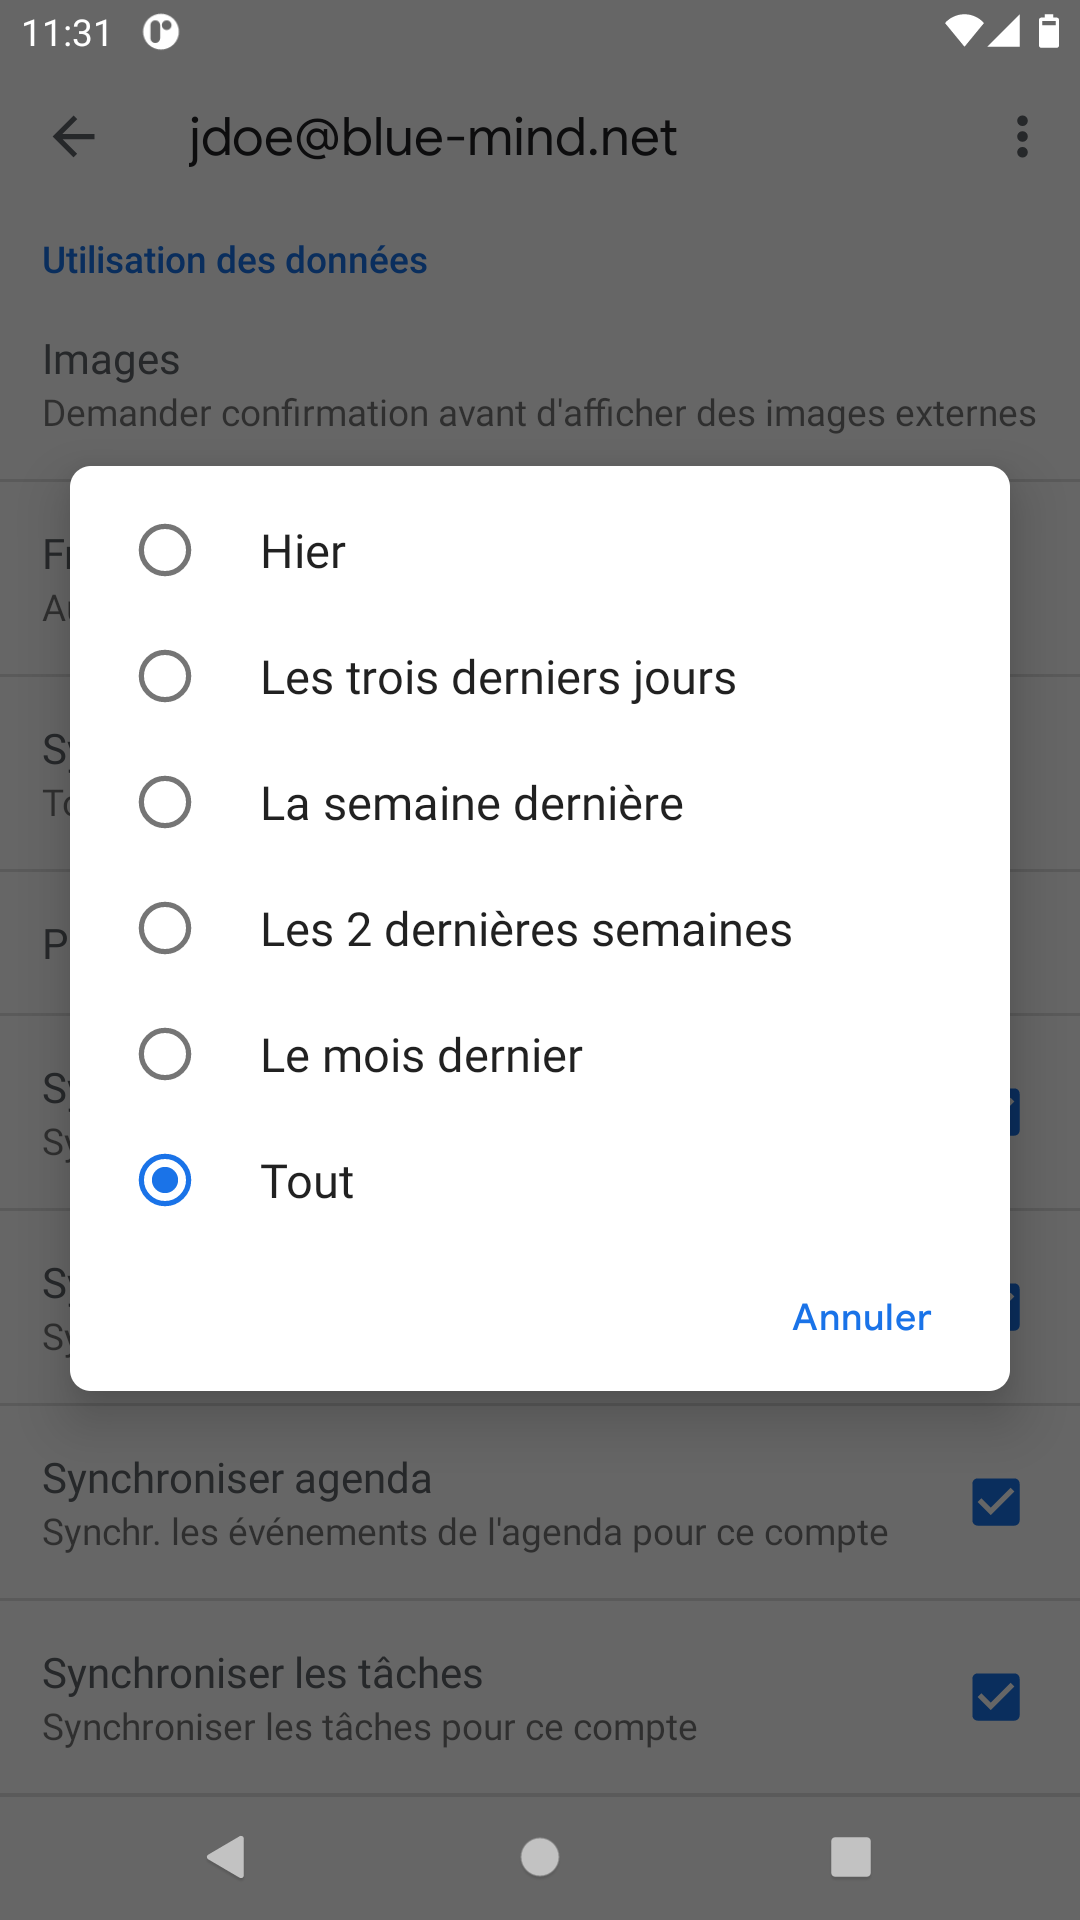
Die Synchronisationseinstellungen können in der Kontokonfiguration eingesehen und geändert werden: Drücken Sie auf „E-Mails synchronisieren ab“, um den Synchronisierungszeitraum zu wählen (die Standardeinstellung hängt vom Gerät ab, sie kann einen Monat oder nur eine Woche betragen):
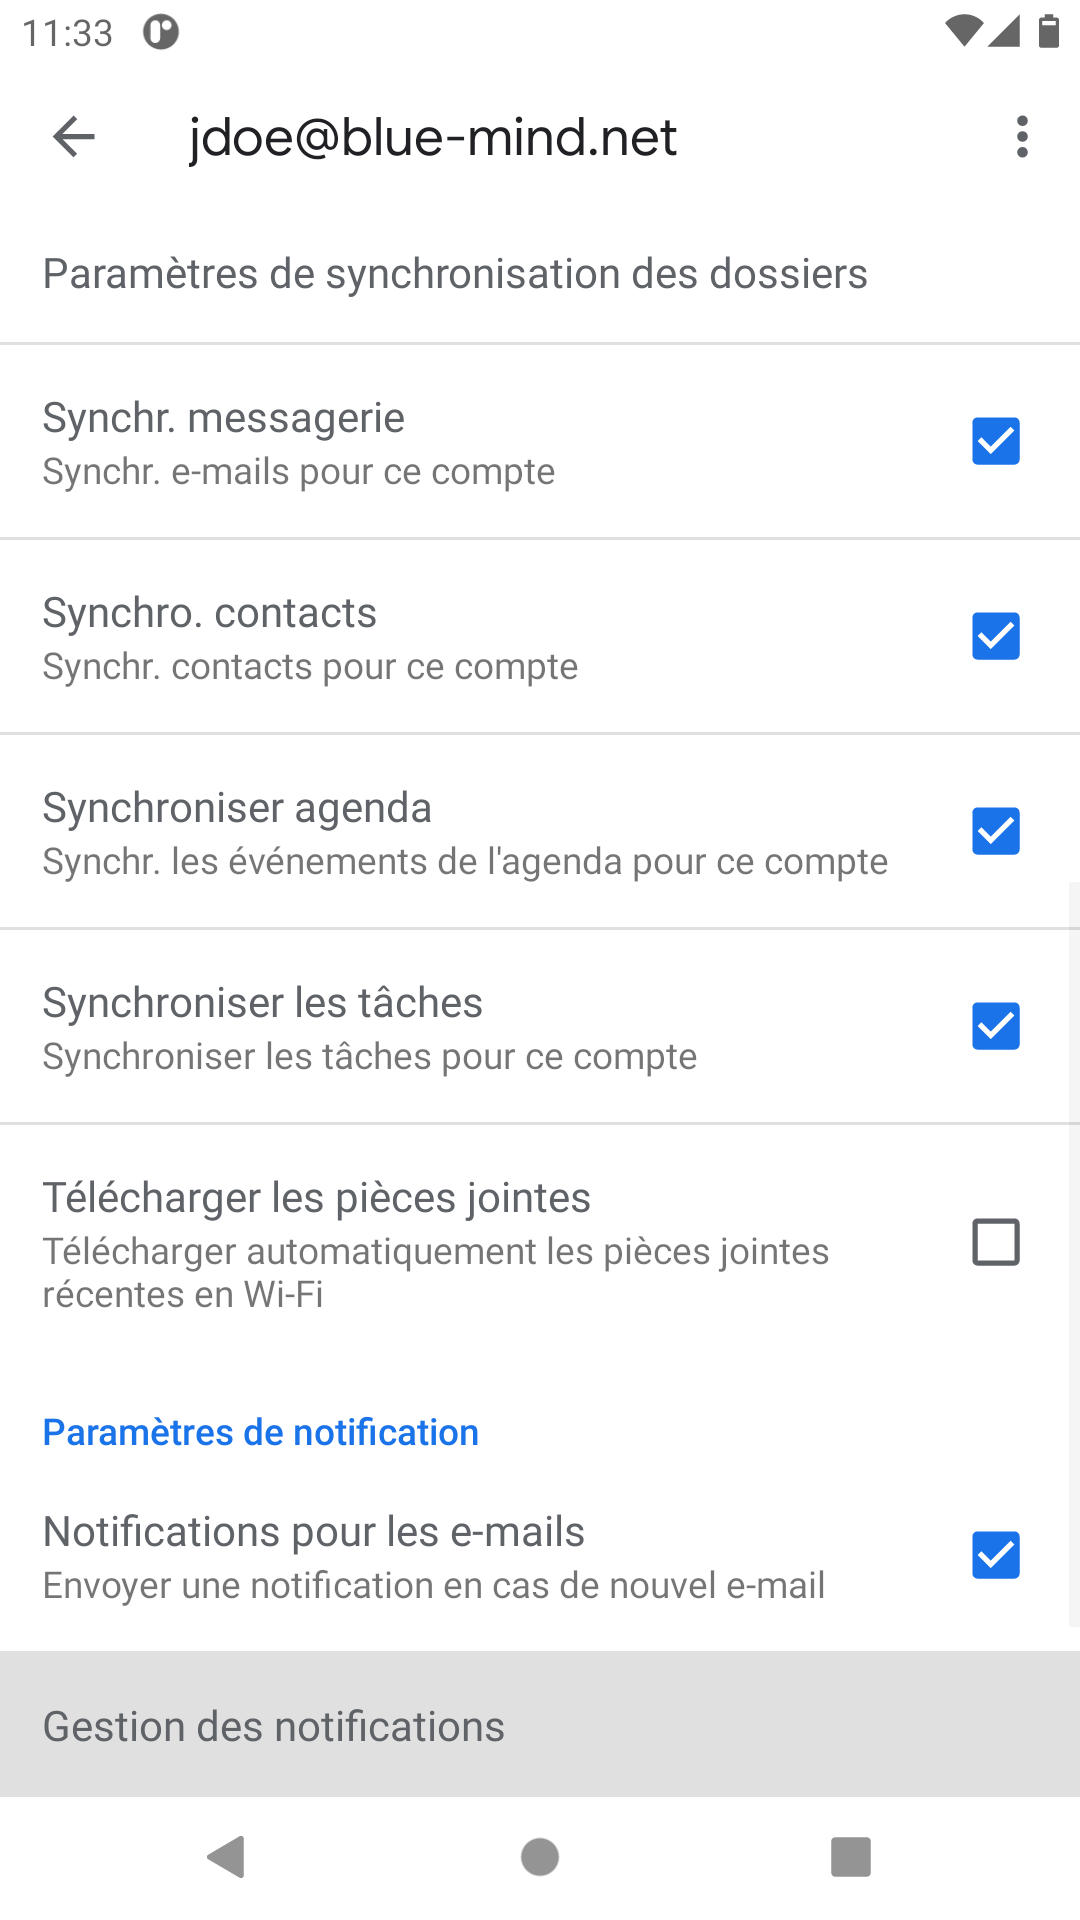
Weiter unten können Sie wählen, ob Sie alle Daten oder nur bestimmte aus der Mailbox (E-Mails), den Kontakten (Adressbuch „Meine Kontakte“) und dem Kalender (nur Ihren Kalender, siehe oben) synchronisieren möchten:
|


