Installation
| Info |
|---|
|
The bm-tick monitoring tool is available from BlueMind 3.5.9.
To avoid possible version conflicts, make sure you update BlueMind before you install bm-tick packages. |
On the BlueMind install
On the main server
Software packages are pre-installed on the server along with the BlueMind installation, but they do need to be configured:
Log into the BlueMind host server as root and install the required packages (main module and monitoring plugins if the Monitoring Console isn't already installed), and accept the installation of additional packages:
| Bloc de code |
|---|
root@mail:~# aptitude install bm-tick-full bm-plugin-admin-console-monitoring bm-plugin-node-monitoring bm-plugin-core-monitoring
The following NEW packages will be installed:
bm-chronograf{a} bm-influxdb{a} bm-kapacitor{a} bm-metrics-agent{a} bm-plugin-admin-console-monitoring bm-plugin-core-monitoring bm-plugin-node-monitoring bm-telegraf{a} bm-tick-full bm-tick-node{a}
0 packages upgraded, 10 newly installed, 0 to remove and 79 not upgraded.
Need to get 87.7 MB of archives. After unpacking 301 MB will be used.
Do you want to continue? [Y/n/?]
... |
Restart BlueMind once the installation is complete:
| Bloc de code |
|---|
bmctl restart |
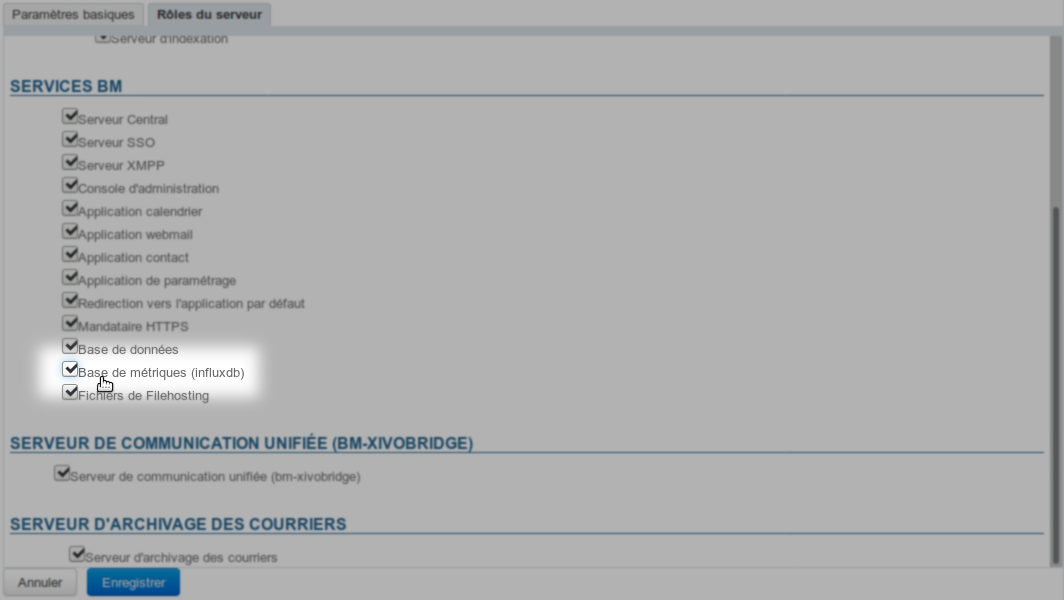
- Log into the admin console as superuser admin0 (or delegated administrator with the privileges required permissions) and go to System management Management > Application 's servers > select the server servers > Server roles tab
- Enable the role "metrics Metrics database":
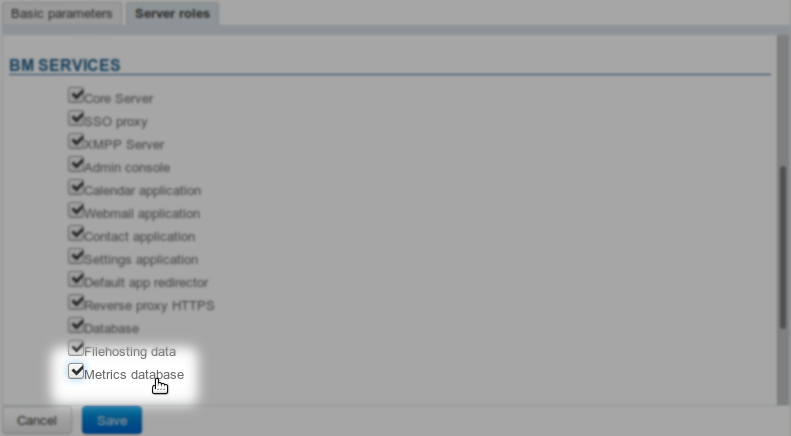 Image Modified
 - Save
Restart Add last packages and restart BlueMind:
| Bloc de code |
|---|
aptitude install bm-plugin-admin-console-monitoring bm-plugin-node-monitoring
bmctl restart |
Run a first generation of the alerts' and the dashboards' default configuration. To do this, still logged in as root on the server, run the following command:
| Bloc de code |
|---|
# bm-cli tick reconfigure |
Note: if you want to add other servers for monitoring (see next paragraph), you don't need to run this command at this stage. You can just run it once at the end of the procedure, although running it several times doesn't interfere as it only applies to the default configuration and does not affect the data.
| Astuce |
|---|
When the bm-cli command line client is not installed, you can run the following command to roll out the configuration automatically on all nodes: | Bloc de code |
|---|
curl -H "X-Bm-ApiKey: $(cat /etc/bm/bm-core.tok)" -XPOST http://localhost:8090/internal-api/tick/mgmt/_reconfigure |
|
Reload the Nginx service:
| Bloc de code |
|---|
systemctl reload bm-nginx |
Note: this command has no impact on users, you can run it without risking a service break.
On other servers
If the domain has other servers (e.g. edge server or archive server), the node and its plugin must be installed on each:
connected to the server as root, run the following command:
Log in as root on each server and install the bm-tick packages:
| Bloc de code |
|---|
root@edge:~# aptitude install bm-tick-node bm-plugin-node-monitoring |
Restart the service on every server:
| Bloc de code |
|---|
bmctl restart |
Regenerate the configuration: log into the main server as root and run the same command as during the first installation:
| Bloc de code |
|---|
# bm-cli tick reconfigure |
| Astuce |
|---|
When the bm-cli command line client is not installed, you can run the following command to roll out the configuration automatically on all nodes: | Bloc de code |
|---|
root@mail:~# curl -H "X-Bm-ApiKey: $(cat /etc/bm/bm-core.tok)" -XPOST http://localhost:8090/internal-api/tick/mgmt/_reconfigure |
Reload the Nginx service:
| Bloc de code |
|---|
systemctl reload bm-nginx |
Note: this command has no impact on users, you can run it without risking a service break.
On a dedicated server
To install bm-tick on a dedicated server, the packages must be installed according to the following distribution:
On the monitoring server
The main bm-tick package:
| Bloc de code |
|---|
# aptitude install bm-tick-full bm-plugin-node-monitoring |
On the main BlueMind server
The connection node and its dedicated plugin:
| Bloc de code |
|---|
# aptitude install bm-tick-node bm-plugin-node-monitoring bm-plugin-core-monitoring bm-plugin-admin-console-monitoring |
Then restart the service:
| Bloc de code |
|---|
# bmctl restart |
Log into the BlueMind admin console:
- go to the server management page: System management > Application's servers
- add a new server pointing to the bm-tick-dedicated server's IP
Finally, follow the instructions as outlined in the previous paragraph: enable the role on the new server, restart BlueMind (on the main server) again, generate the configuration via curl or bm-cli.
On other servers
Follow the instructions outlined in paragraph 2.1.b above:
- install packages
- restart service
- configure regeneration, via curl or bm-cli
Nginx configuration
Finally, to make the url available in BlueMind links, you need to edit the nginx configuration in the file /etc/nginx/bm-local.d by adding:
| Bloc de code |
|---|
location /tick/ {
    gzip             on;
    gzip_min_length  1000;
    gzip_proxied     any;
    gzip_types       text/plain application/xml text/css text/javascript text/json application/json;
    gzip_disable     "MSIE [1-6]\.";
    gzip_comp_level 9;

    proxy_http_version 1.1;
    proxy_pass http://<DEDICATED.SERVER.IP>:8888/tick/;
} |
Accessing the application
Once the installation is complete, you can access the application by logging into https://<your bluemind>.tld/tick
| Astuce |
|---|
The username and password requested are those for the setup wizard you were provided when you installed BlueMind, which you can configure in BlueMind's administration page. If you've lost your log in credentials, please refer to our FAQ on this issue: I have lost my password for the setup wizard |
From BlueMind 3.5.10, accessing Accessing the application is more straightforward but requires a role to be assigned:
- Assign the "Monitoring Console" role to the people you want (through each individual user's management page or through a group)
- These users then have a "Dashboards" link in their ribbon menu giving them access to the console (this may require them to log in again):

| Info |
|---|
| title | Known issue: error 404 |
|---|
|