Historique de la page
...
| Sv translation | |||||||
|---|---|---|---|---|---|---|---|
| |||||||
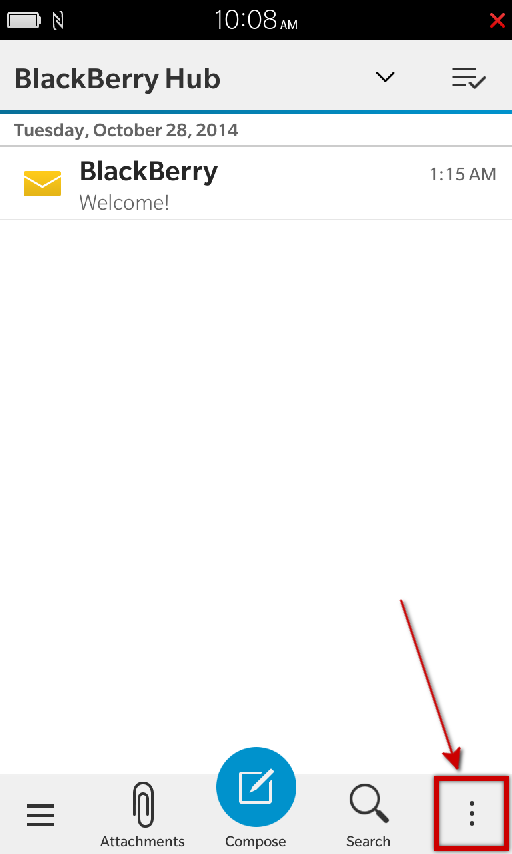
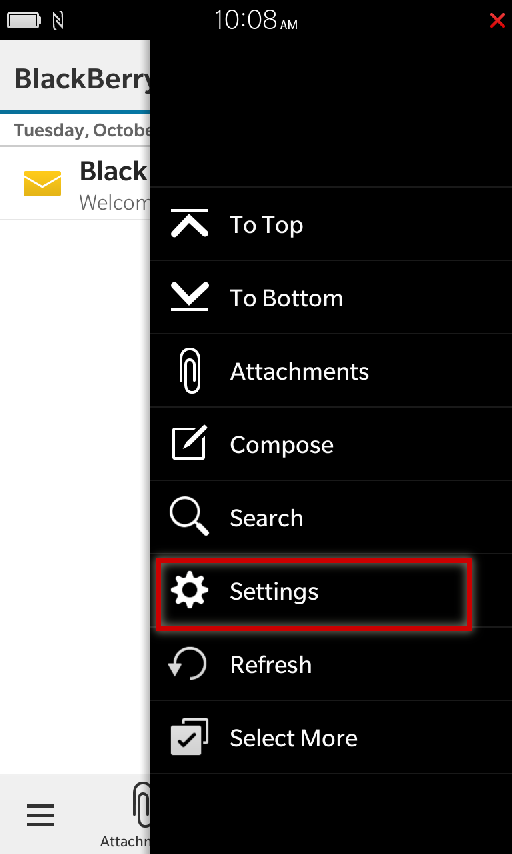
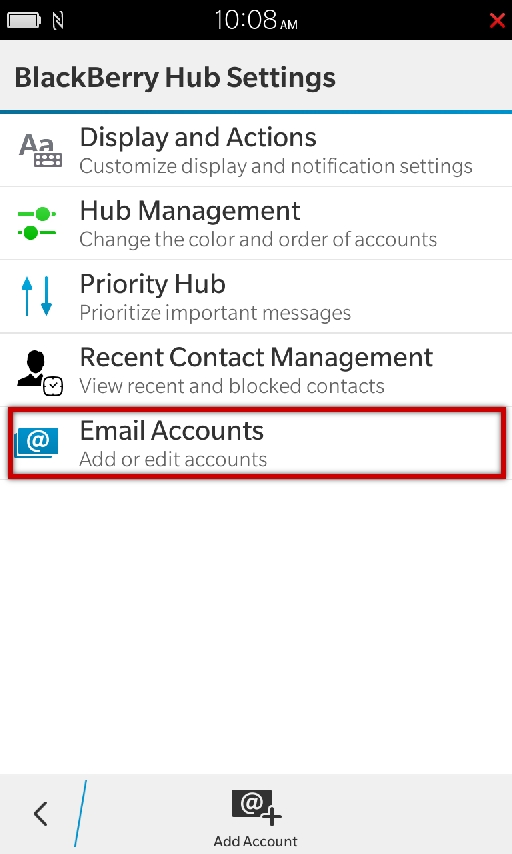
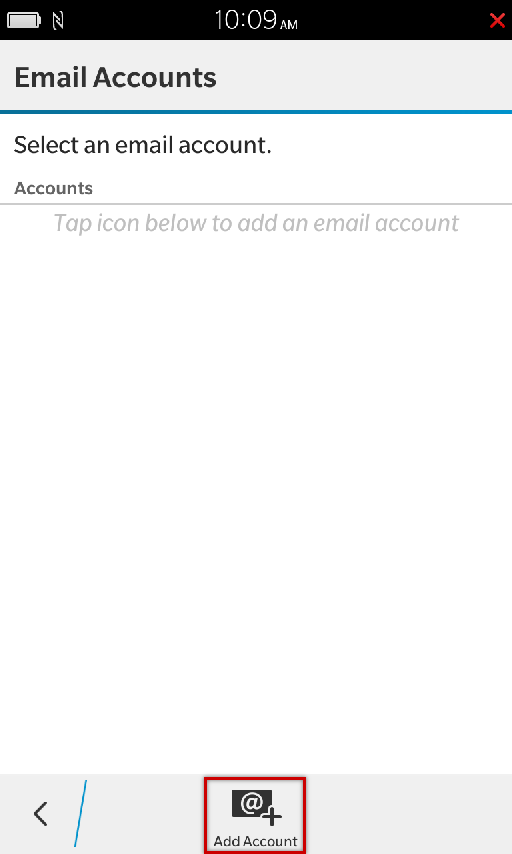
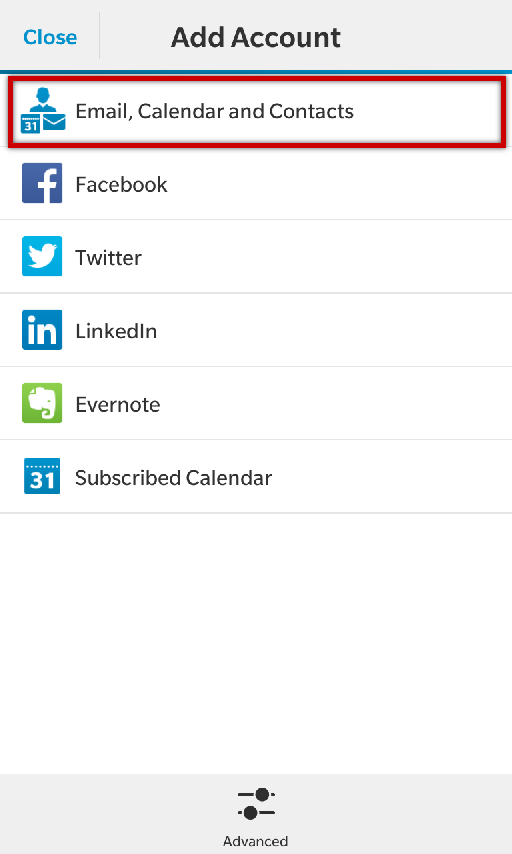
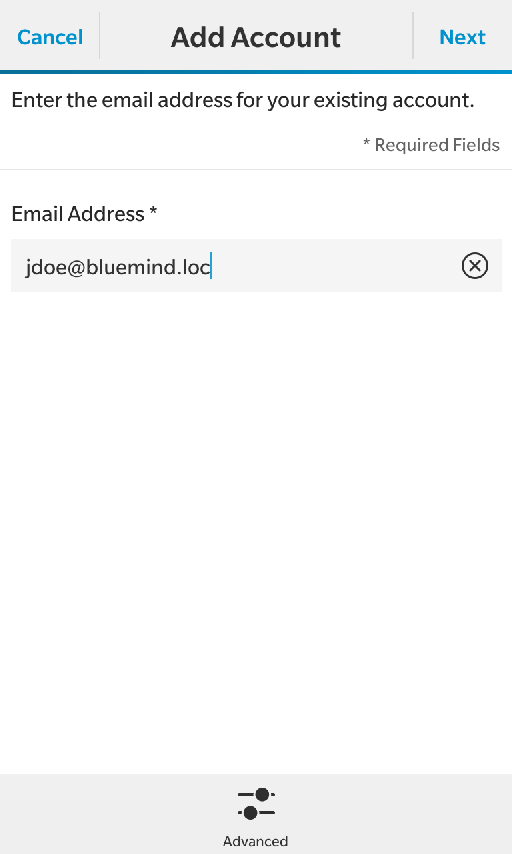
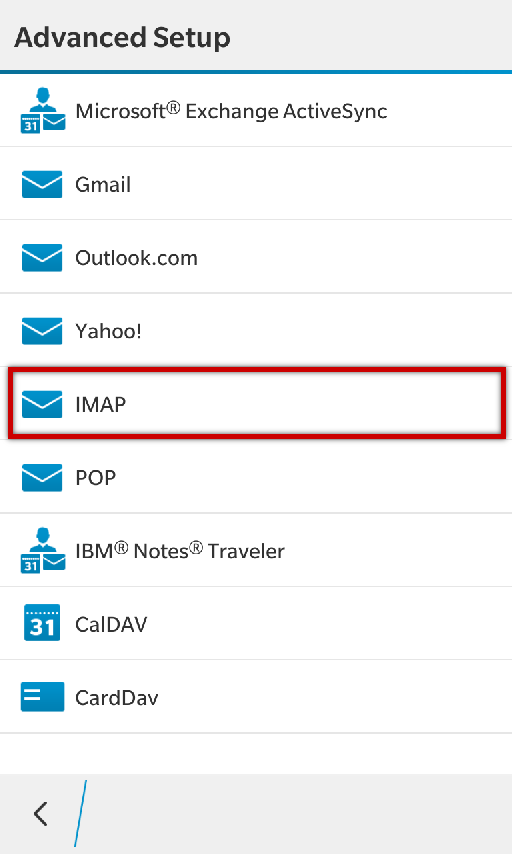
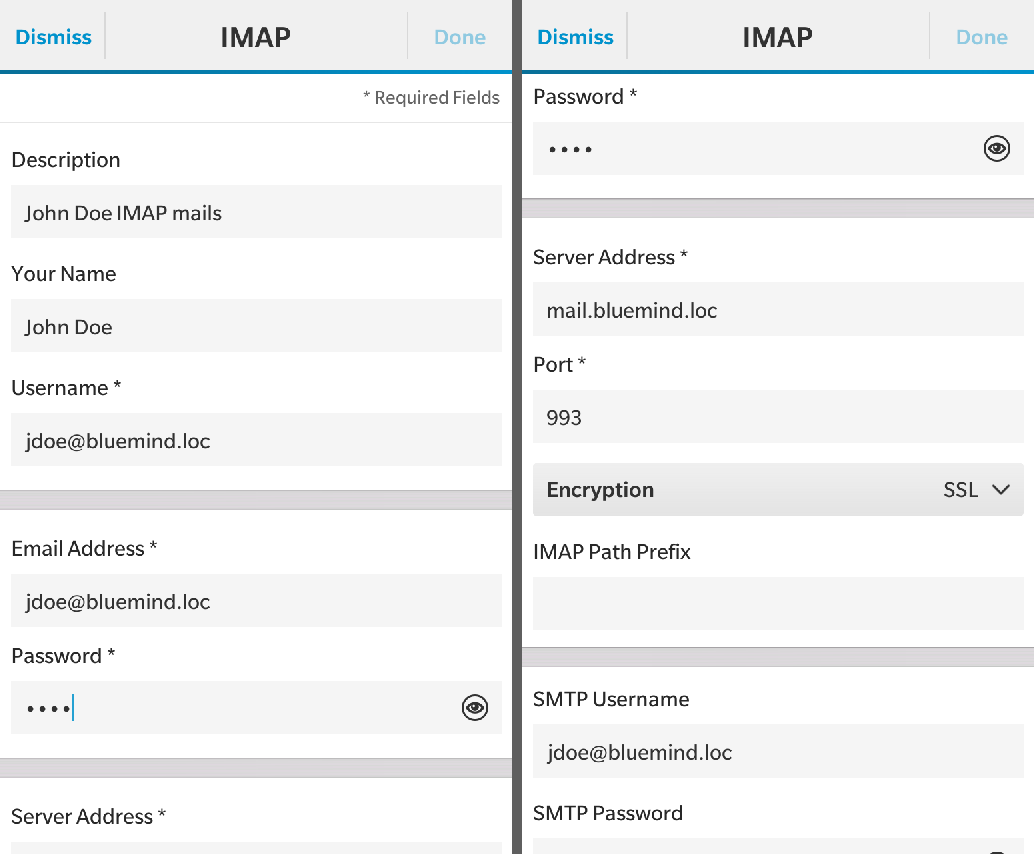
Setting up an email accountIn Blackberry, mail synchronization is handled by Blackberry Hub. Go to "Settings": Go to "Email Accounts": Select "Add account": Select "Email, Calendar and Contacts": Enter the user's email address and tap "Next": Select IMAP as account type: The next screen allows you to enter incoming and outgoing server connection settings as well as set up synchronization options. Scroll up to access the fields: In the first part of the screen:
The next section allows you to configure the incoming server:
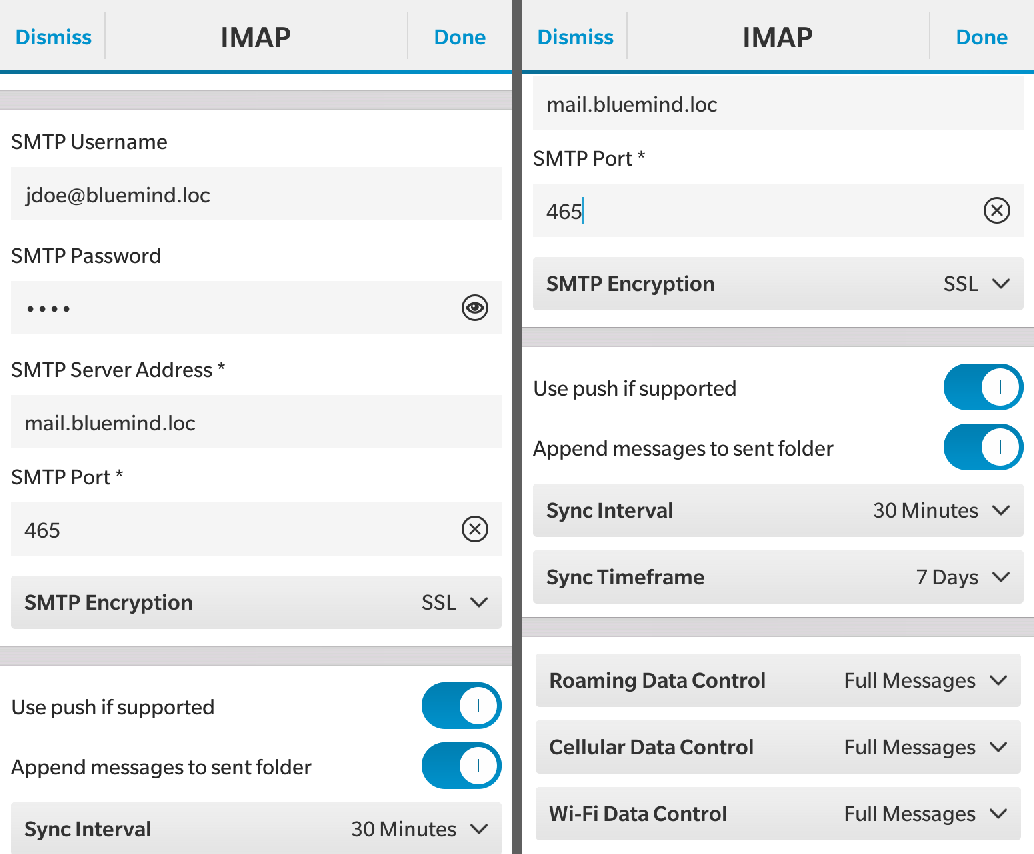
The next section allows you to configure the outgoing server (SMTP), which is used to send messages. Barring special cases, connection information and addresses are the same as for the incoming server, only the port number is different. The next section allows you to configure the account's key information:
The last part allows you to configure how the device behaves depending on the type of network it is connected to:
For each type of connection, you can choose to retrieve whole messages, message headers only, or restrict retrieval to a certain size.
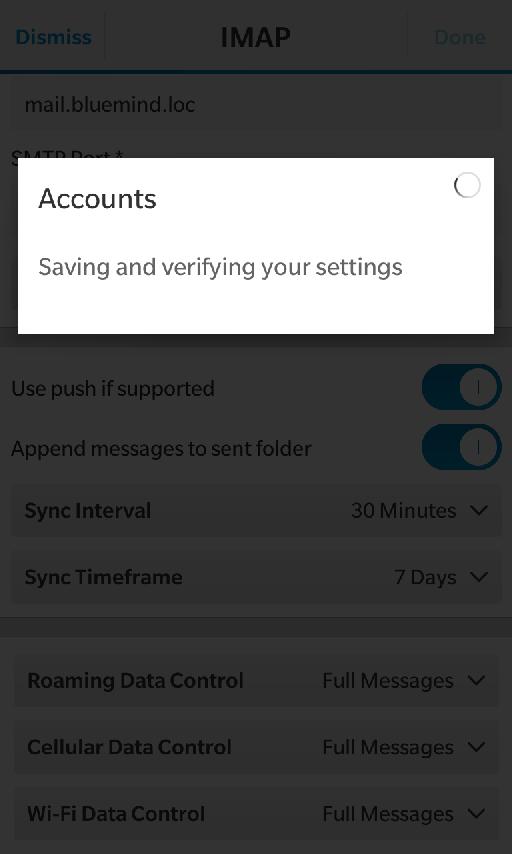
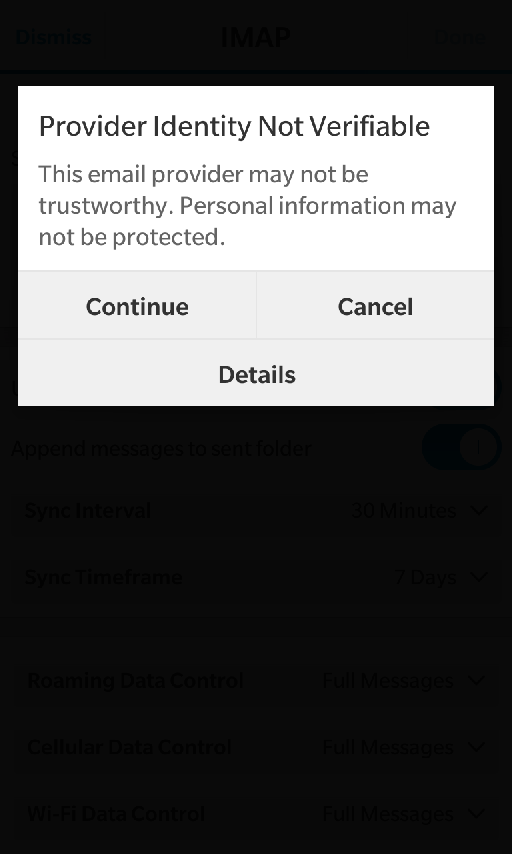
Tap "Done" at the top of the screen once all parameters are entered. The device checks the server connections and informs you of possible issues with certificates if any. Tap "Continue":
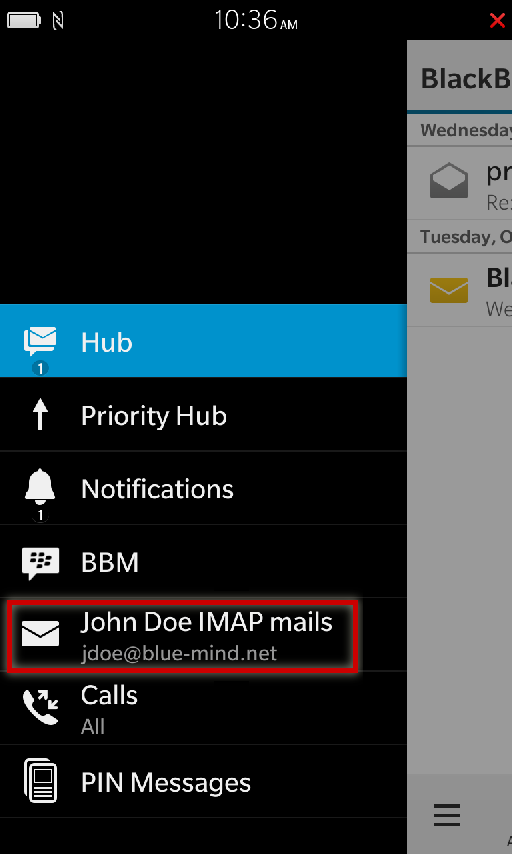
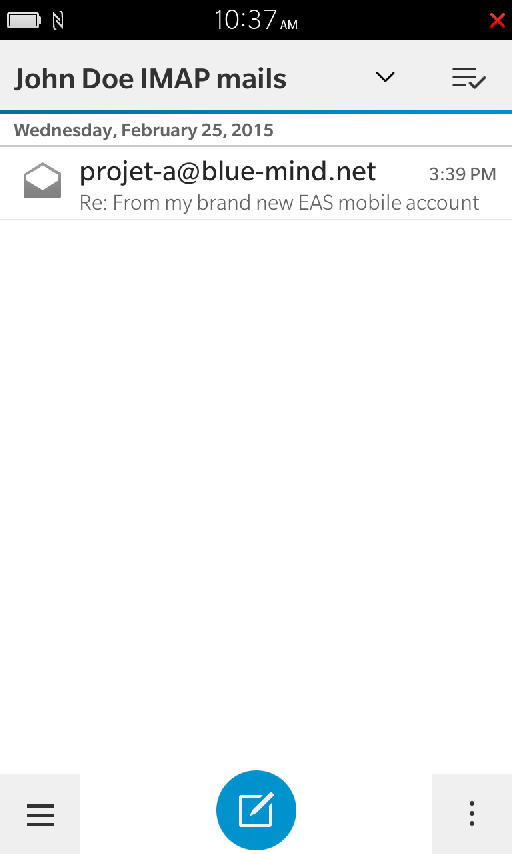
The application returns to Hub's homepage showing all messages for all accounts. To view the new account's messages only, open the menu and select the account:
|
| Sv translation | |||||
|---|---|---|---|---|---|
| |||||
Konfiguration des E-Mail-KontosDie E-Mail-Synchronisation im Blackberry erfolgt im Blackberry Hub. Gehen Sie zu Einstellungen („Settings“): Gehen Sie in die E-Mail-Konten-Konfiguration („Email-Accounts“): Fügen Sie ein neues Konto hinzu („Add account“): Wählen Sie das Hinzufügen des Kontotyps „Email, Calendar and Contacts“ (E-Mail, Kalender und Kontakte): Geben Sie die E-Mail-Adresse des Benutzers ein und drücken Sie „Weiter“: Wählen Sie den Kontotyp IMAP: Auf dem nächsten Bildschirm können Sie die Verbindungsparameter zu den Ein- und Ausgangsservern eingeben und die Synchronisationsoptionen konfigurieren, scrollen Sie nach oben, um auf die Felder zuzugreifen: Auf dem ersten Teil des Bildschirms:
Im folgenden Abschnitt können Sie den Posteingangsserver einstellen:
Im folgenden Abschnitt können Sie den Postausgangsserver (SMTP) zum Versenden von Nachrichten einrichten. Außer in Sonderfällen sind die Verbindungs- und Adressinformationen die gleichen wie beim Eingangsserver, nur die Portnummer ändert sich. Im folgenden Abschnitt können Sie die wichtigsten Optionen des Kontos einstellen:
Der letzte Teil ermöglicht die Einstellung des Verhaltens je nach Netzwerktyp, an welches das Gerät angeschlossen ist:
Für jeden Verbindungstyp kann gewählt werden, ob ganze Nachrichten, nur die Kopfzeilen oder nur eine bestimmte Größe abgerufen werden sollen.
Nach der Eingabe aller Parameter drücken Sie „Done“ („Bestätigen“) oben auf dem Bildschirm. Das Gerät prüft die Verbindungen zu den Servern und informiert Sie über ein mögliches Zertifikatsproblem. Drücken Sie „Continue“ („Weiter“):
Die Anwendung kehrt dann zur Hub-Startseite zurück und zeigt die Nachrichten für alle Konten an. Um nur die des neuen Kontos anzuzeigen, öffnen Sie das Menü und wählen Sie das erstellte Konto:
|

