
Historique de la page
...
| Sv translation | |||||||
|---|---|---|---|---|---|---|---|
| |||||||
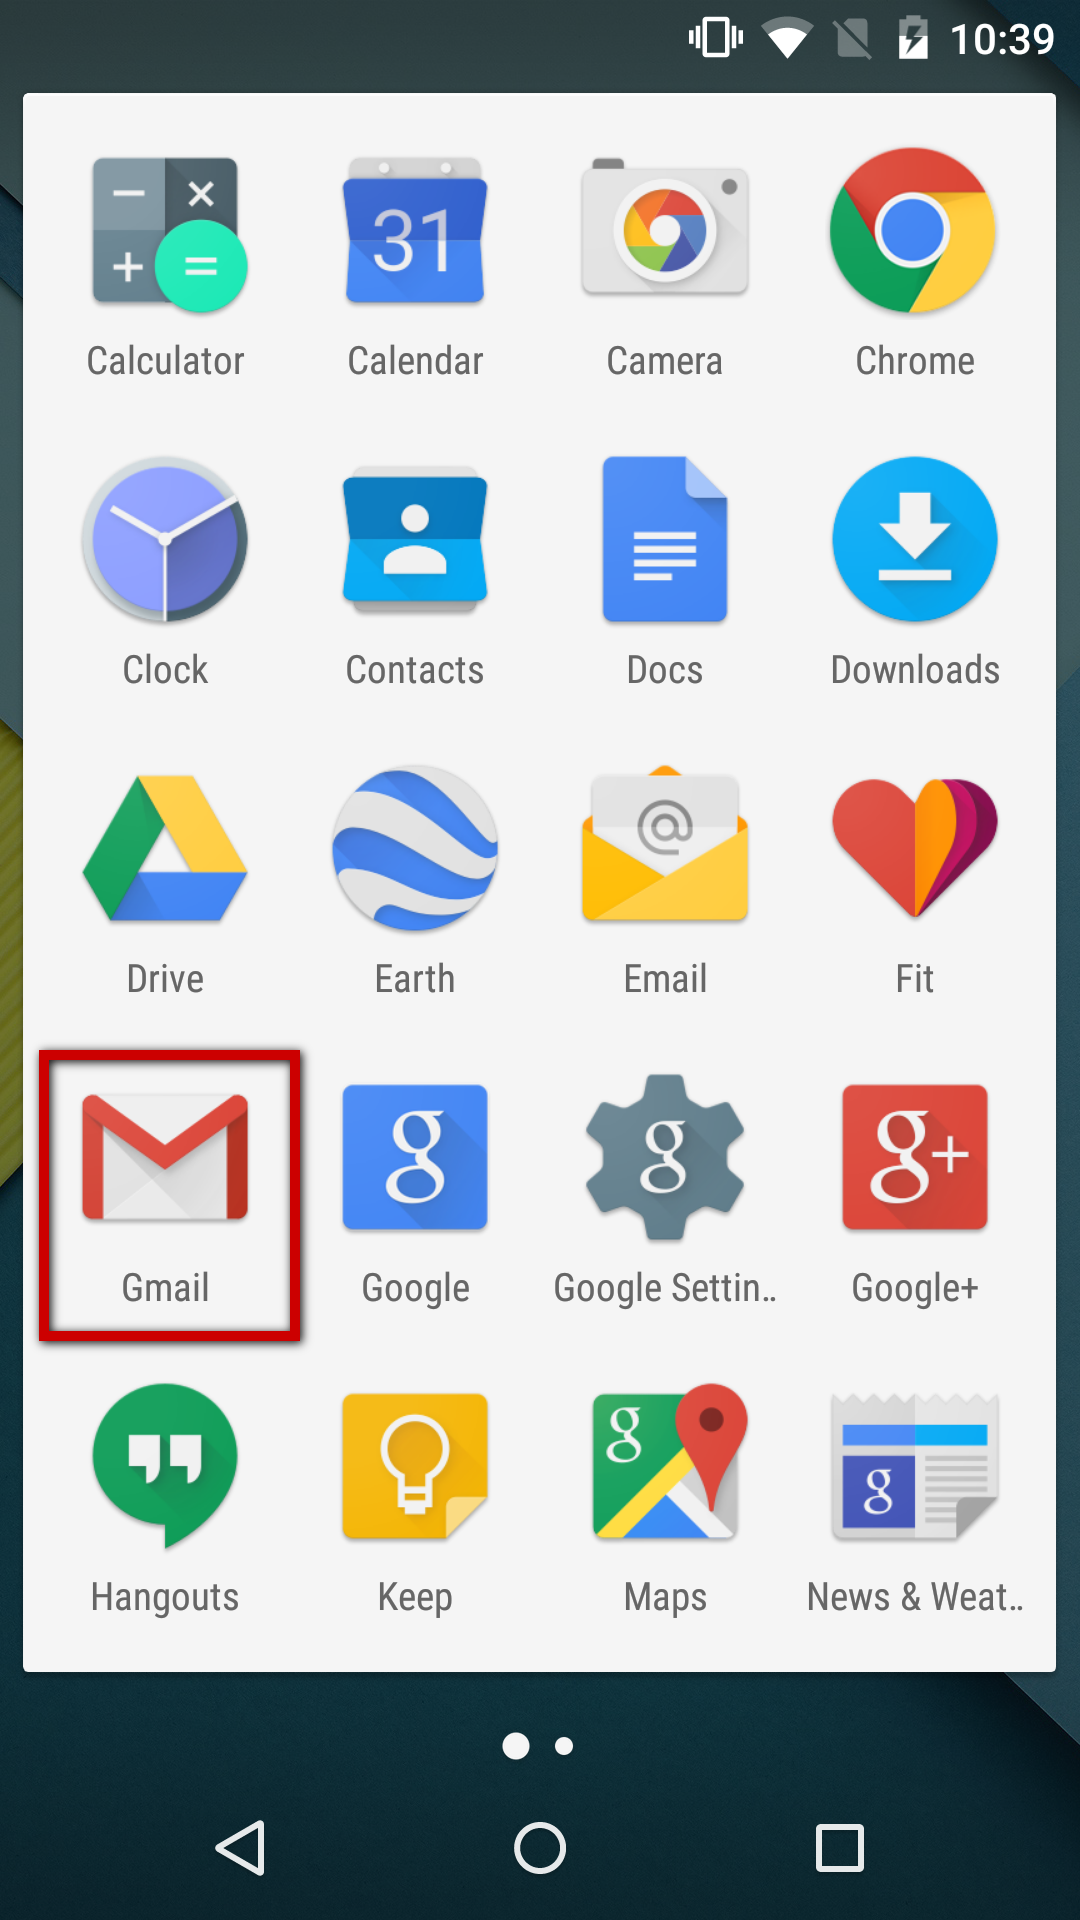
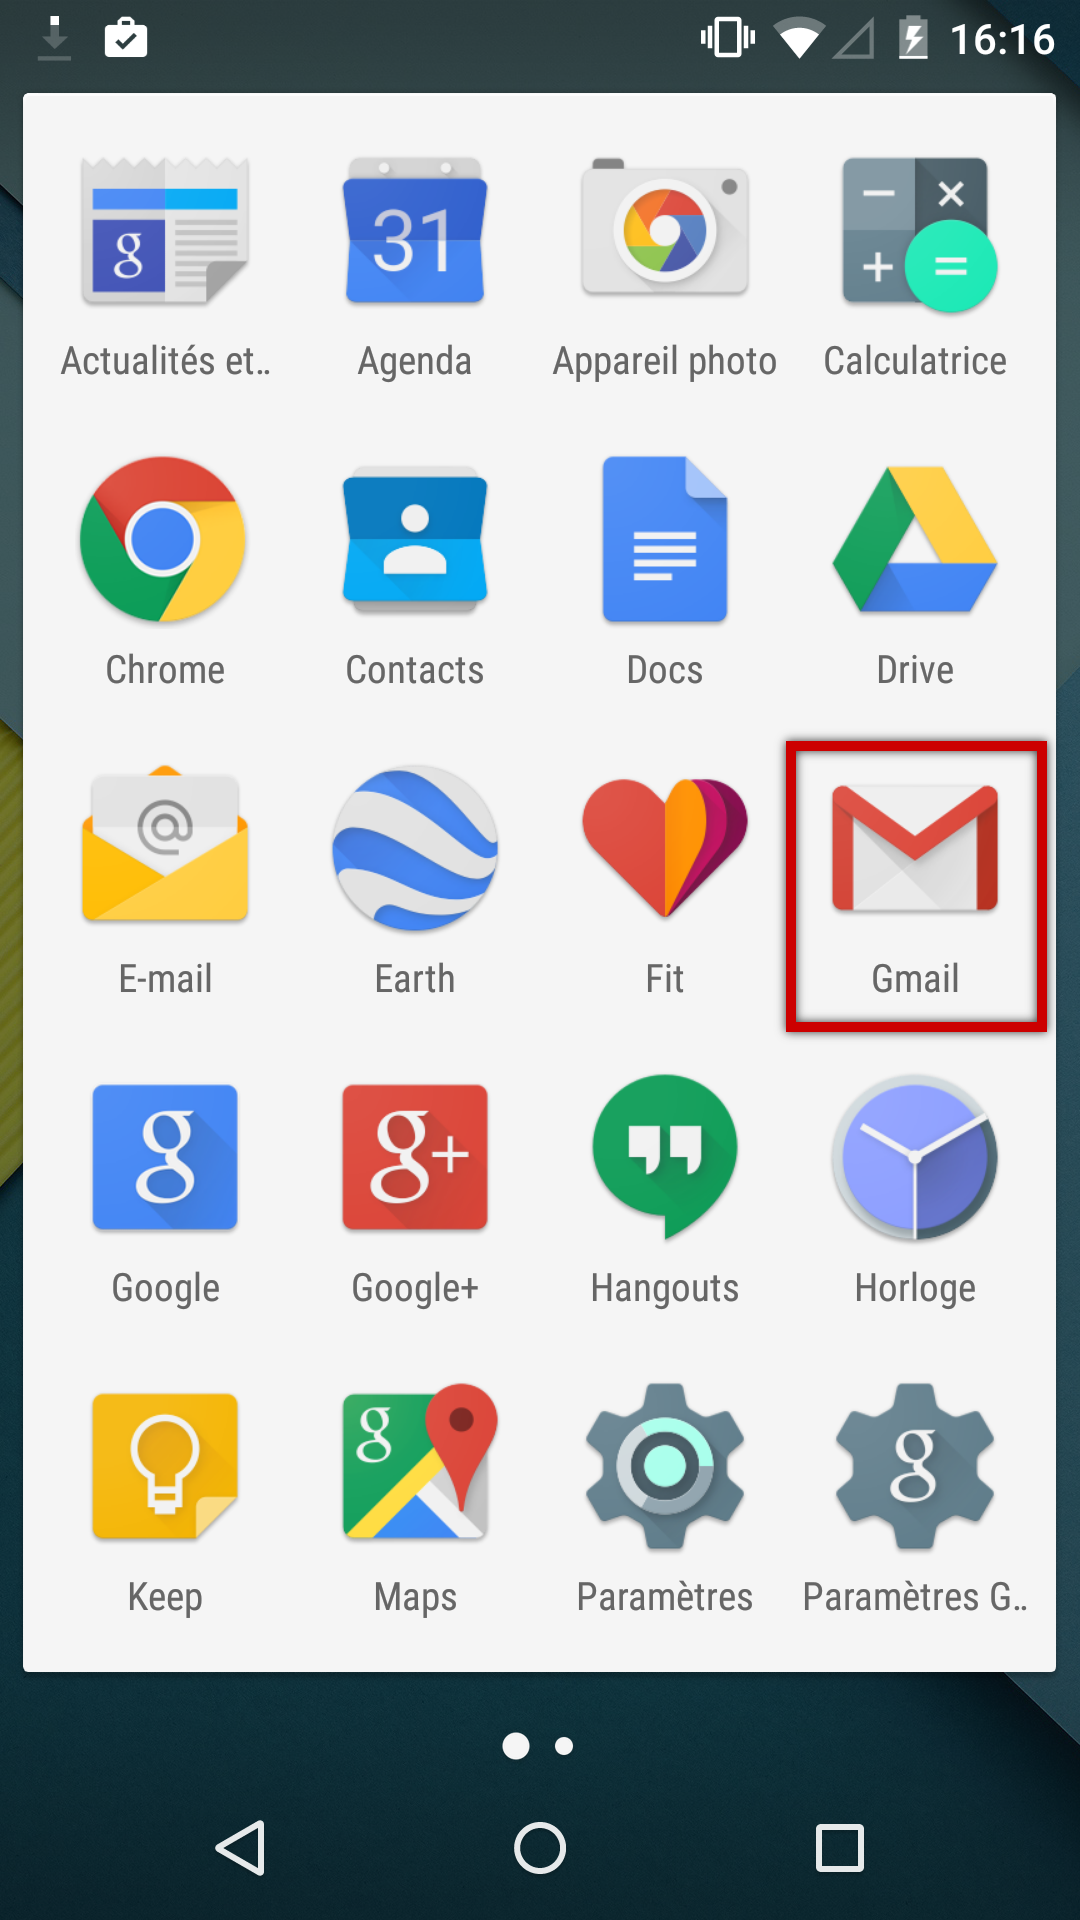
Setting up a new email accountOpen the Gmail application:
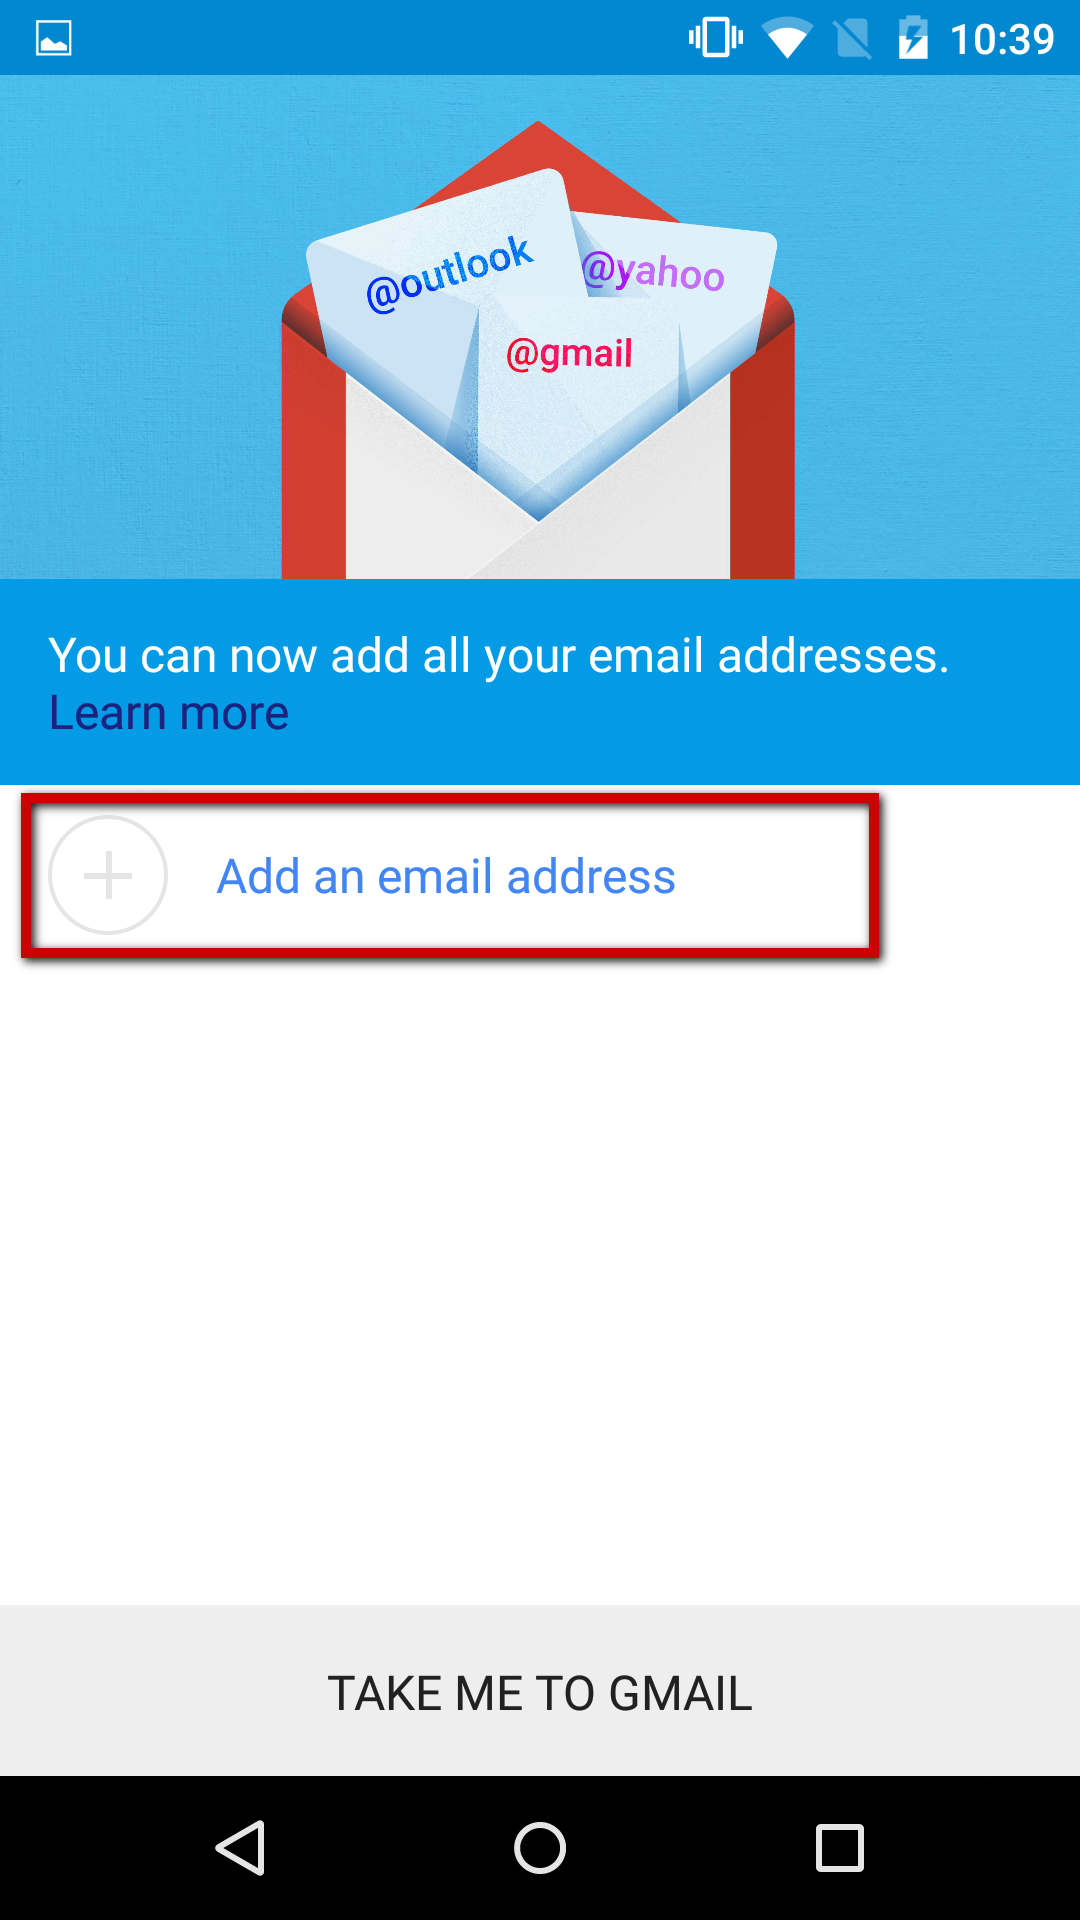
Note: the Email application is still shown but when you open it, an alert warns you that you are being redirected to the Gmail application. If there is no account, choose to add an account from the application's home screen:
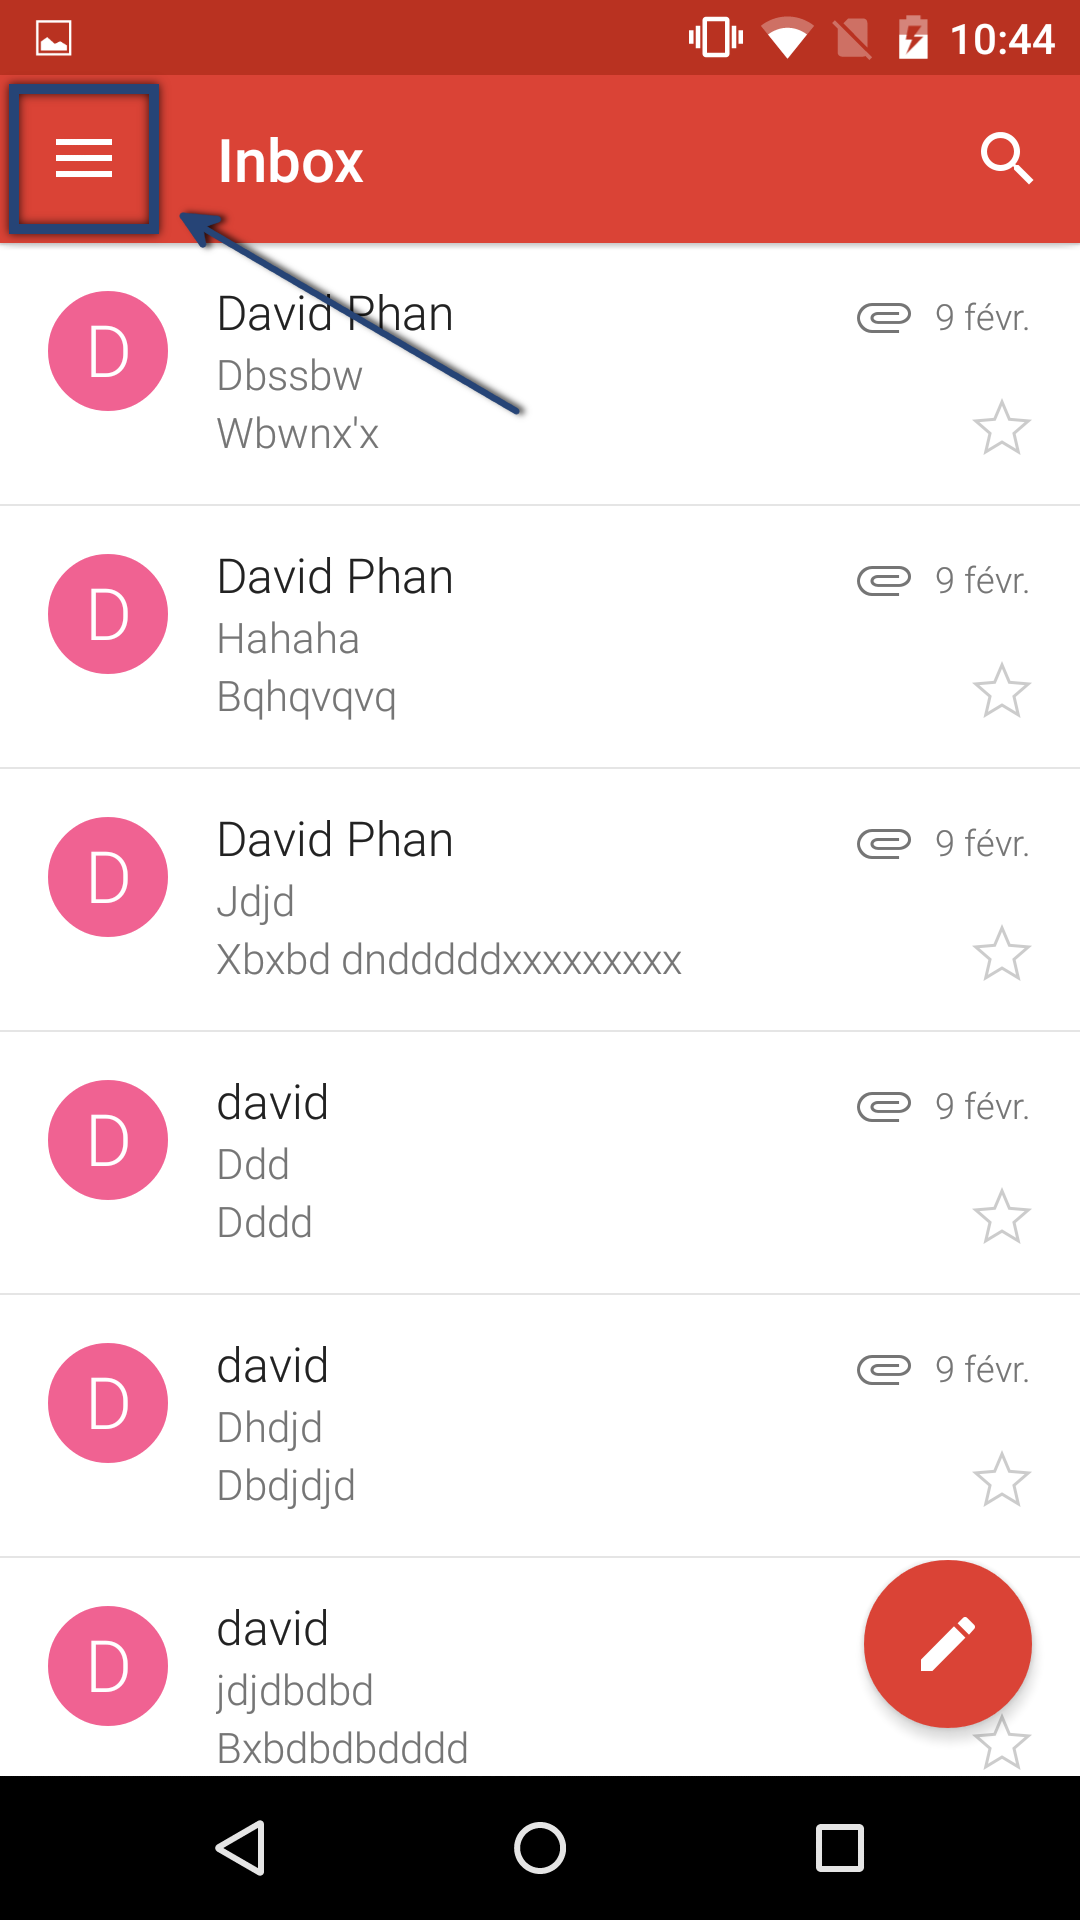
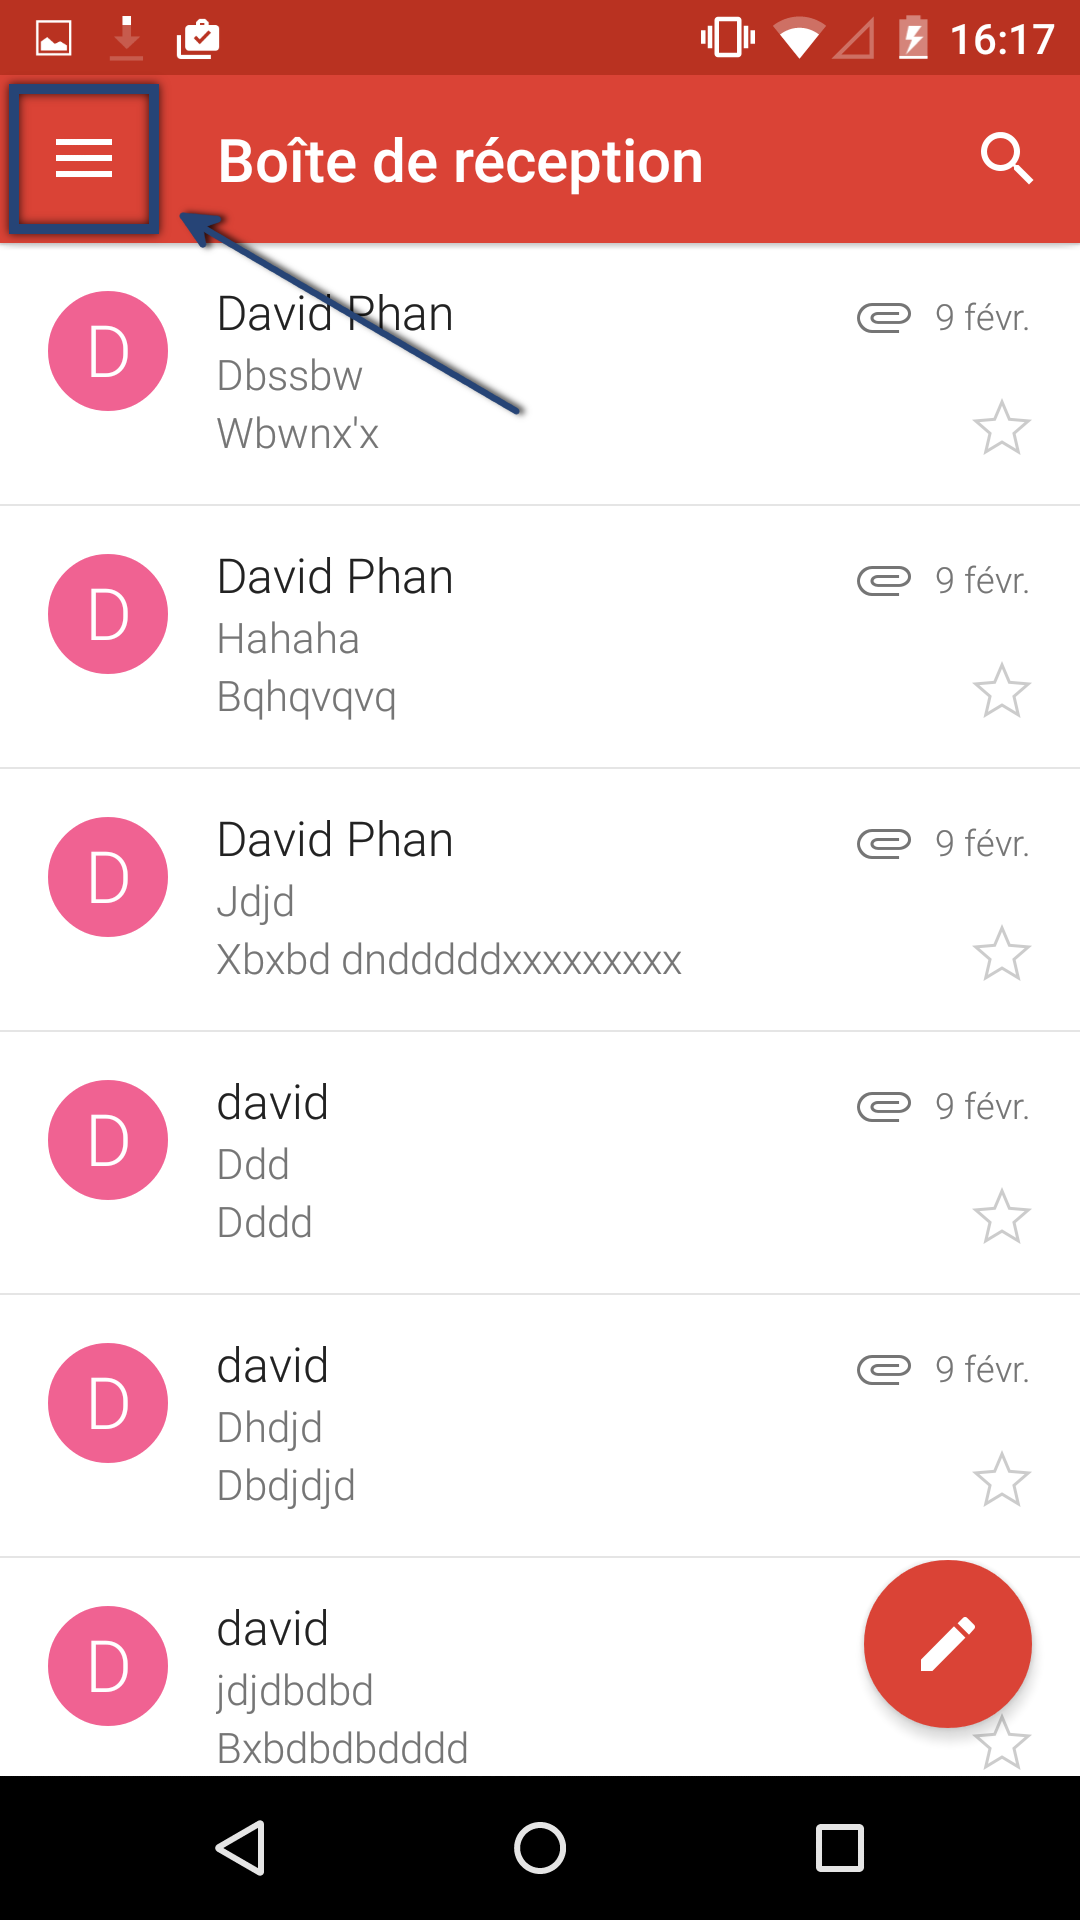
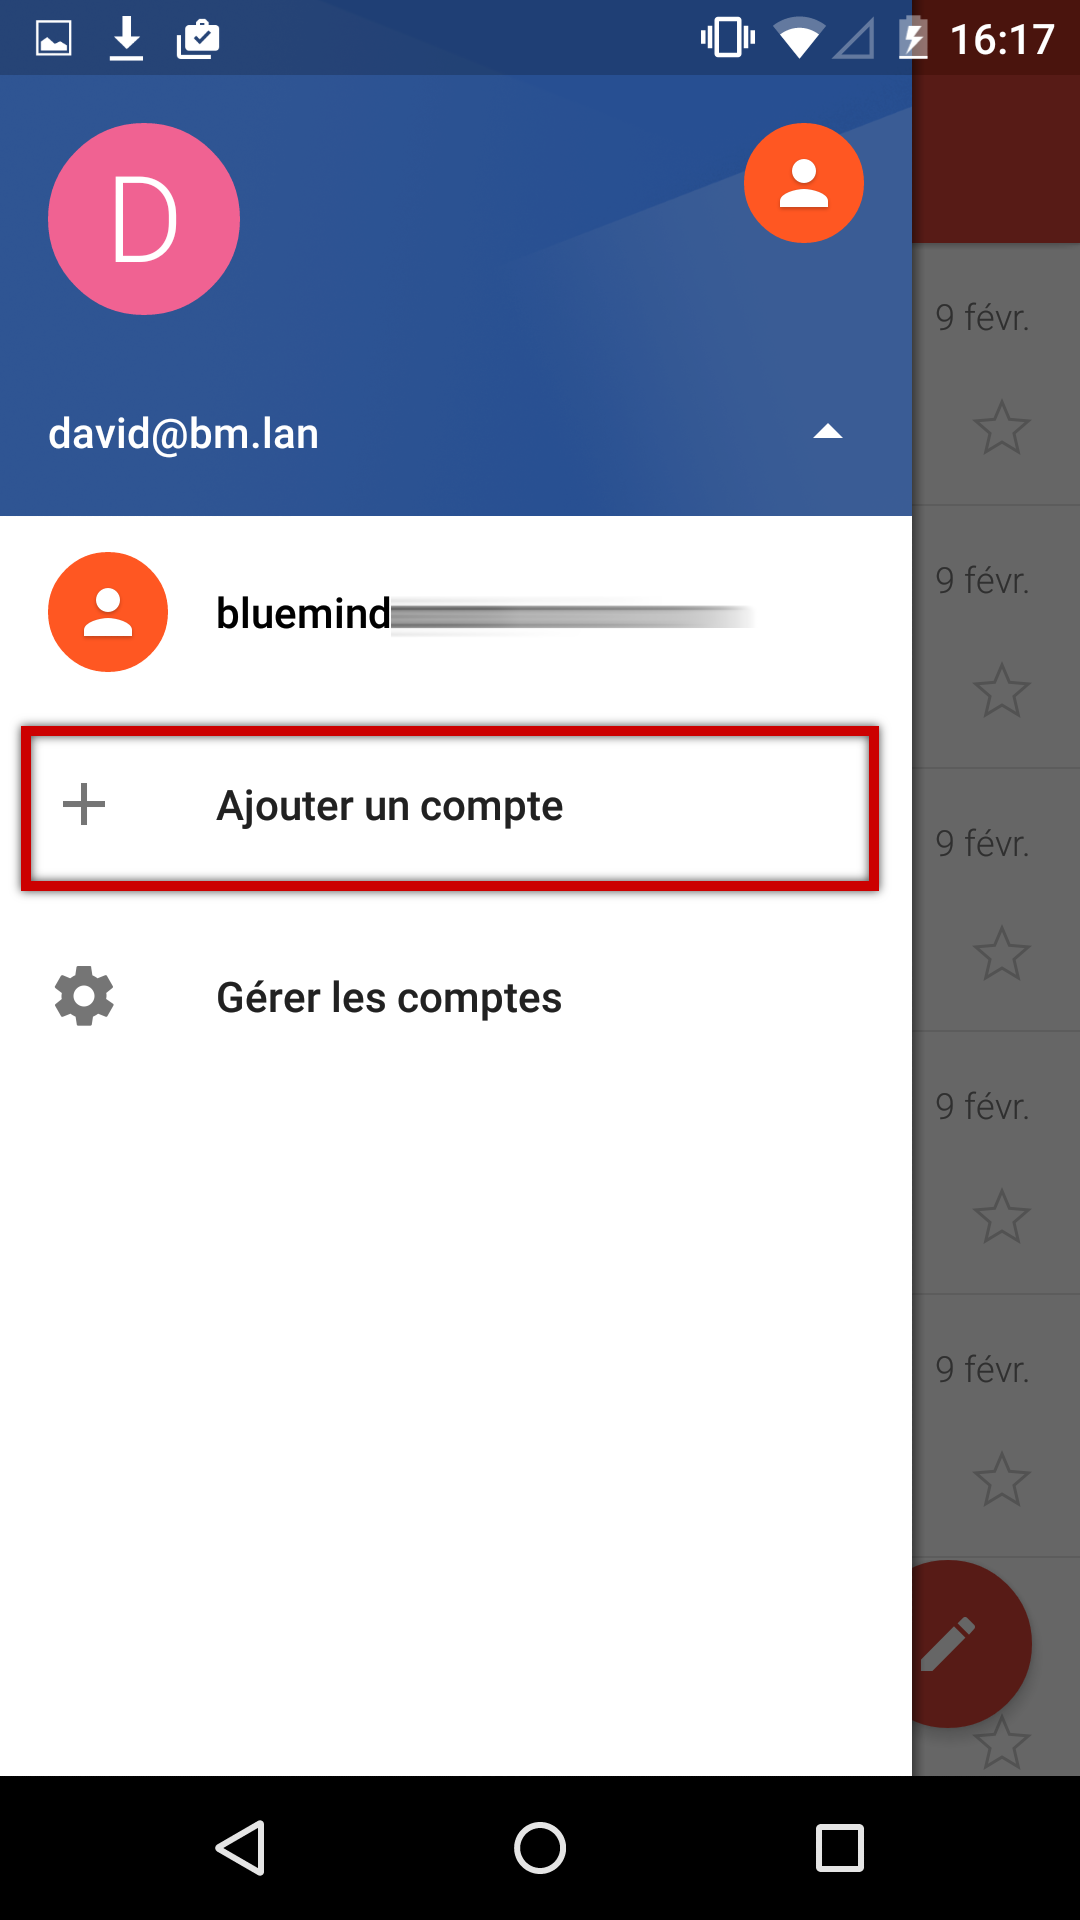
If an account already exists, open the menu and choose to add an account:
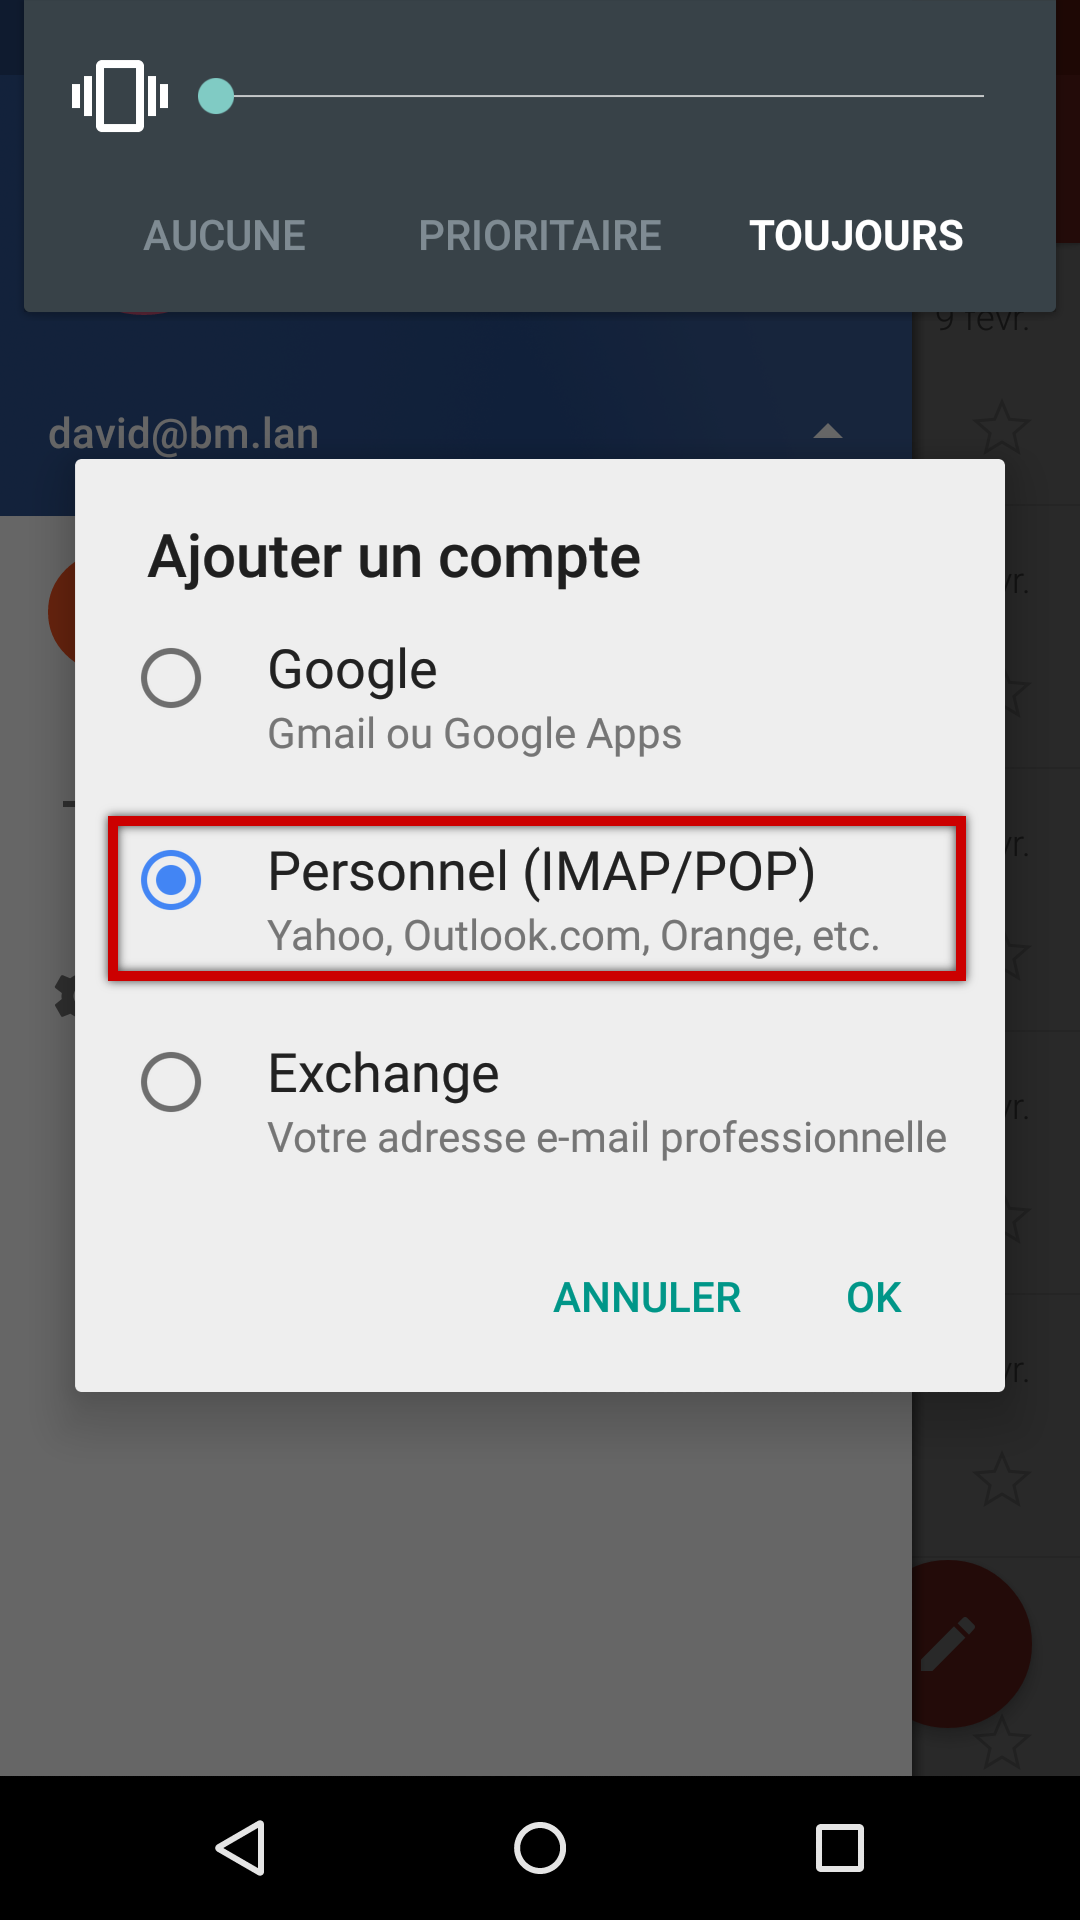
Select a personal type of account:
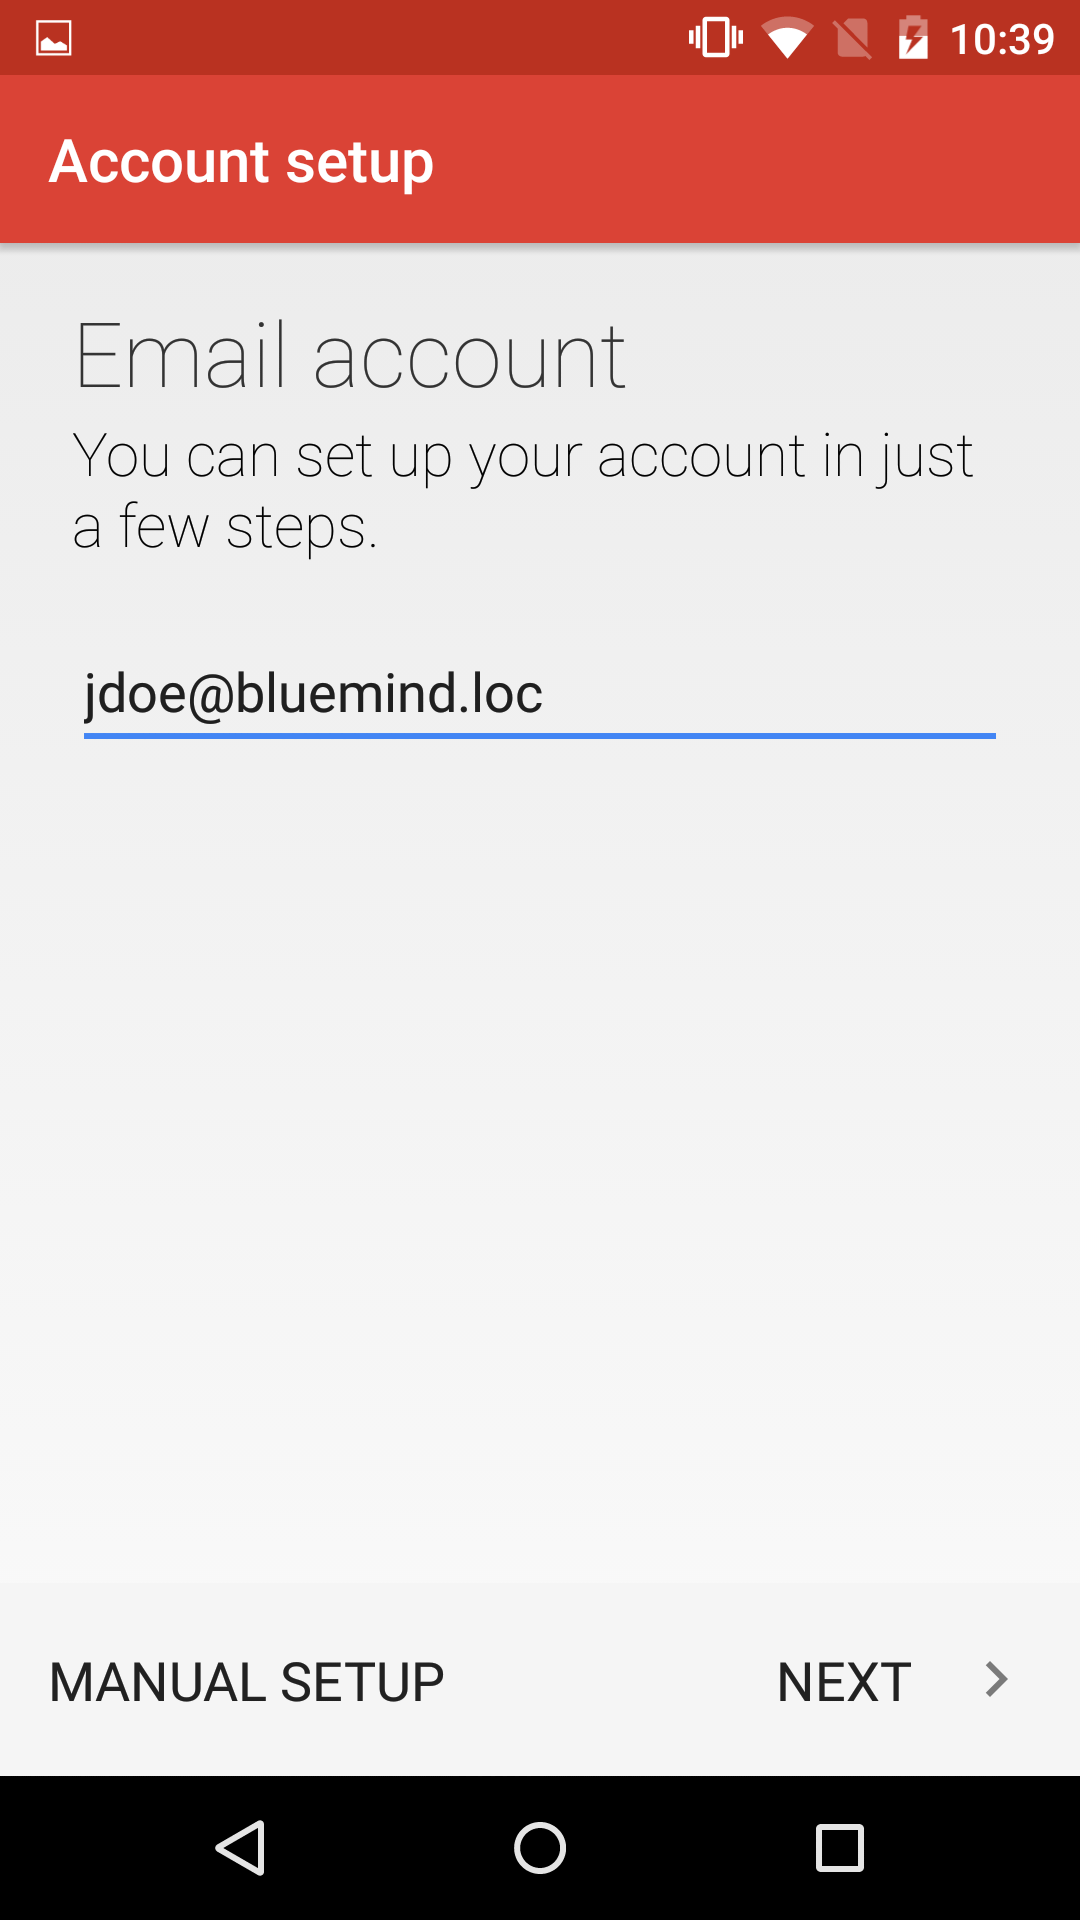
Enter the email address:
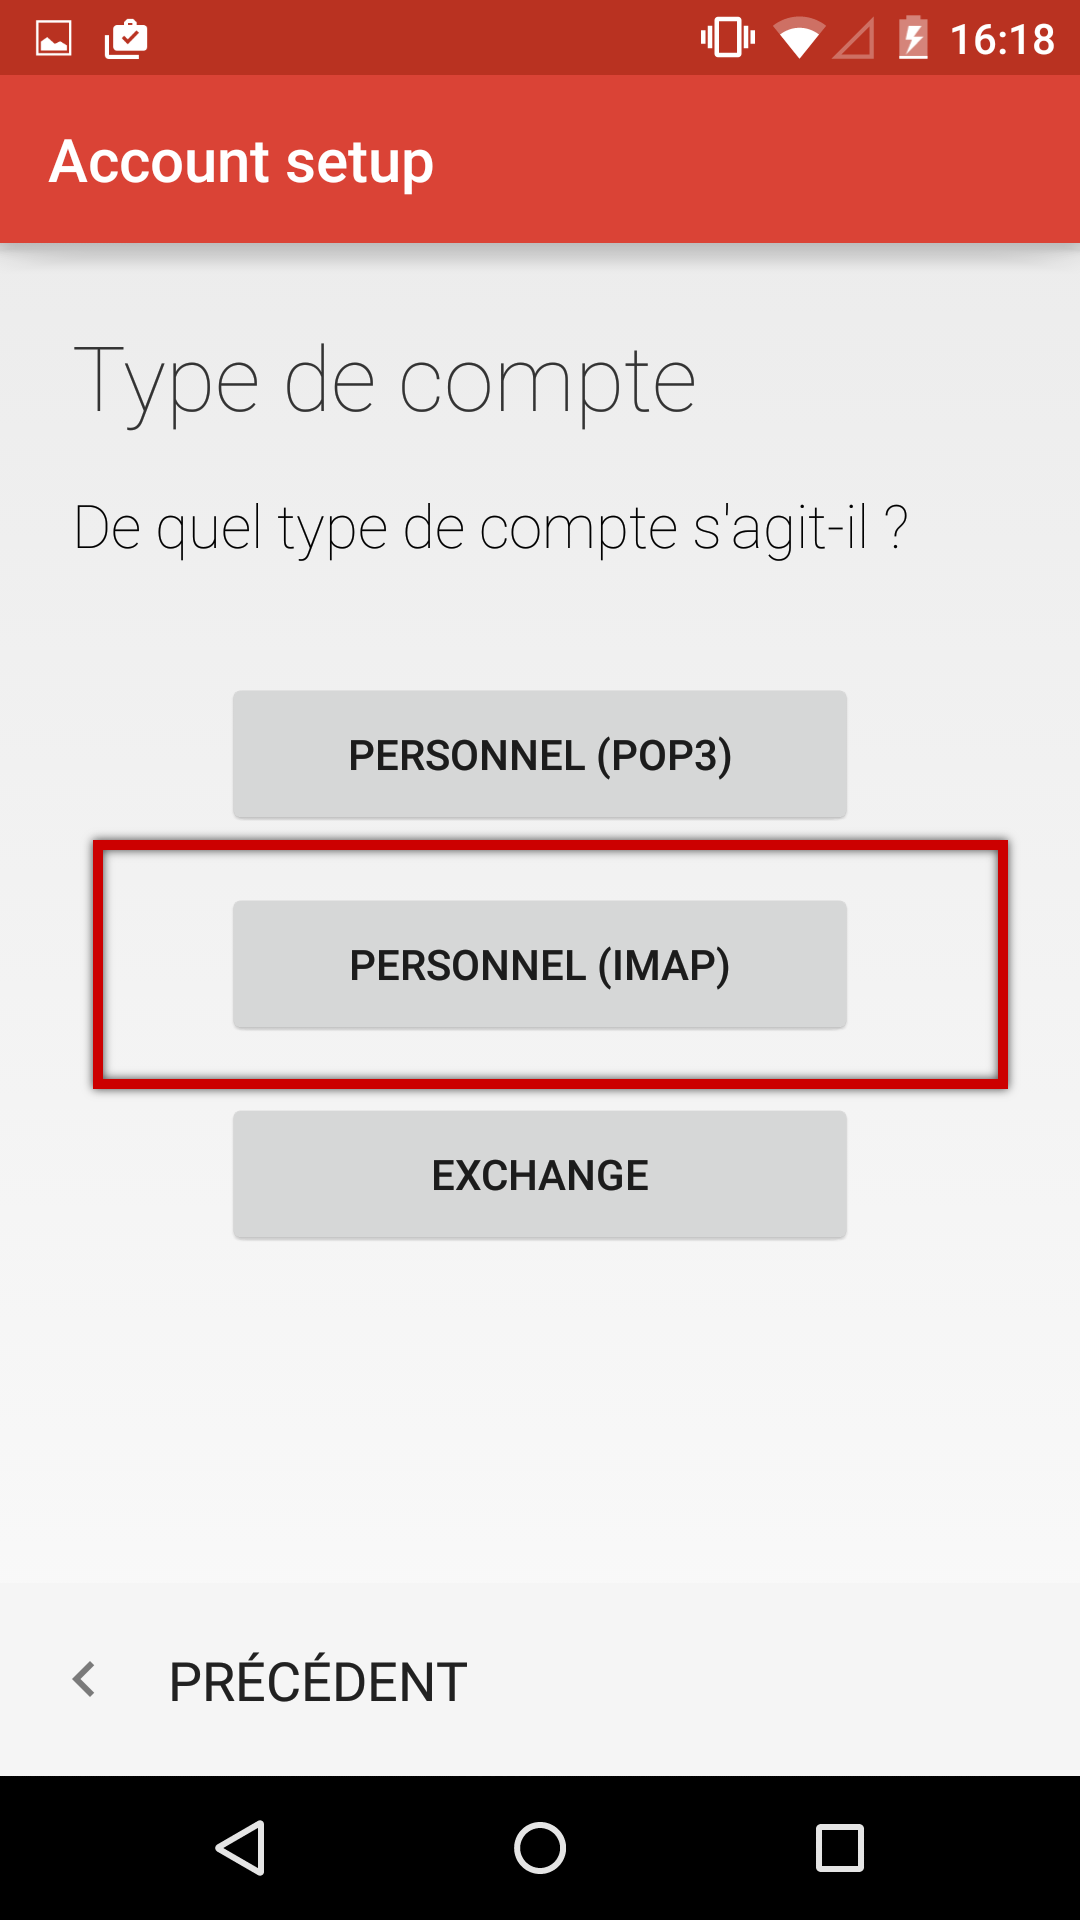
Select IMAP account setup:
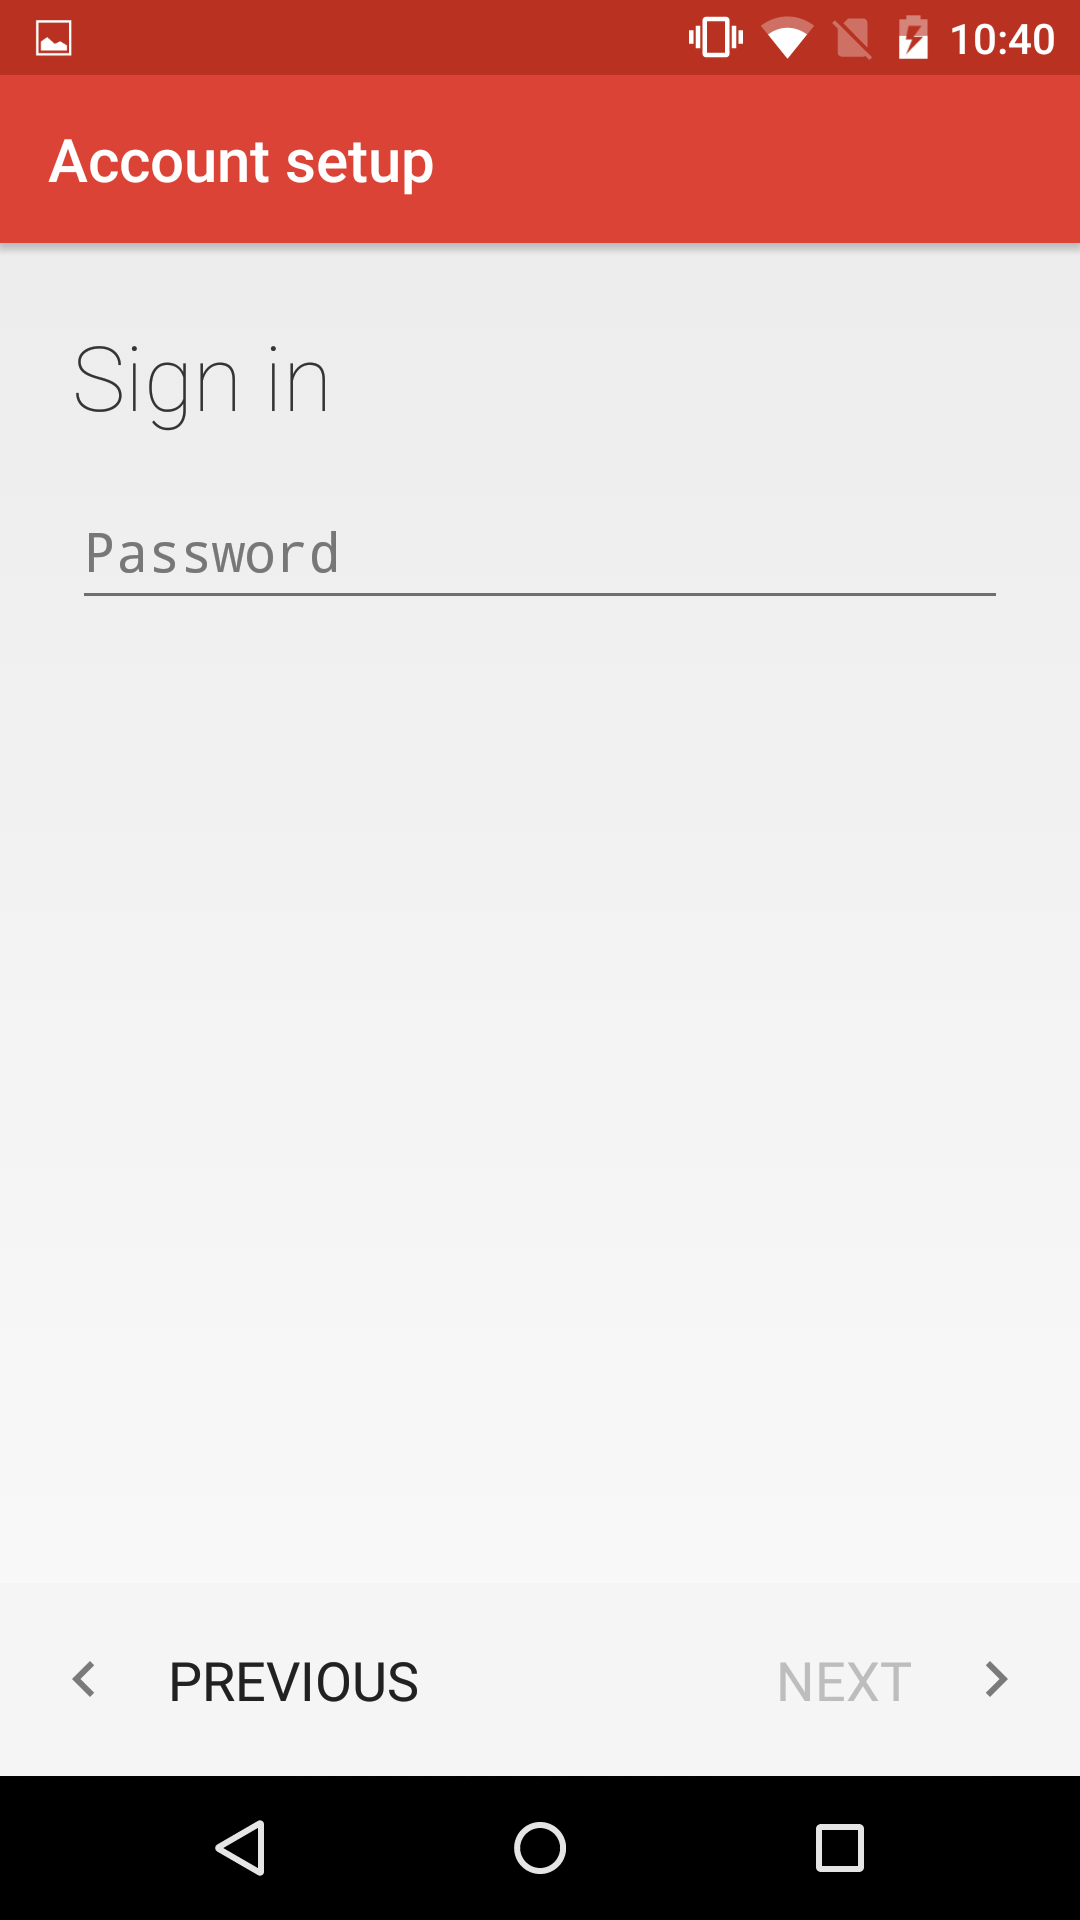
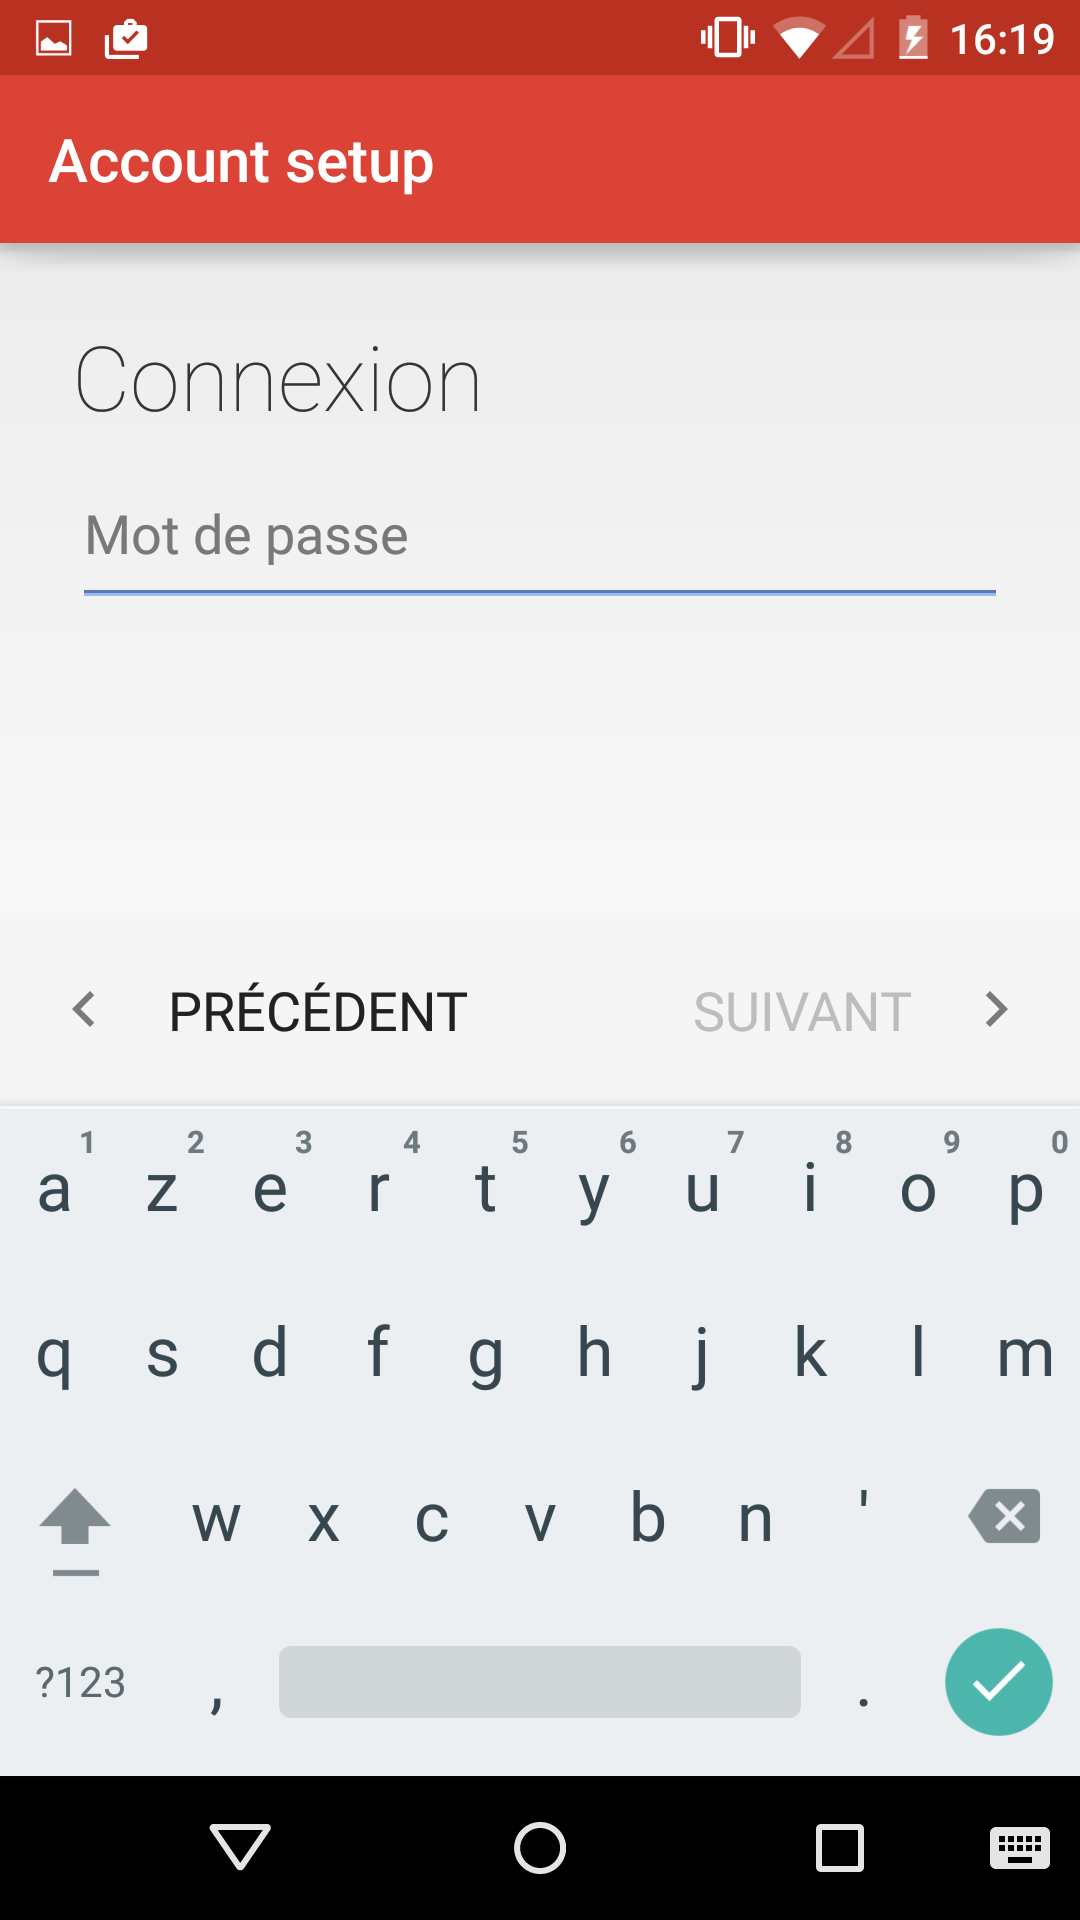
Enter your password:
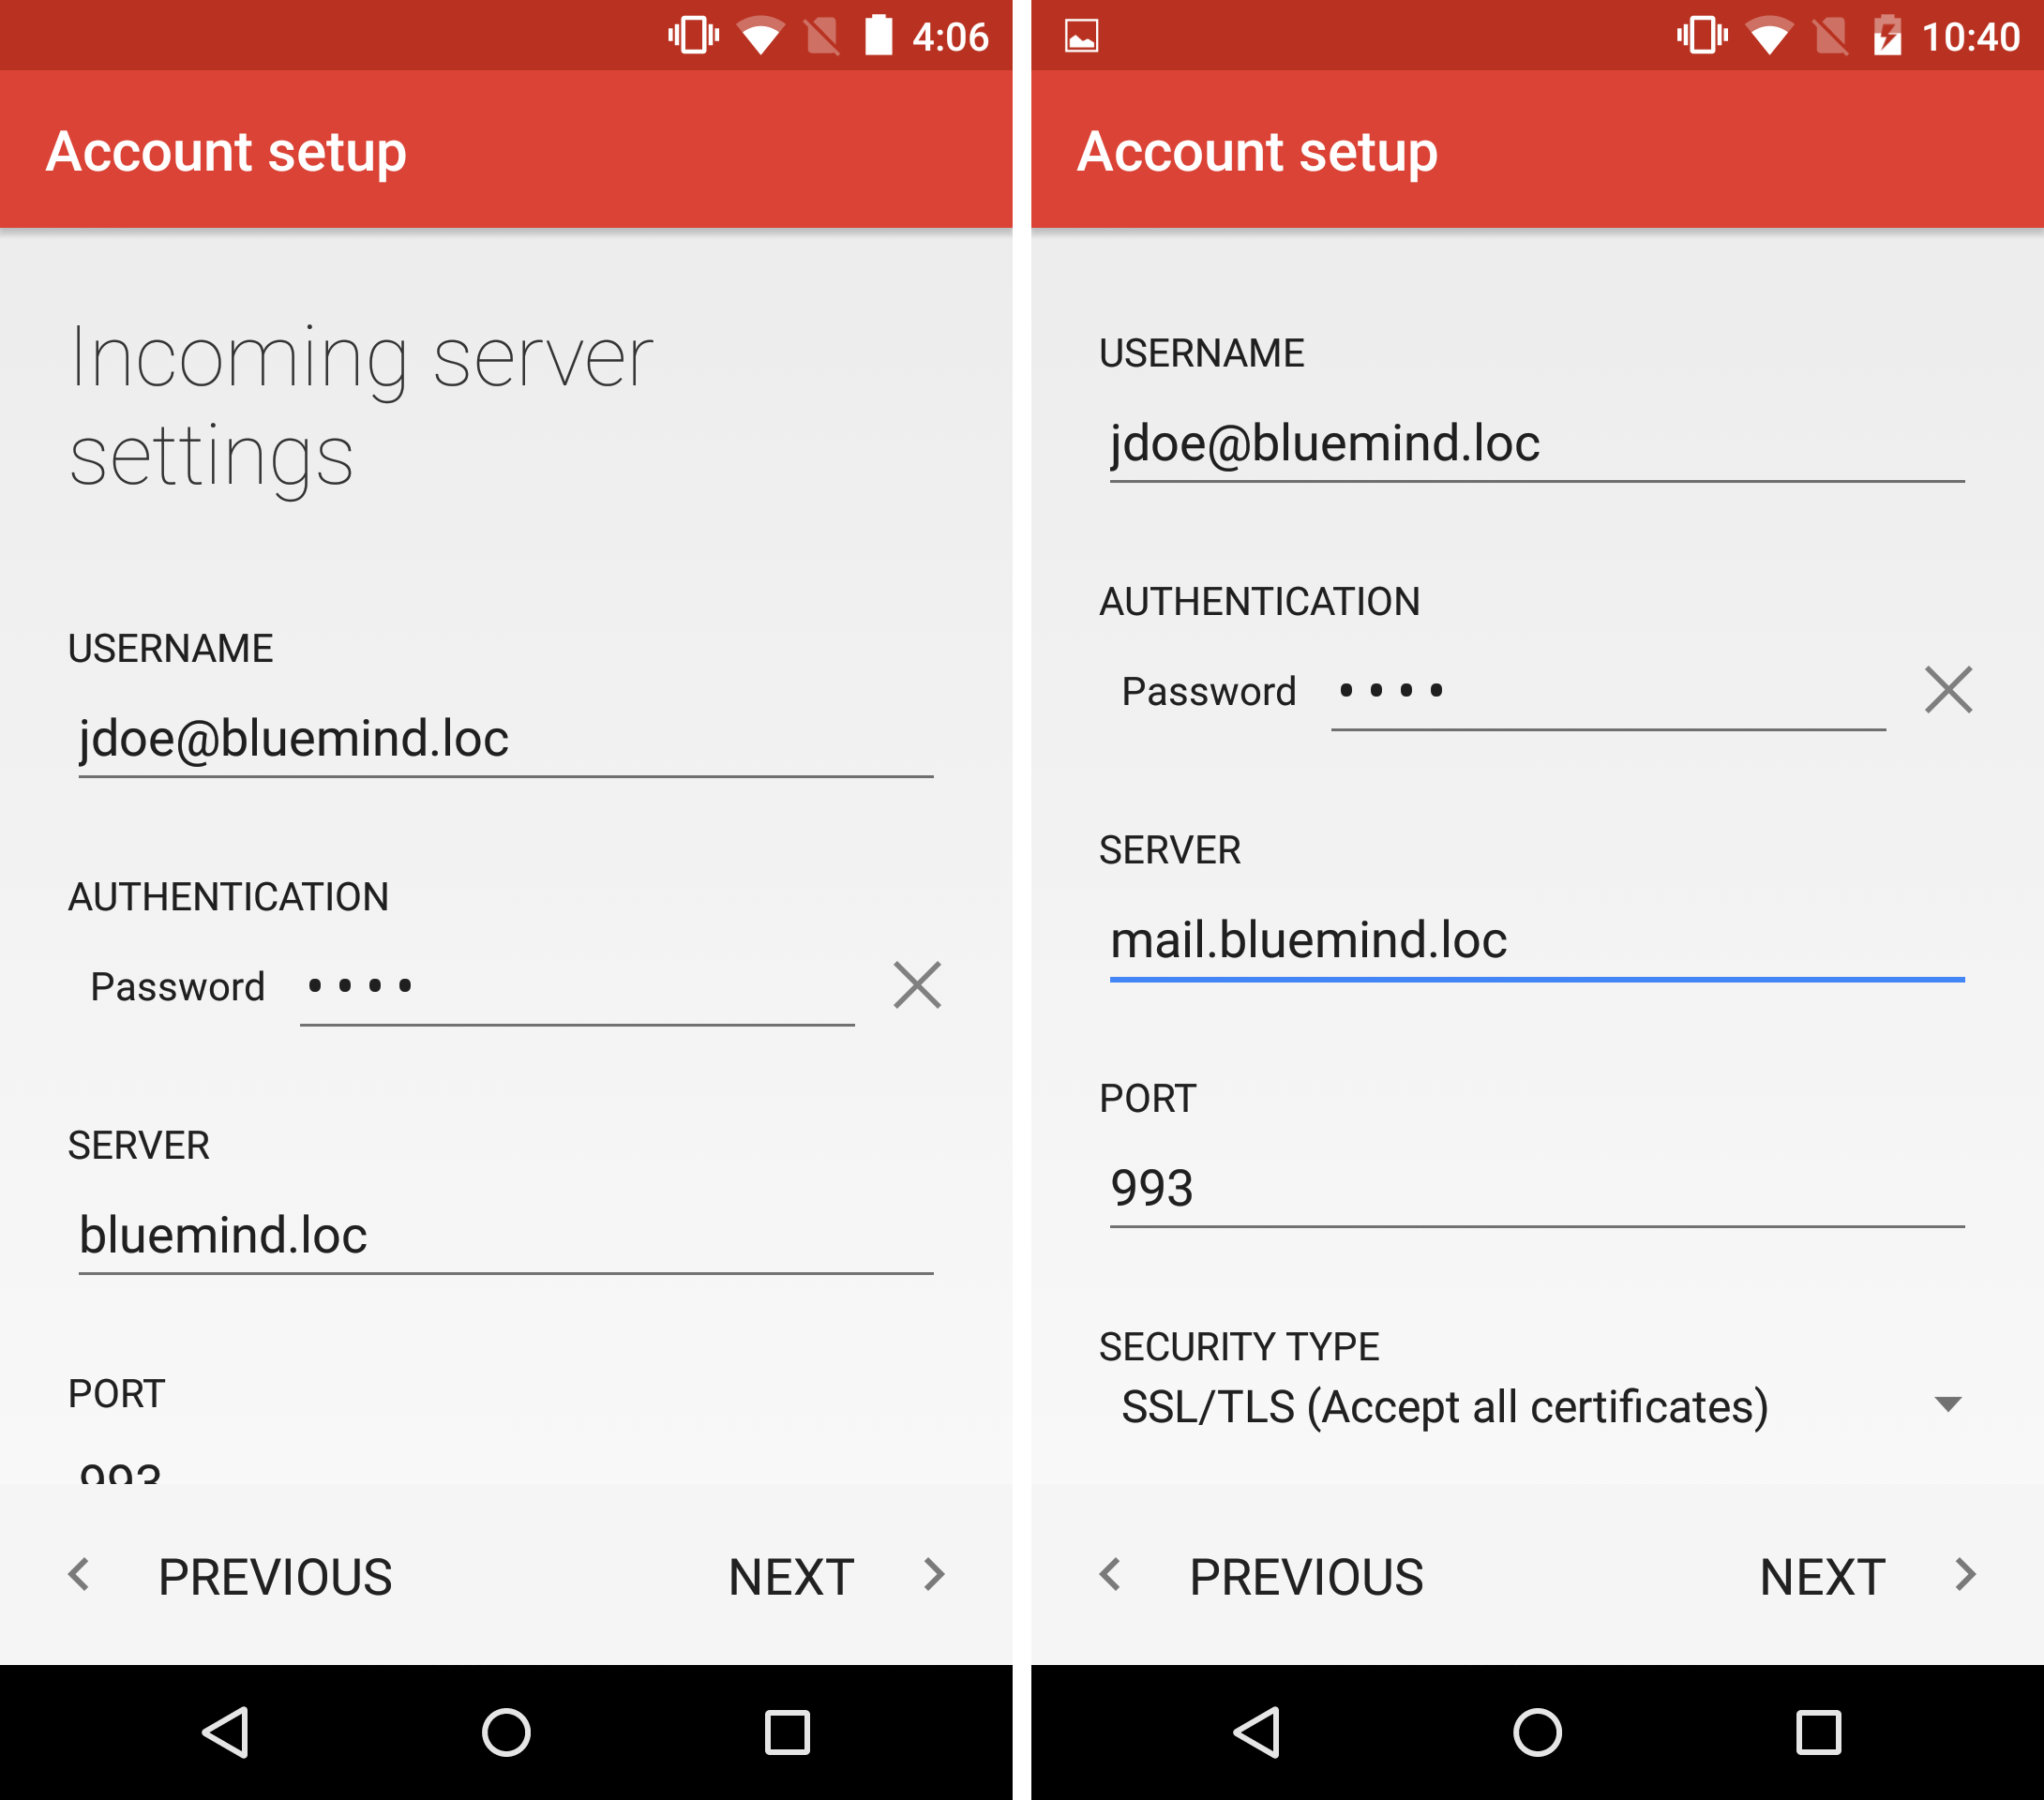
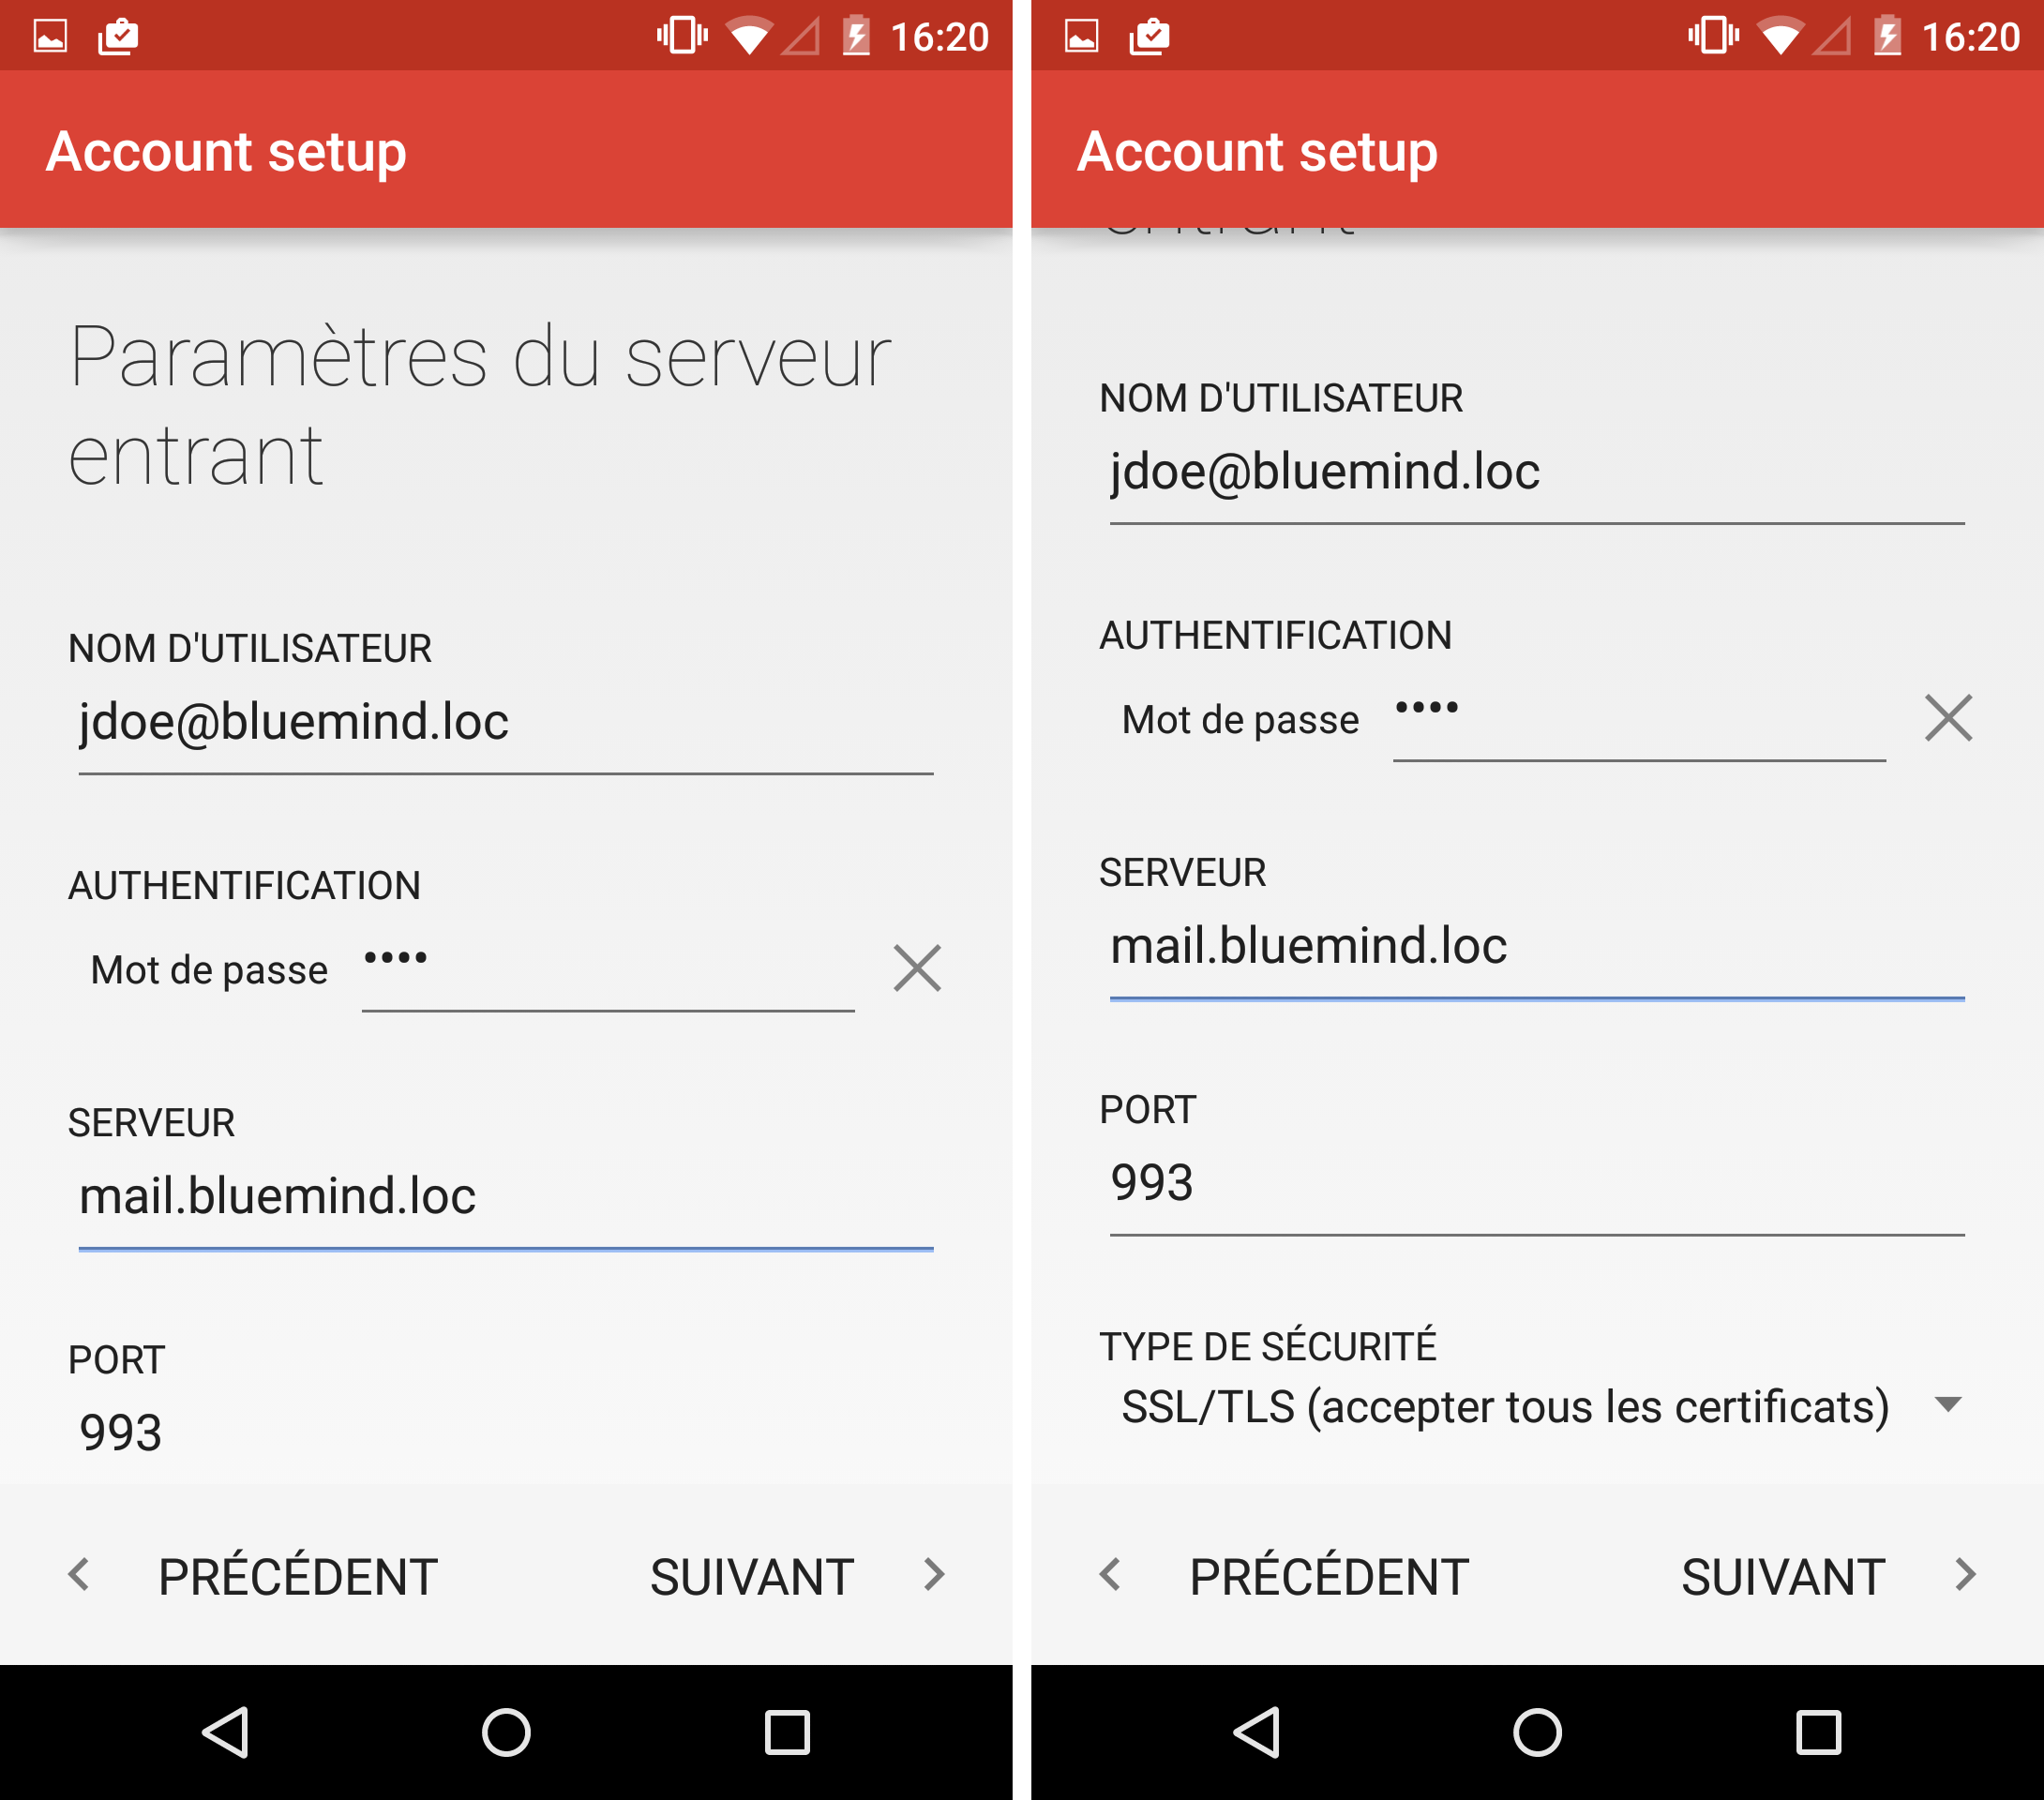
Enter the incoming server information (the server that allows you to receive/view messages):
Barring special cases:
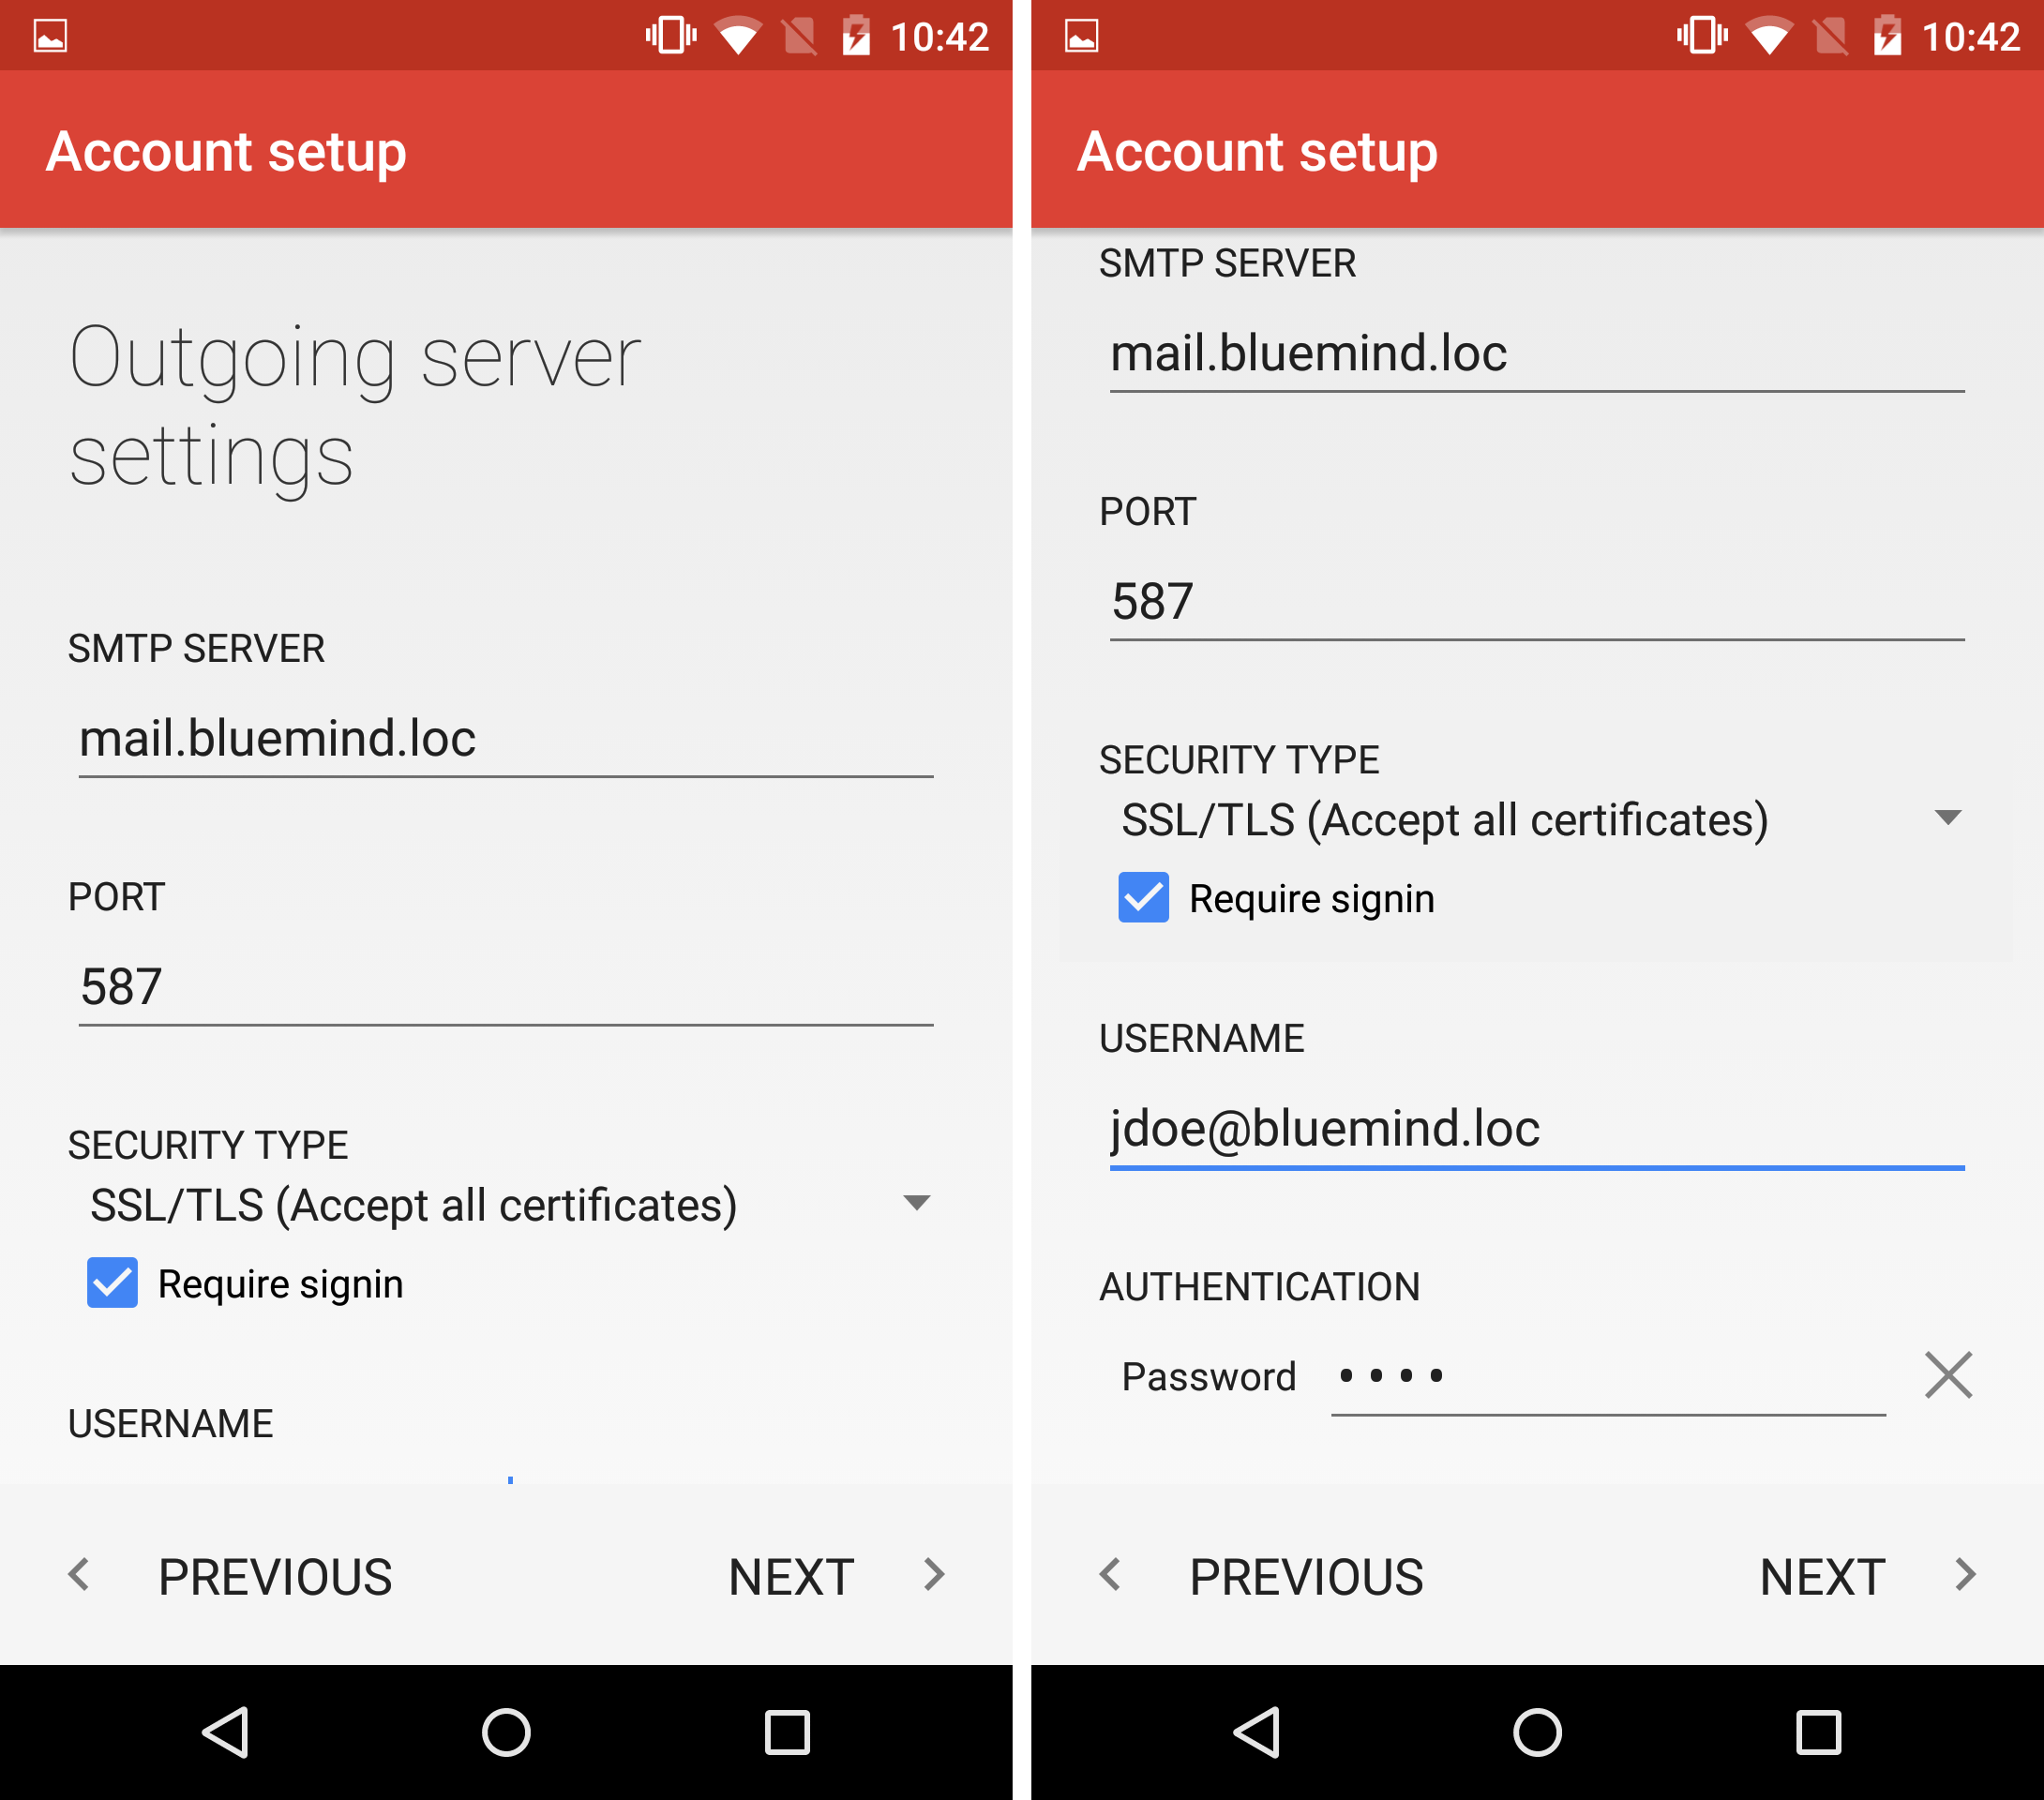
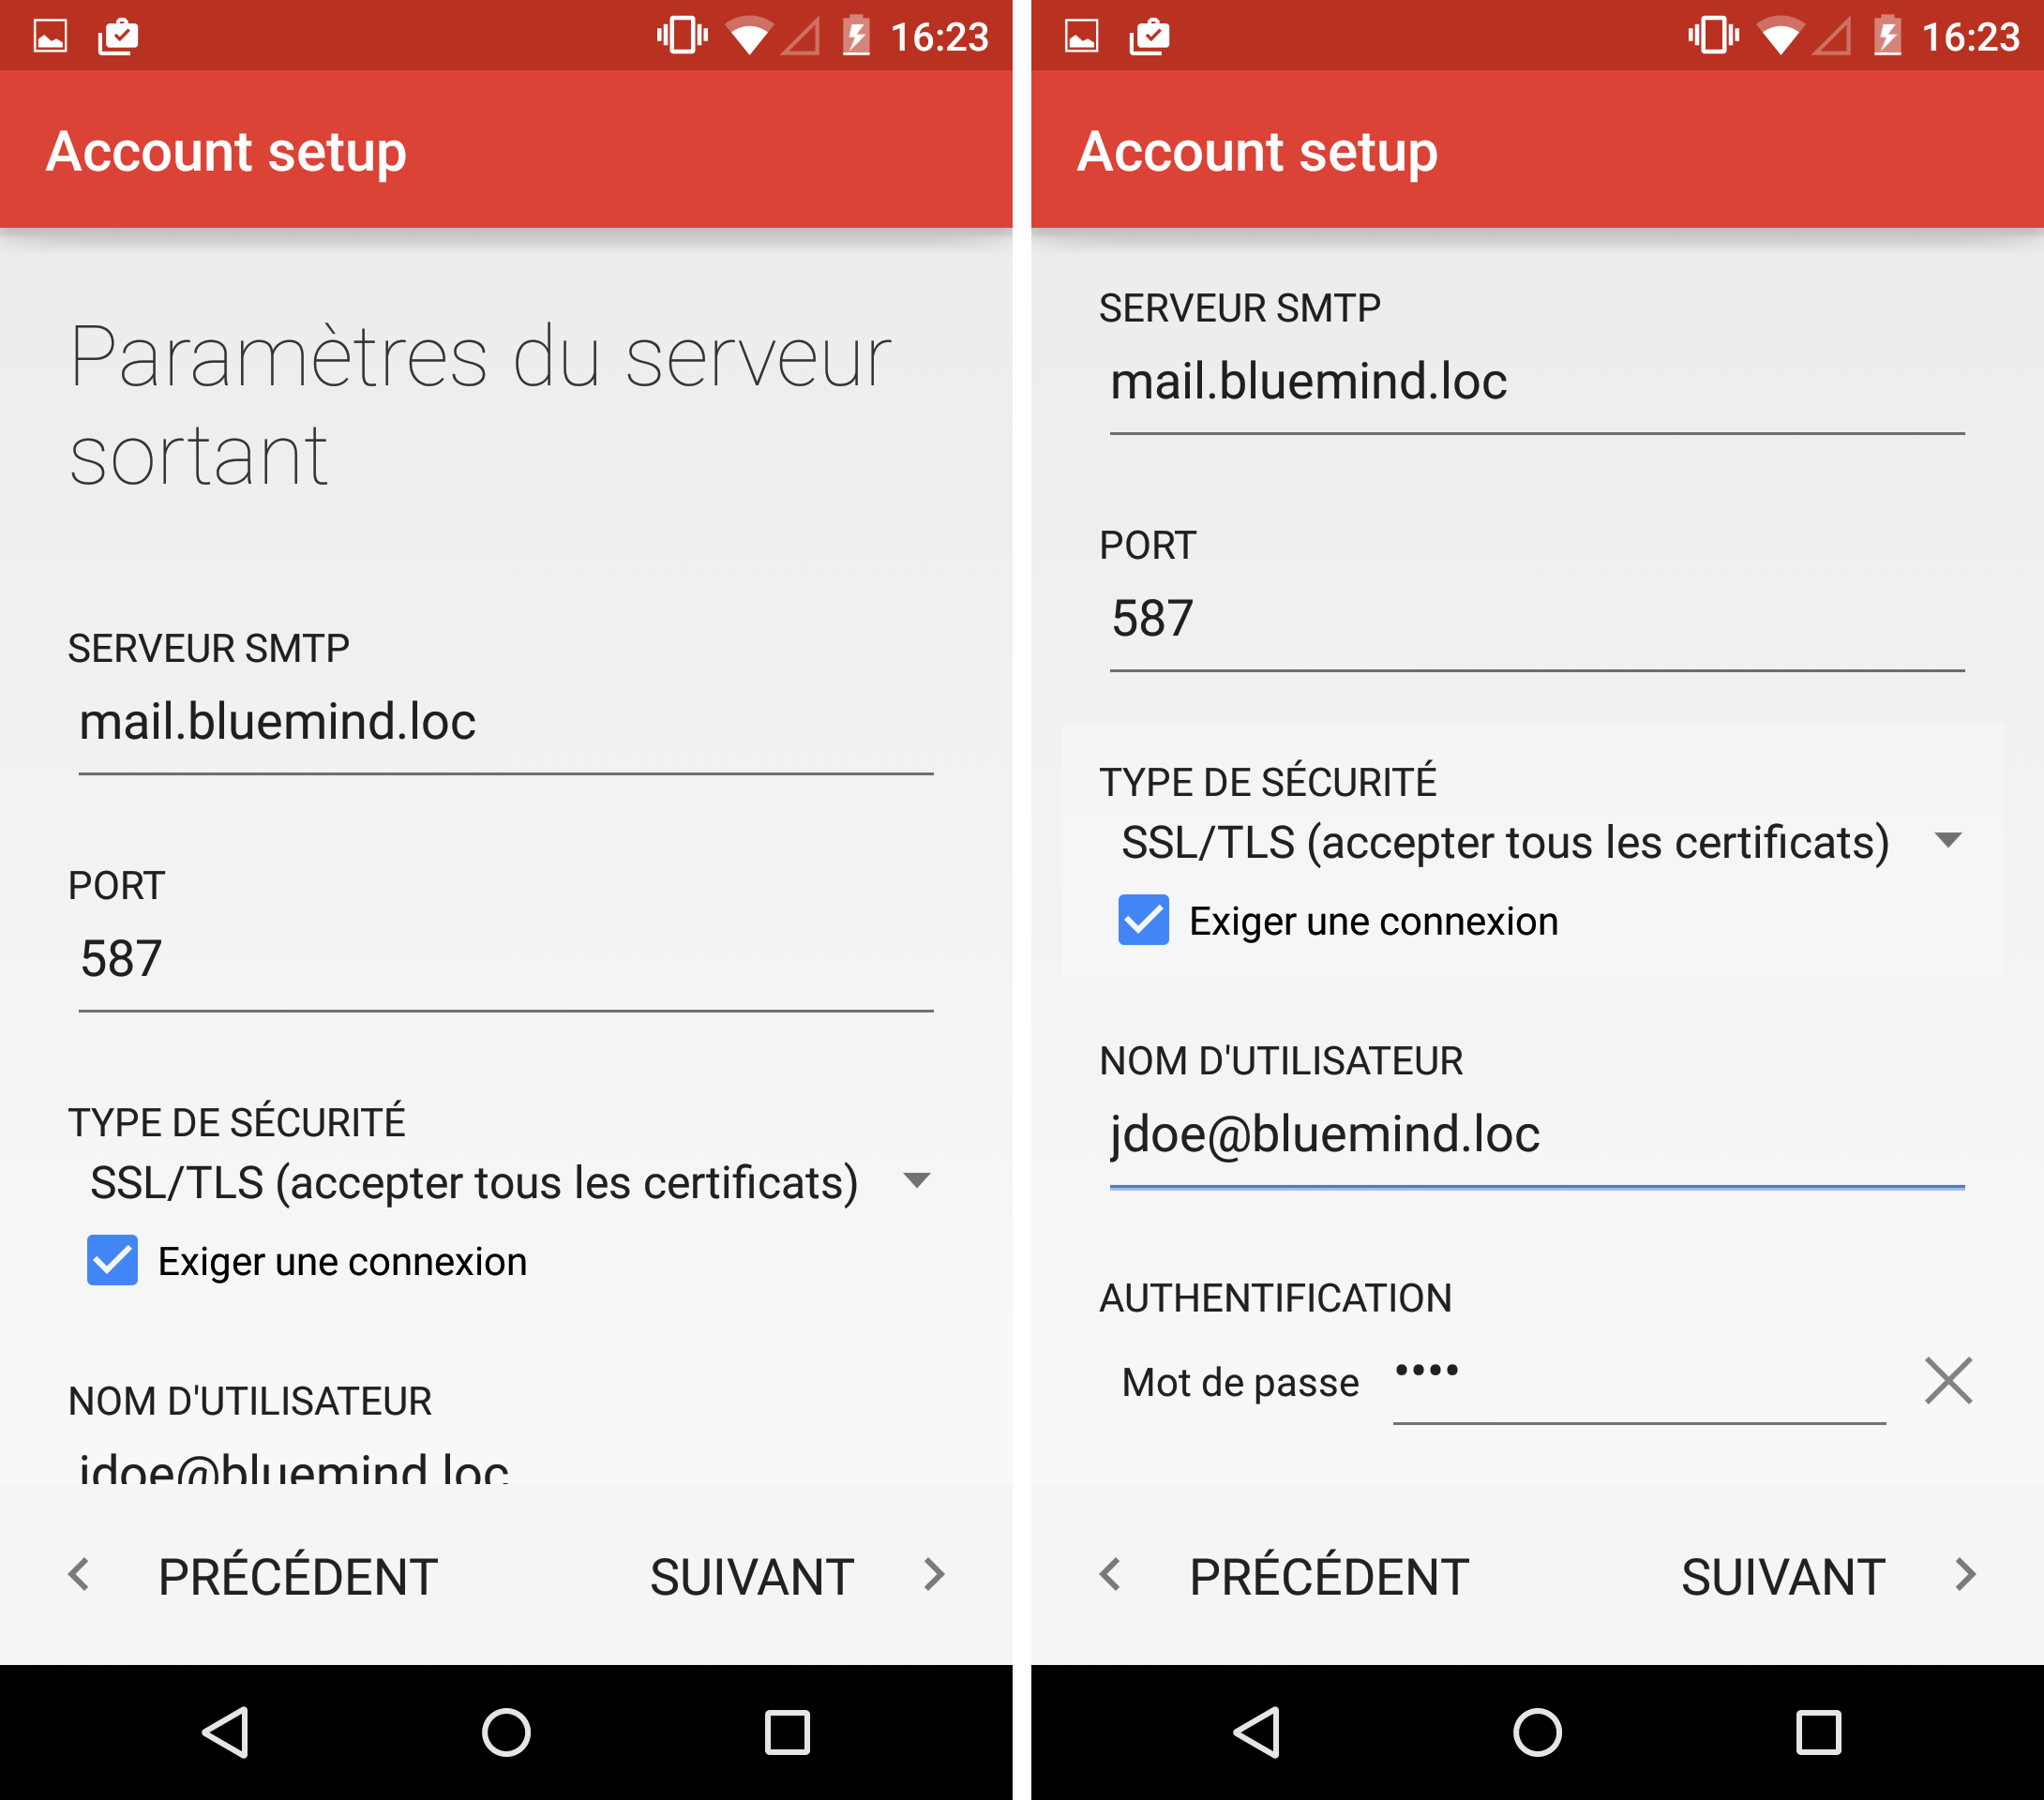
Enter the outgoing server information (the server that allows you to send messages):
Barring special cases, this information, including server address, is the same as for the incoming server.
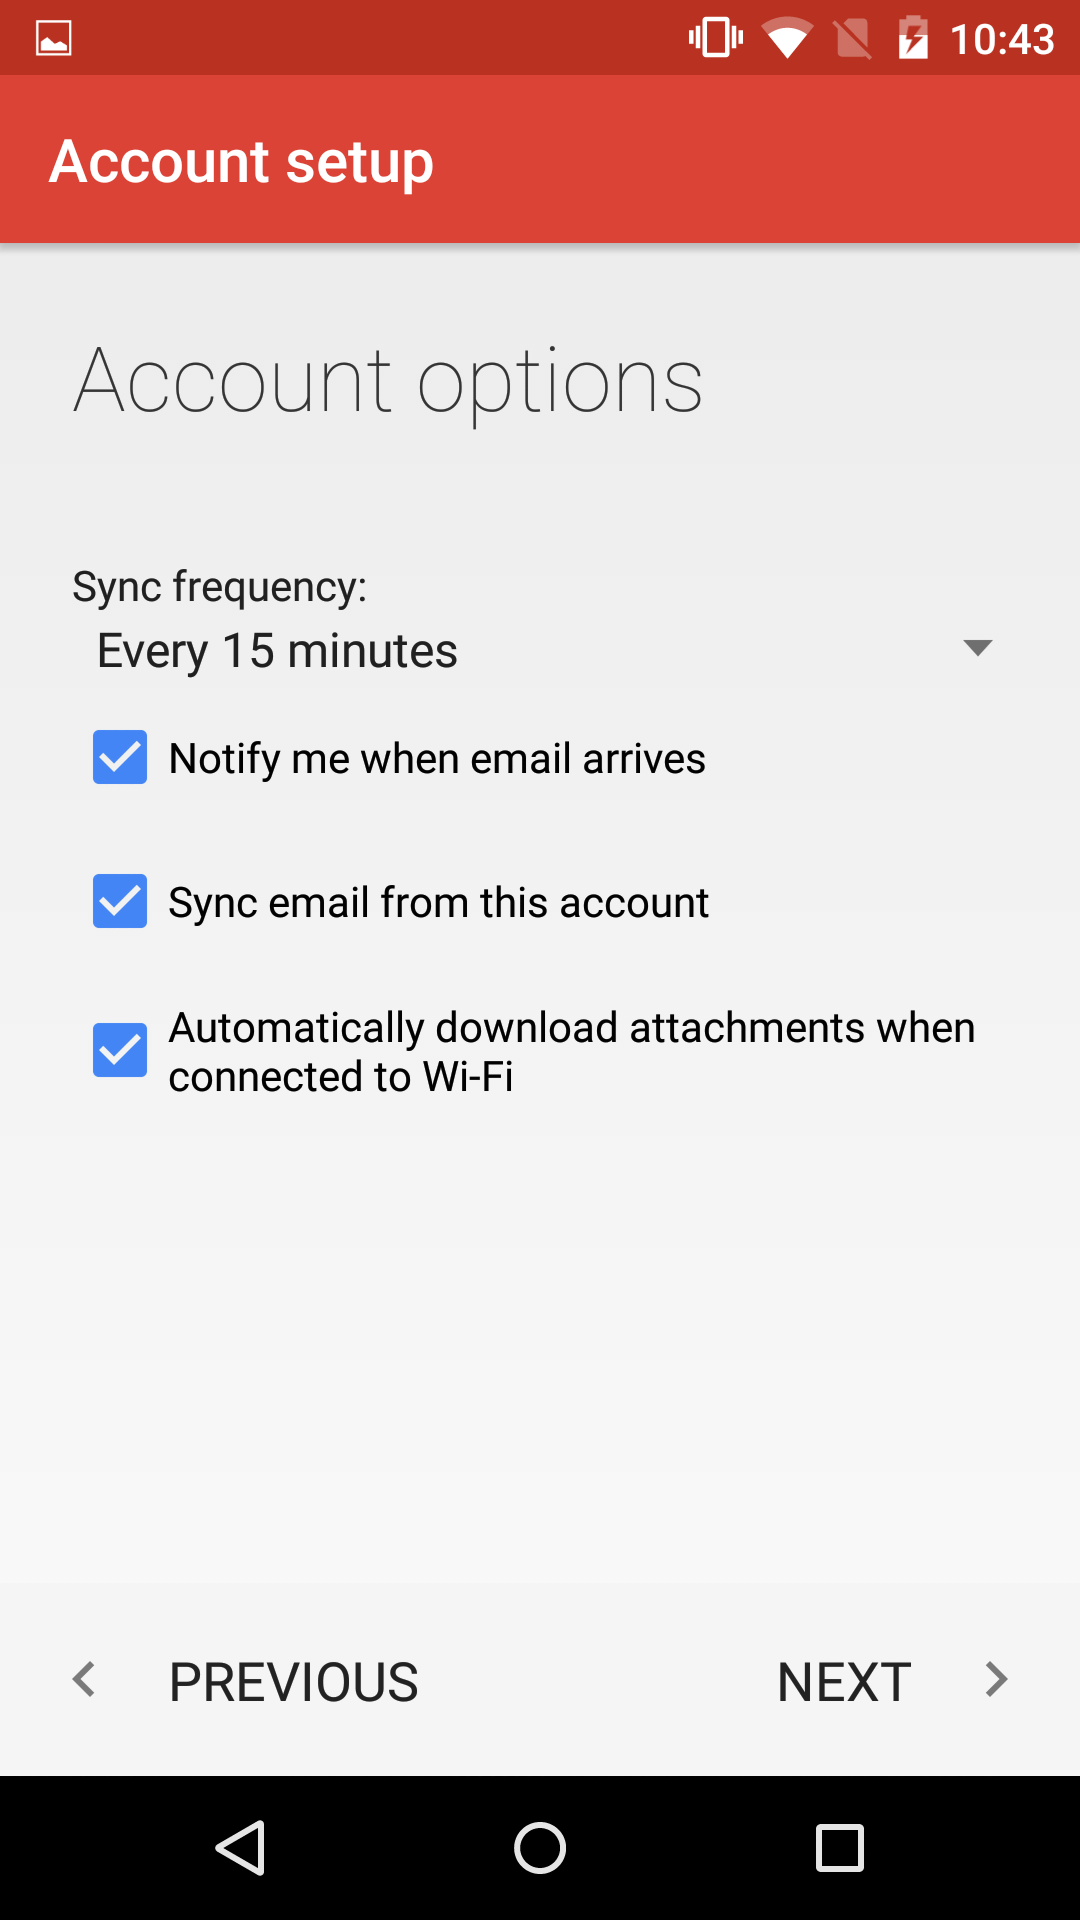
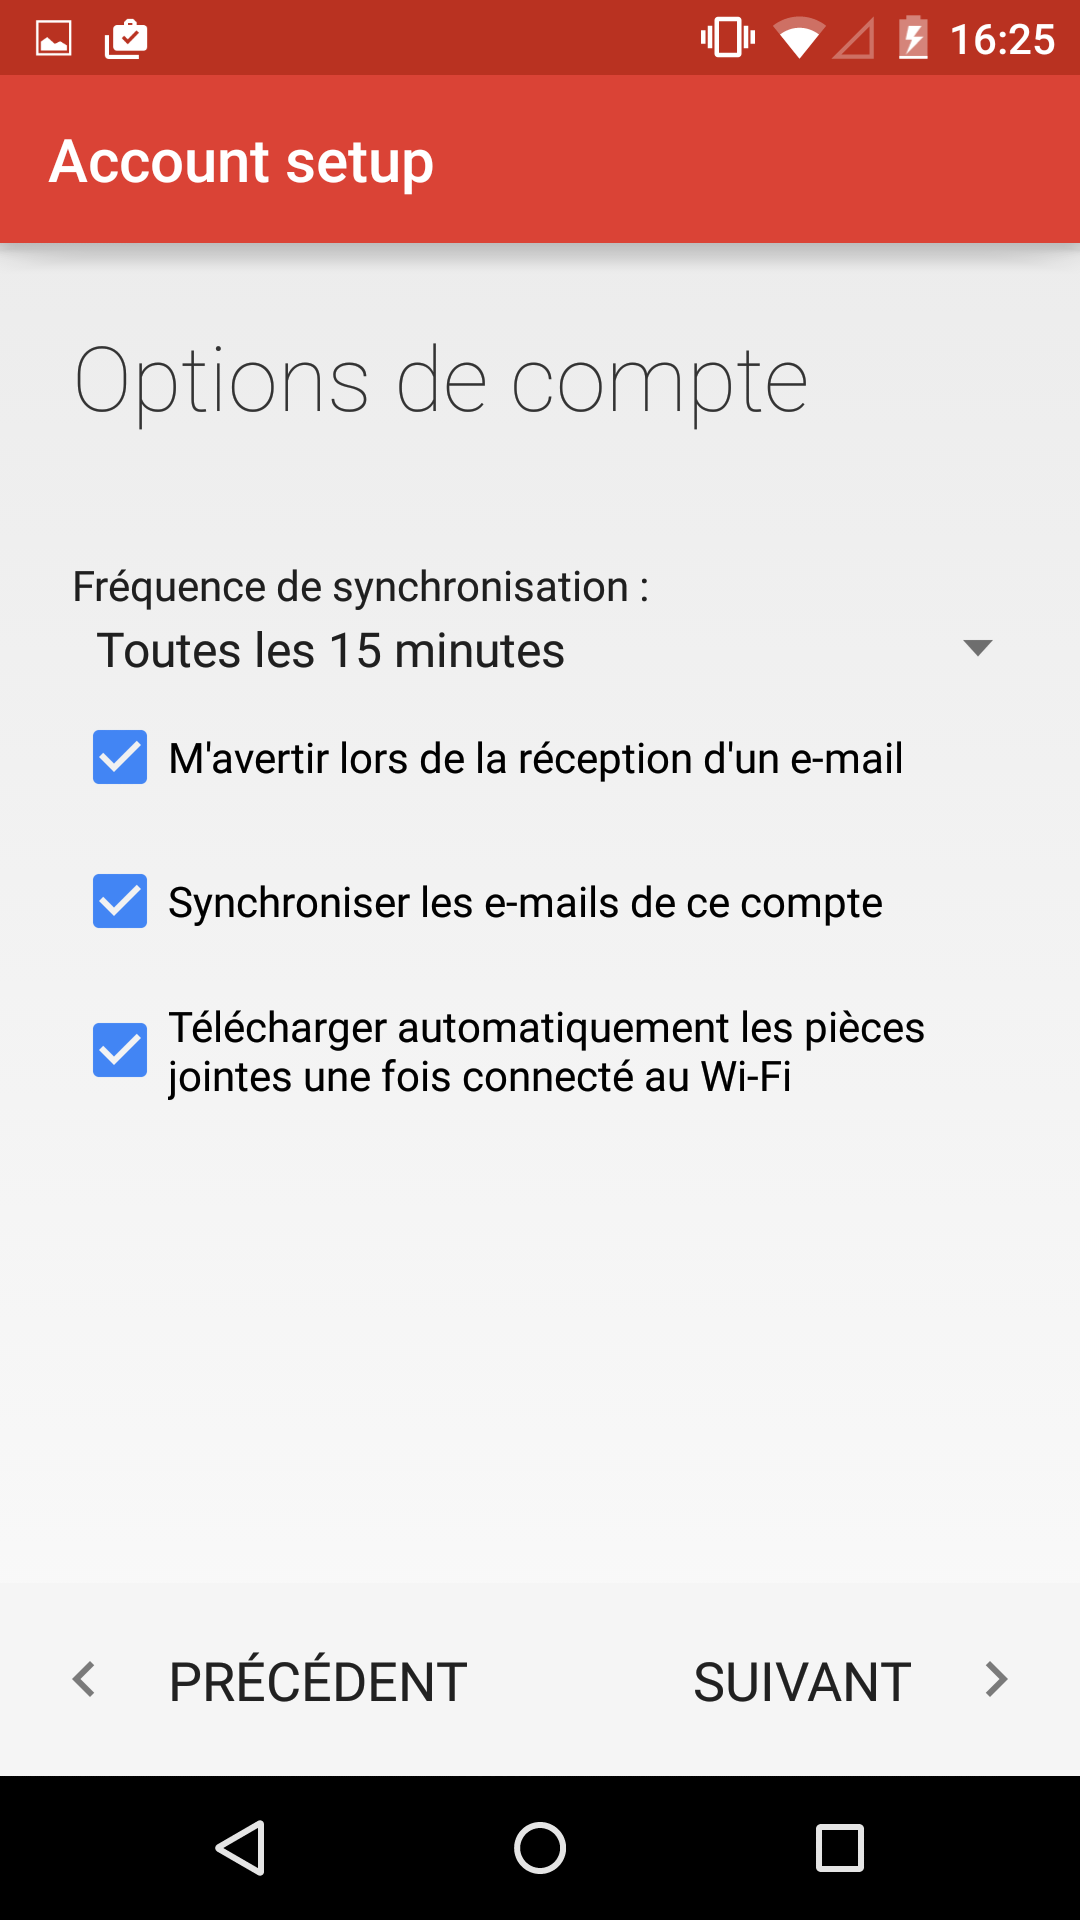
Once the connection has been duly tested and established, the application offers you to configure the account's main options:
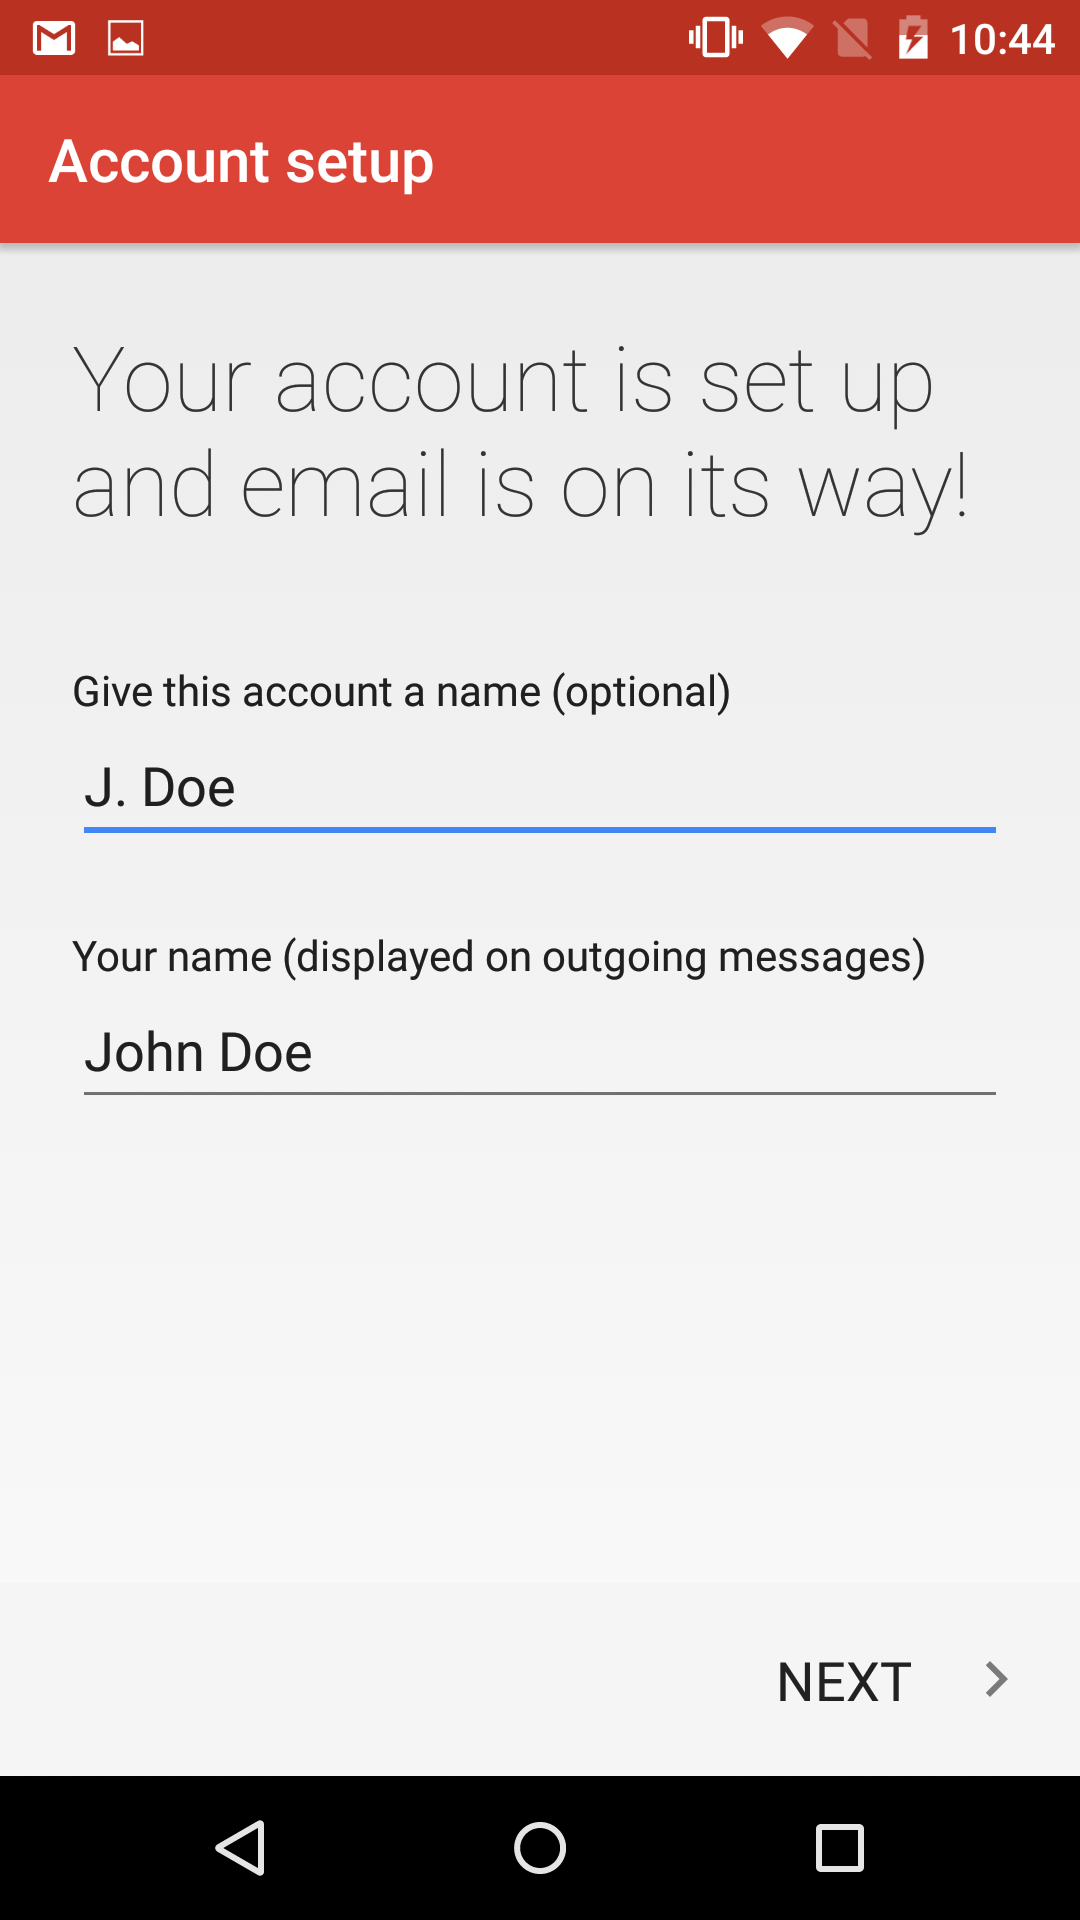
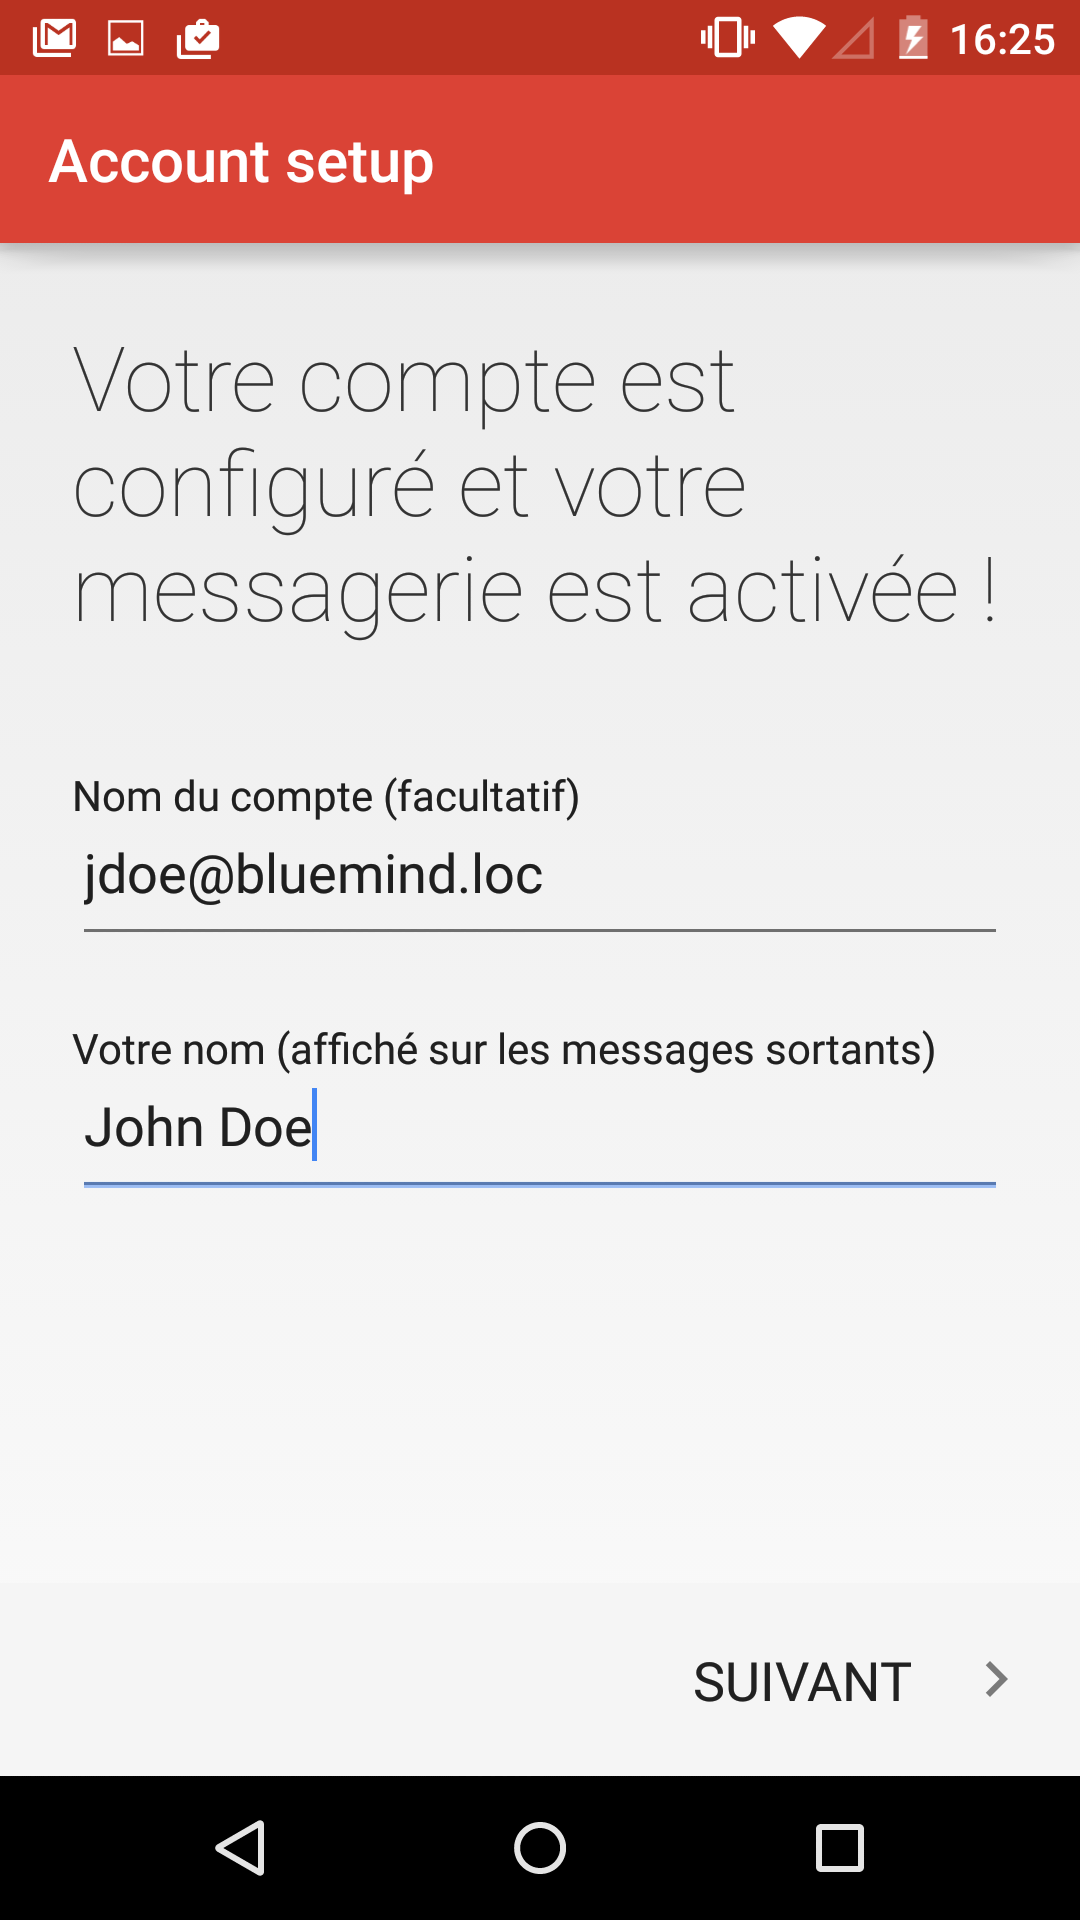
Check the options you want and tap "Next". Enter the account's name and the name that will be shown as the account's user in sent messages:
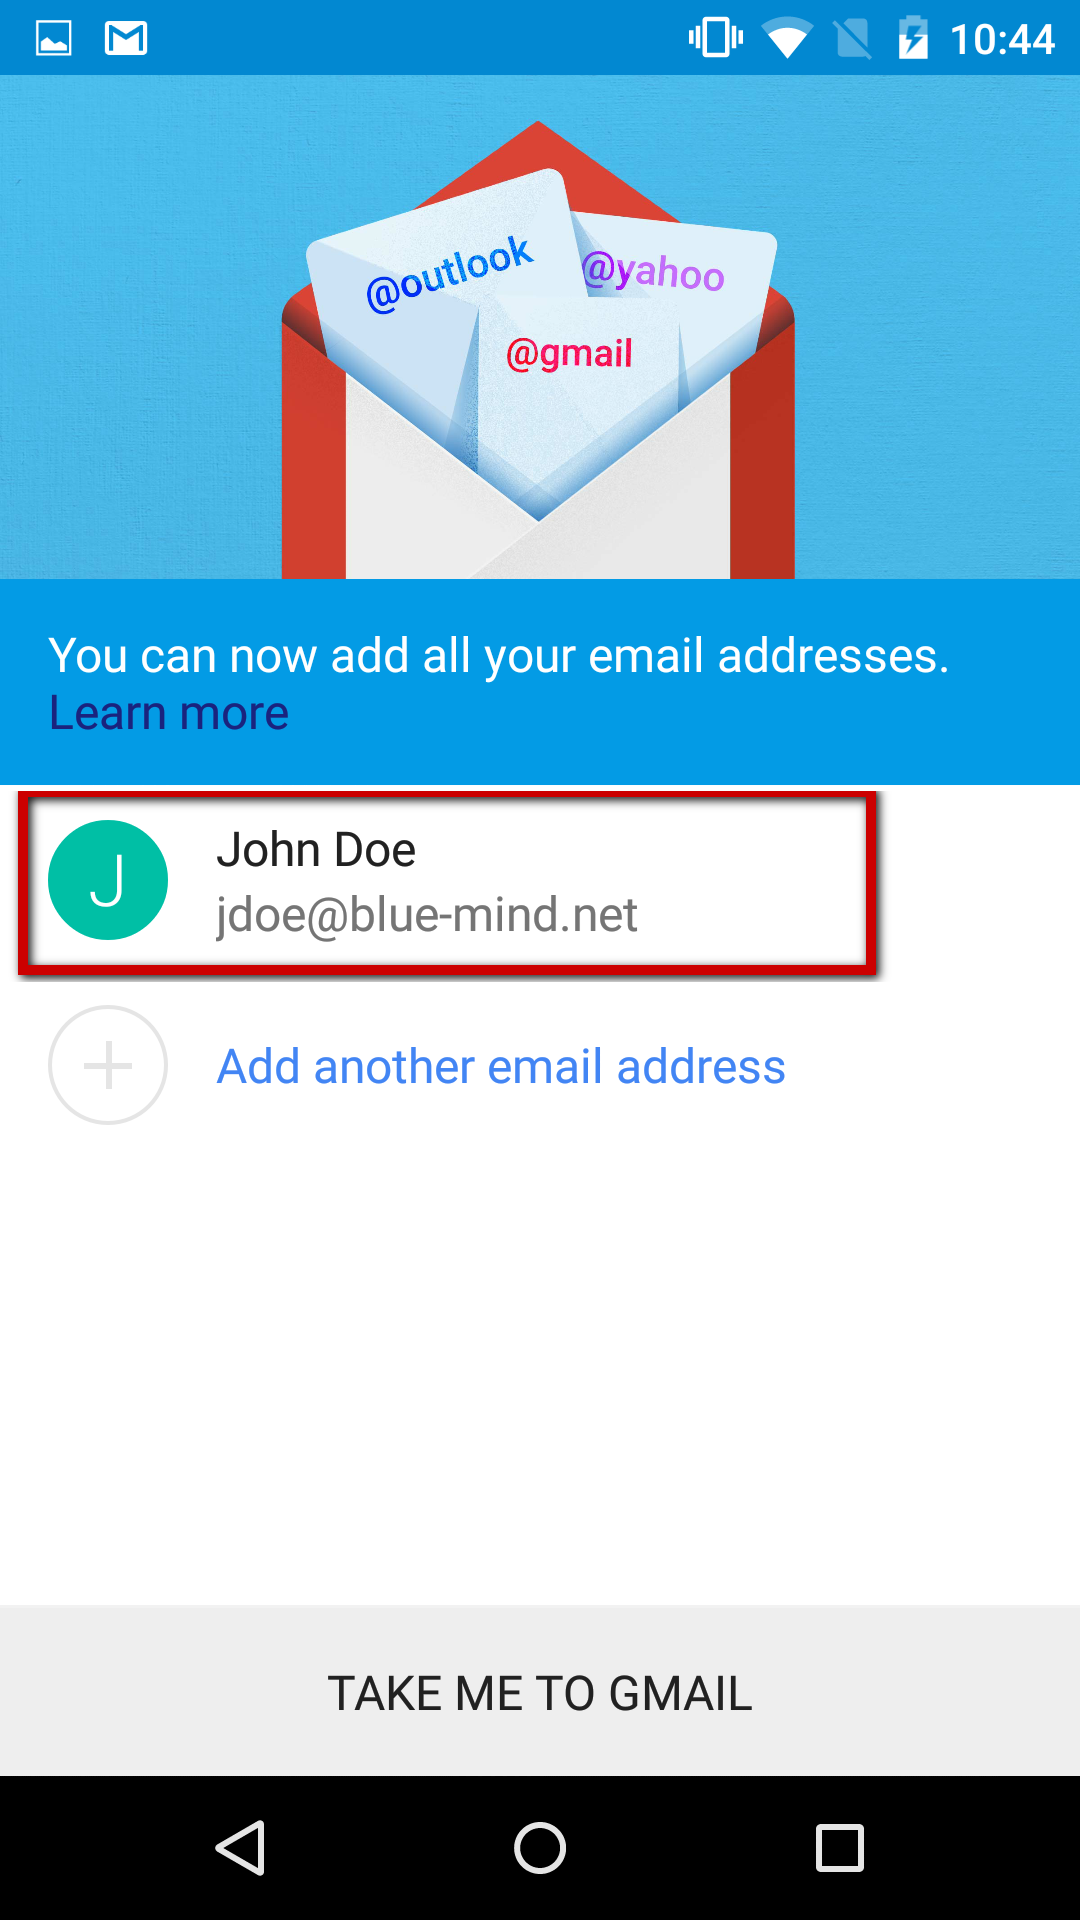
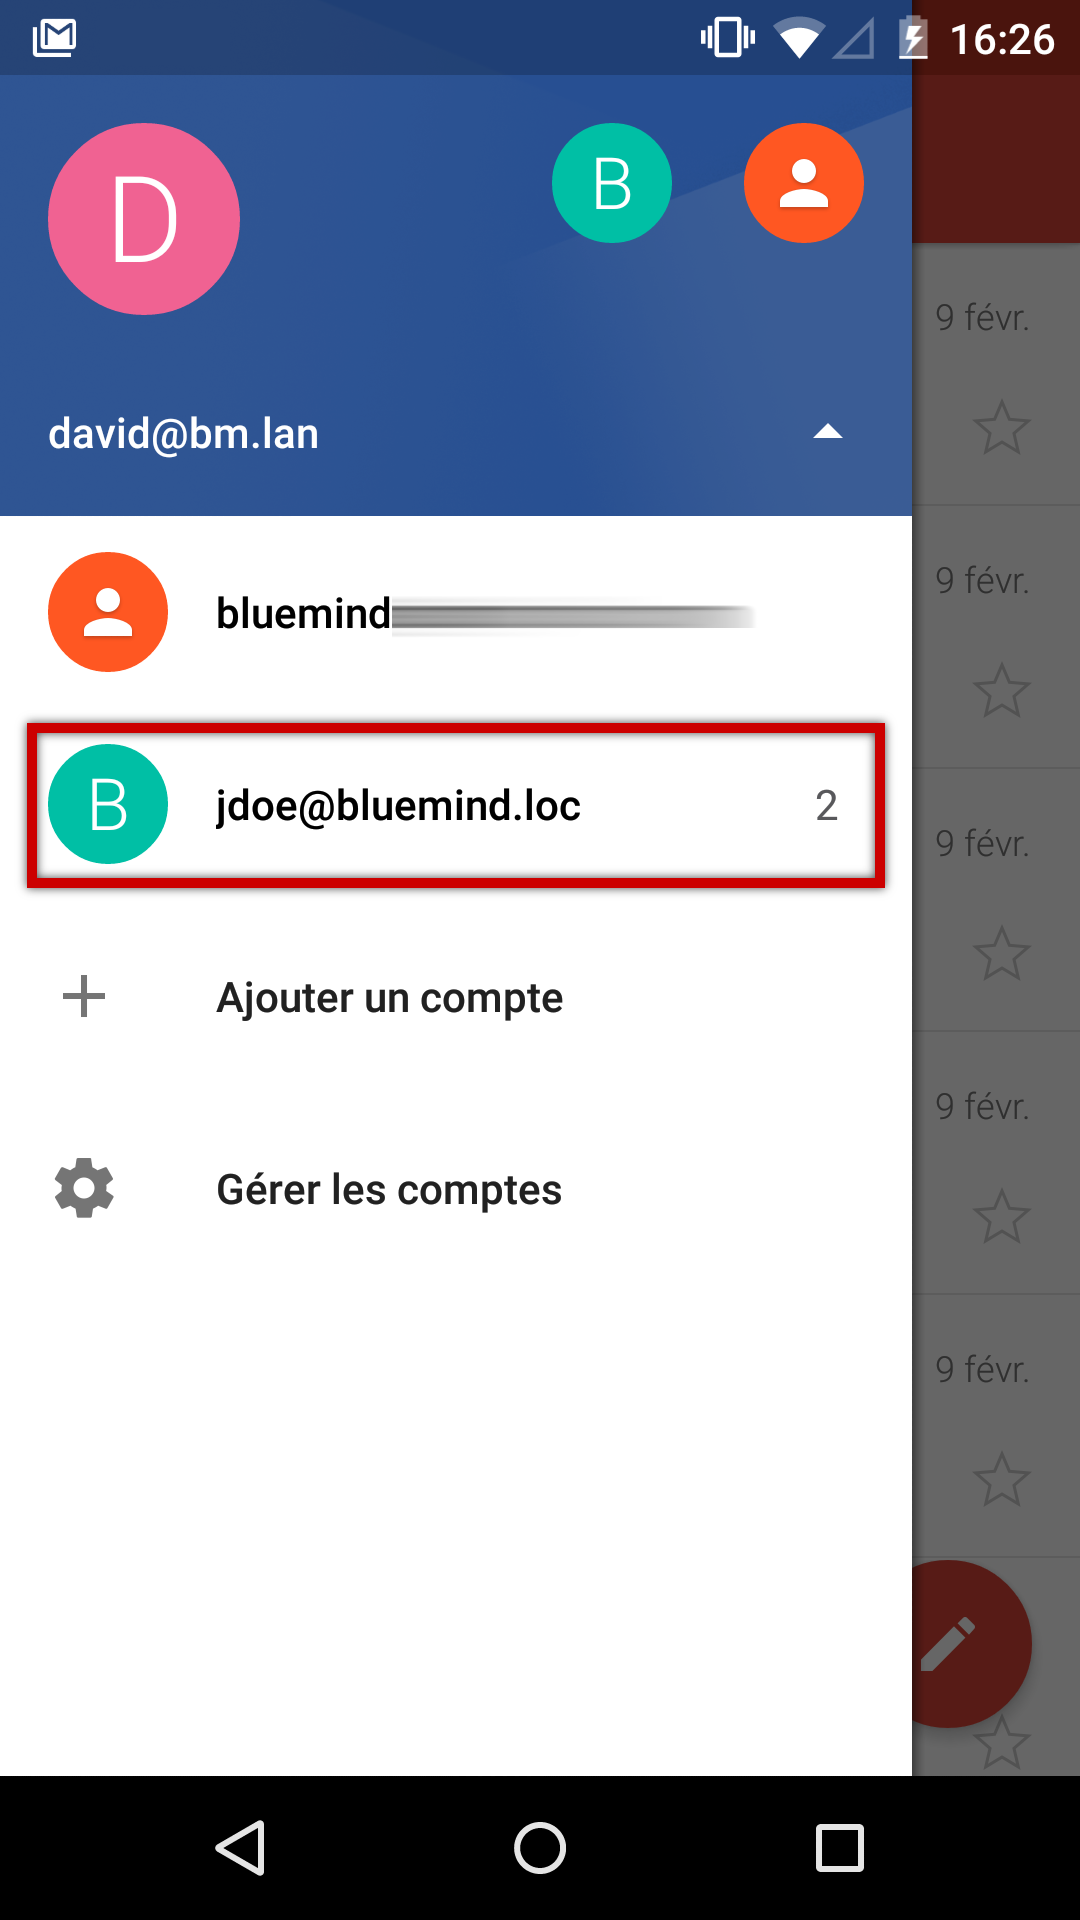
The mail account is then shown in the application's list of accounts:
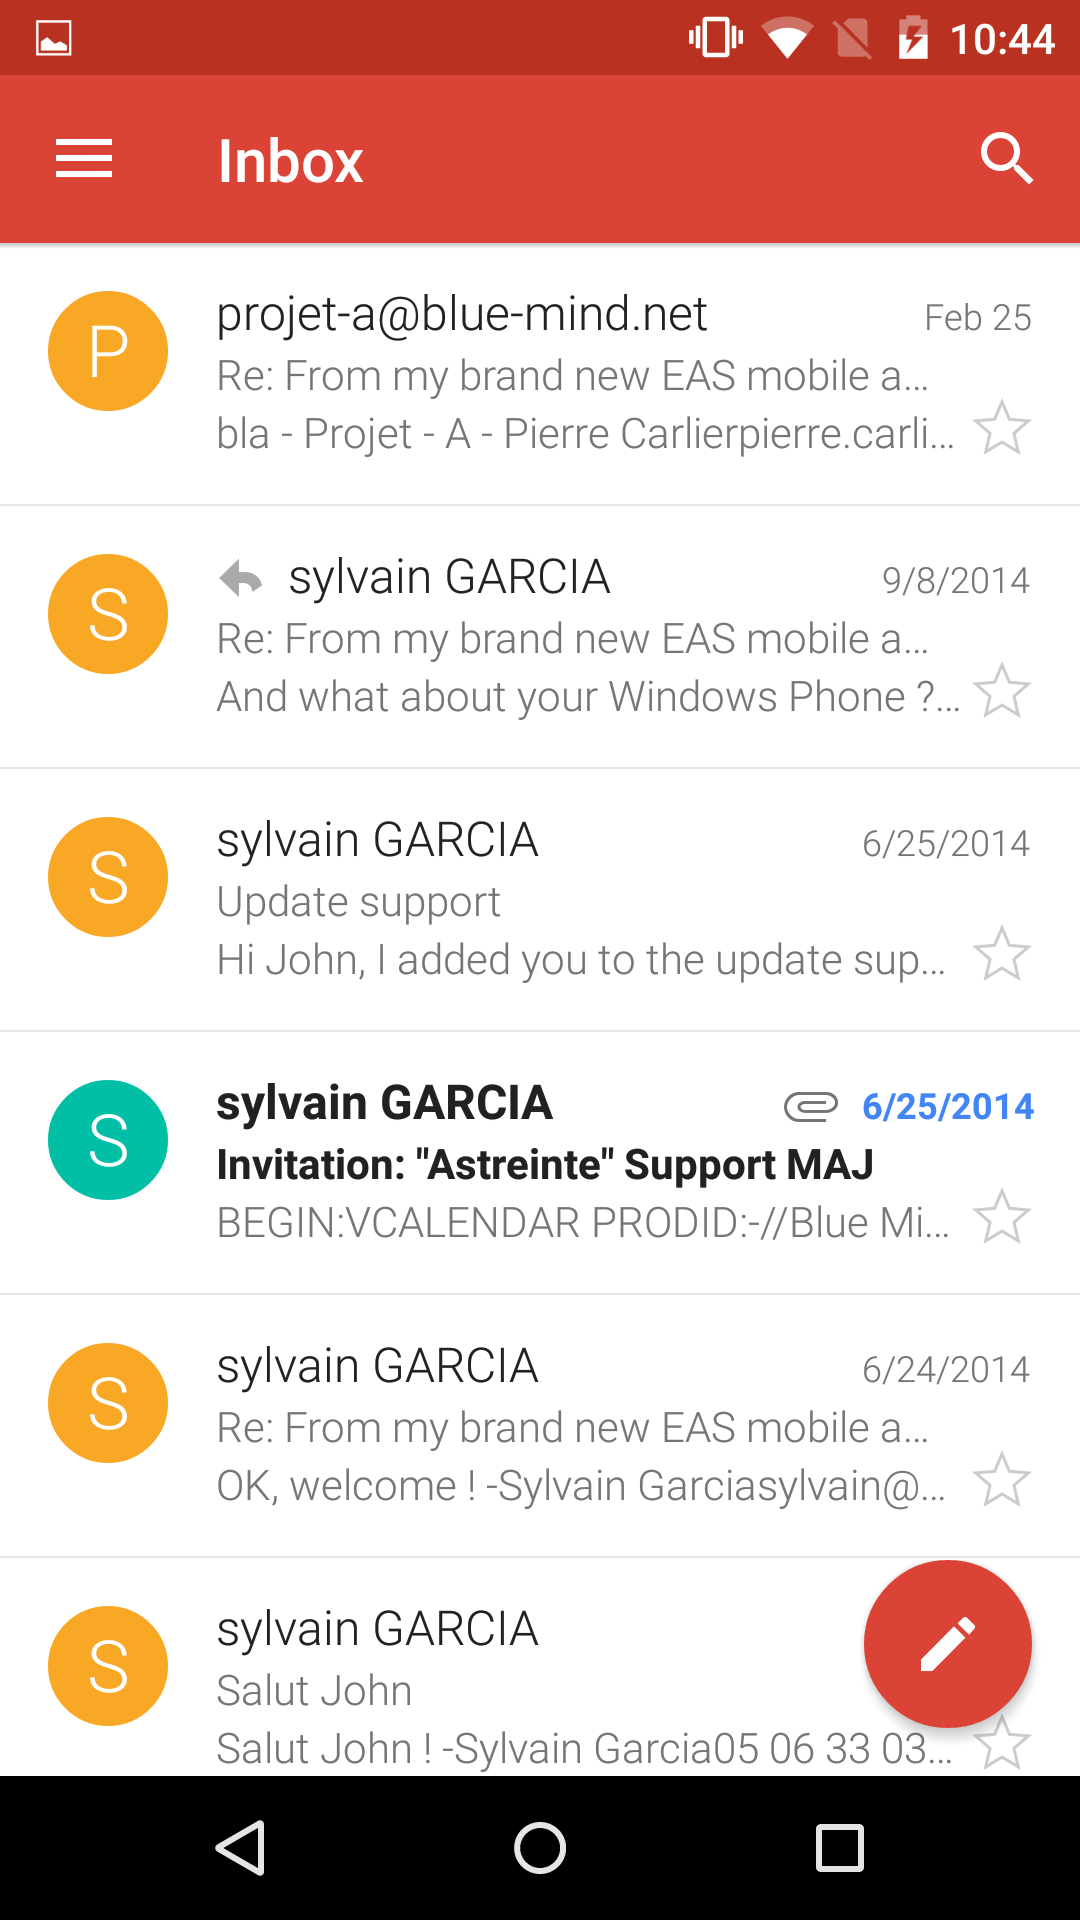
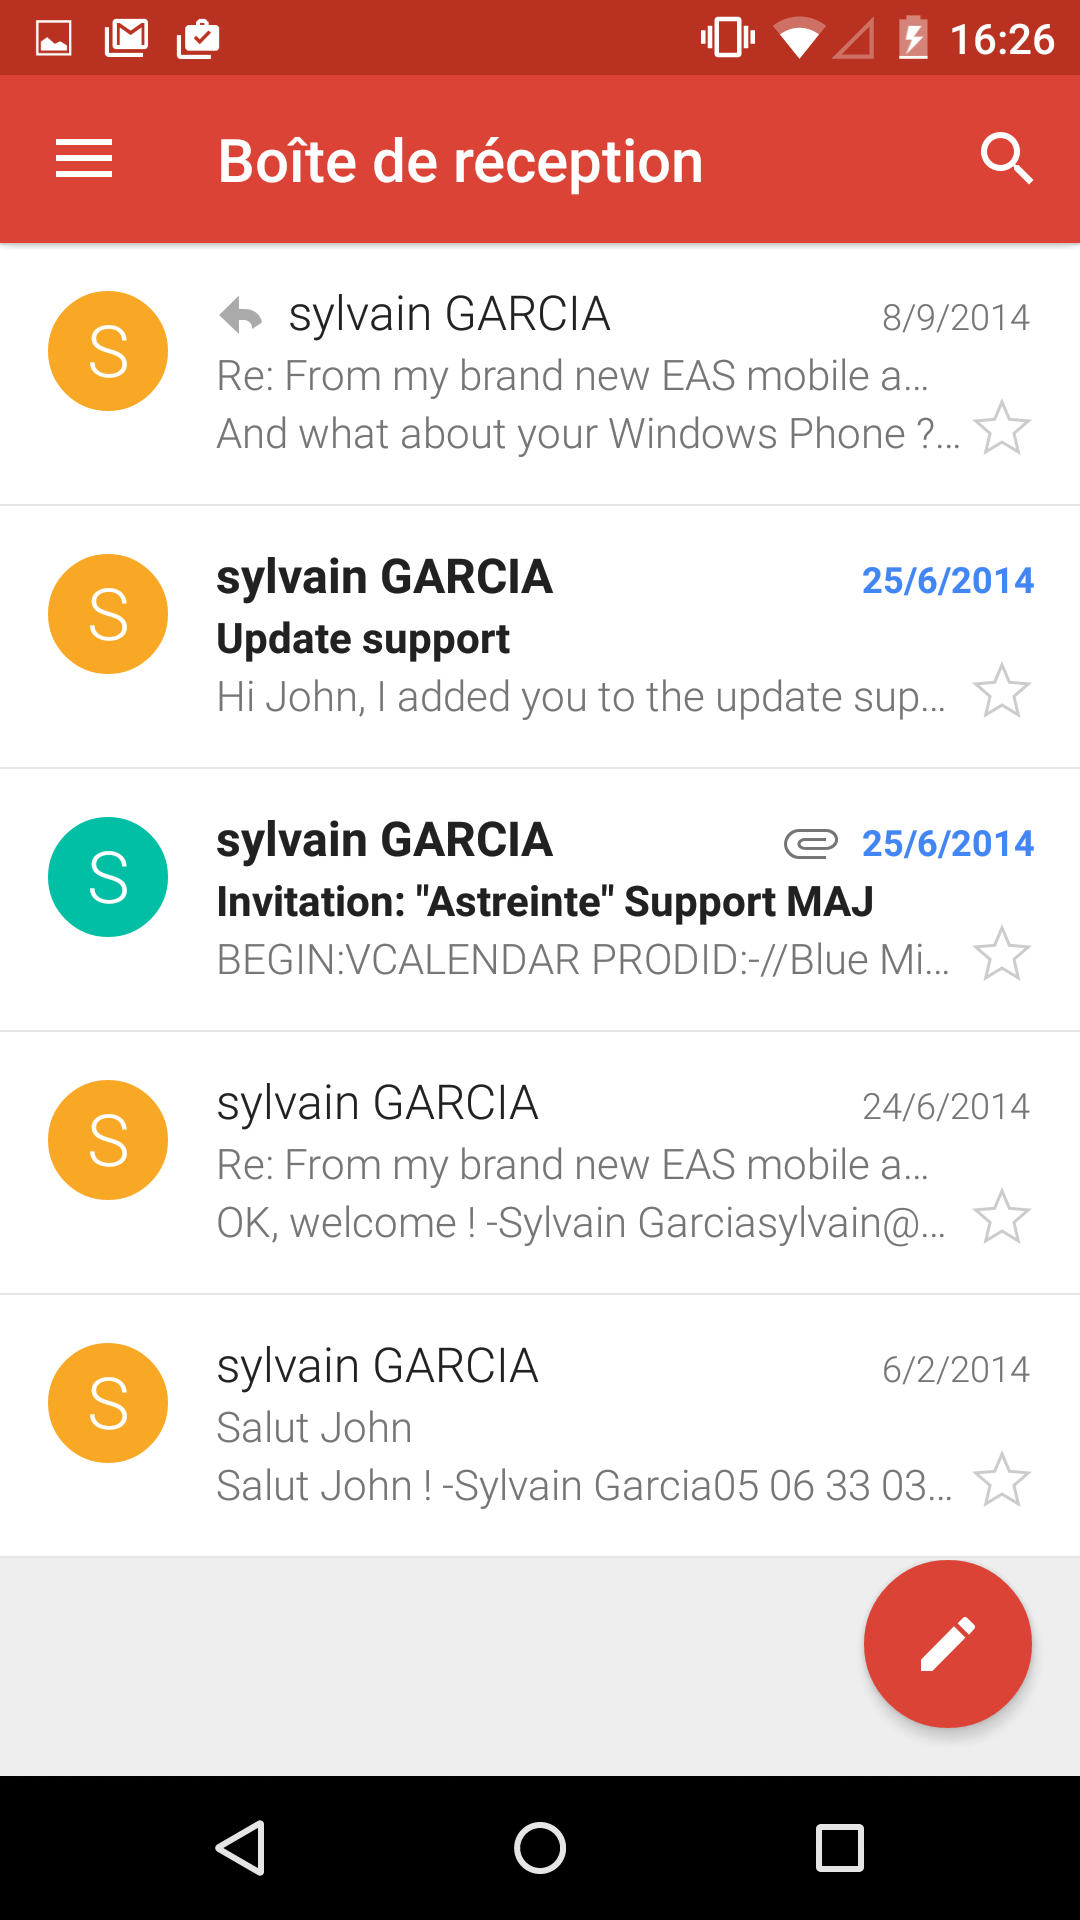
Messages are retrieved and displayed:
|


| Sv translation | |||||||
|---|---|---|---|---|---|---|---|
| |||||||
Konfiguration des neuen E-Mail-KontosÖffnen Sie die Gmail-Anwendung:
Hinweis: Die E-Mail-Anwendung ist weiterhin vorhanden, aber eine Warnmeldung leitet auf die Gmail-Anwendung um, wenn sie geöffnet wird Öffnen Sie das Menü:
Wählen Sie „Hinzufügen eines Kontos“:
Wählen Sie einen persönlichen Kontotyp:
Geben Sie die E-Mail-Adresse ein:
Wählen Sie die Konfiguration eines IMAP-Kontos:
Geben Sie das Passwort des Benutzers ein:
Geben Sie die Informationen des Eingangsservers ein (Server, der die Nachrichten empfangen/abfragen darf):
Außer in Sonderfällen:
Die Informationen des Postausgangsservers (Server, der das Senden von Nachrichten erlaubt) eingeben:
Außer in Sonderfällen sind die Informationen und insbesondere die Serveradresse die gleichen wie beim Eingangsserver.
Nachdem die Verbindung ordnungsgemäß getestet und hergestellt wurde, bietet die Anwendung an, die wichtigsten Optionen des Kontos zu konfigurieren:
Markieren Sie die gewünschten Optionen und klicken Sie auf „Weiter“. Geben Sie den Kontonamen und den Namen ein, der in gesendeten Nachrichten als Benutzername erscheinen soll:
Das E-Mail-Konto erscheint dann in der Kontoliste der Anwendung:
Die E-Mails werden abgerufen und angezeigt:
|

Vue d'ensemble
Gestion des contenus
Apps