
Historique de la page
| Sv translation | ||||||||||||||||||||
|---|---|---|---|---|---|---|---|---|---|---|---|---|---|---|---|---|---|---|---|---|
| ||||||||||||||||||||
Configuration de Xivo
Installation du plugin Xivo pour BlueMindPrérequisLe service XUC doit être installé côté Avencall et joignable sur le port 8090. Créer le fichier
Procédure
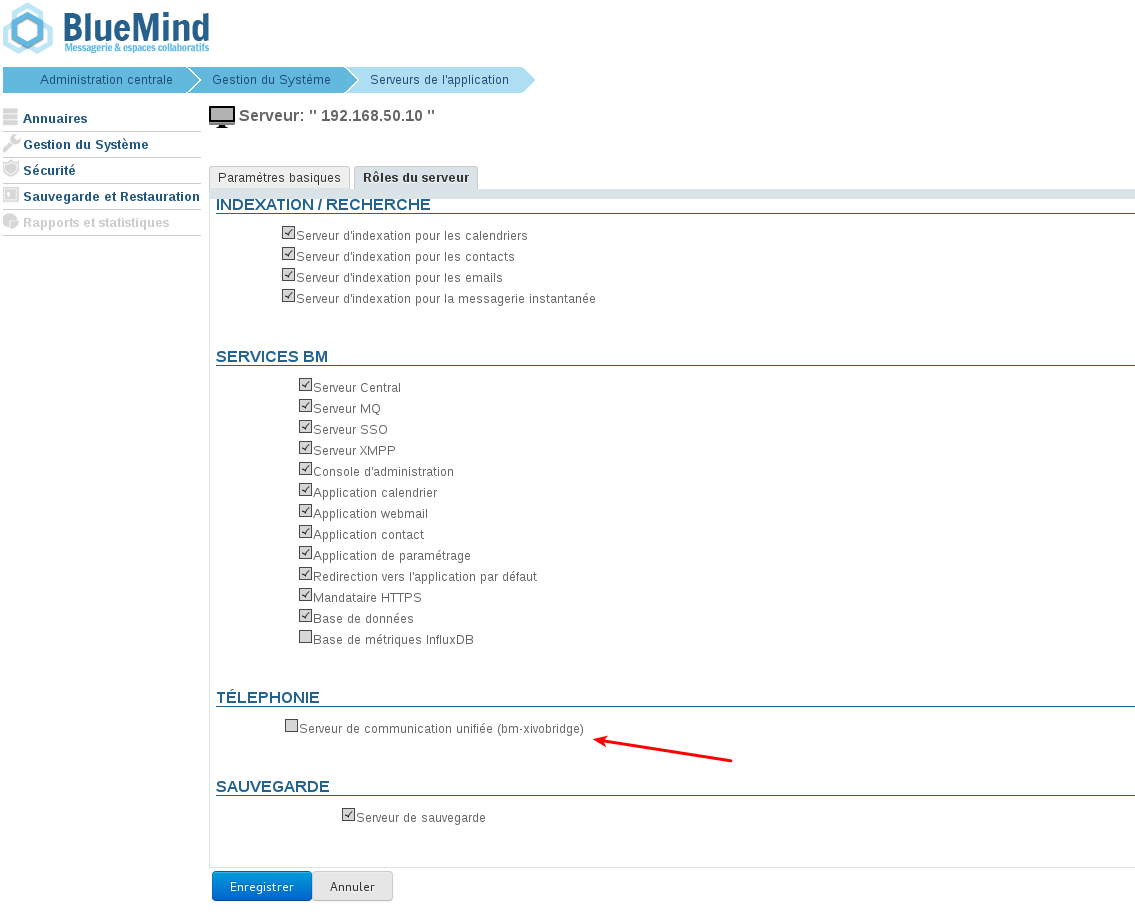
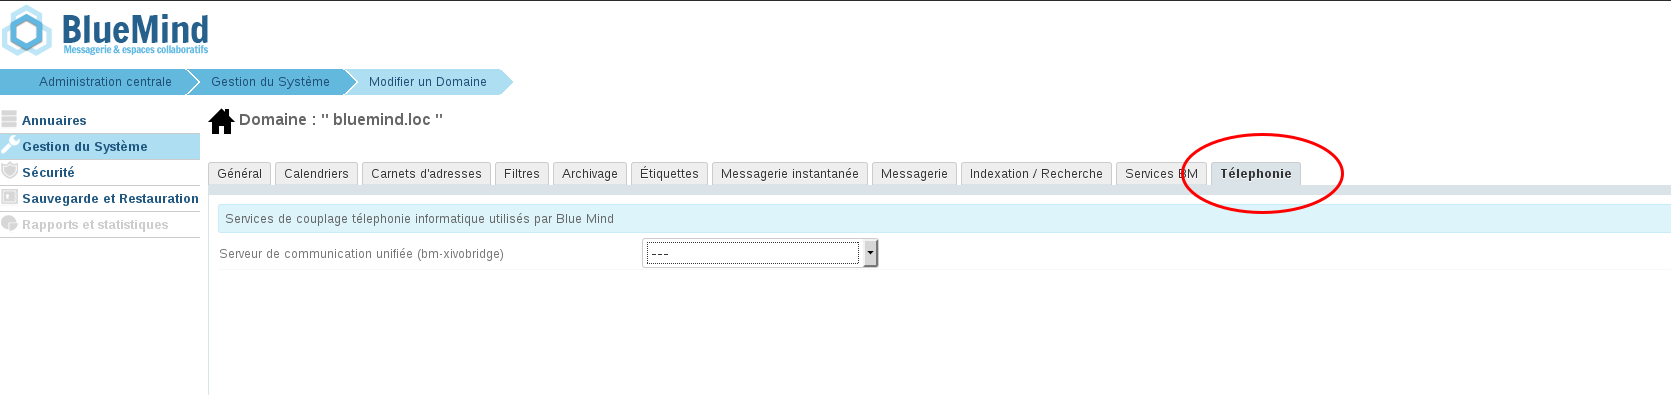
Configuration dans BlueMindConfiguration du domaineToujours connecté en tant qu'administrateur global admin0 :
Test de fonctionnementOn peut tester le bon fonctionnement en simulant un événement XIVO via CURL :
avec :
Les statuts supportés sont :
Utilisation et intégrationPour en savoir plus sur l'utilisation et l'intégration de la téléphonie au sein de BlueMind, consultez les pages dédiées du guide de l'utilisateur : |

| Sv translation | ||||||||||||||||||||
|---|---|---|---|---|---|---|---|---|---|---|---|---|---|---|---|---|---|---|---|---|
| ||||||||||||||||||||
Configuring Xivo
Installing the XiVO plugin for BlueMindPrerequisiteThe XUC service must be installed on the Avencall server and set up on port 8090.
Procedure
Configuration in BlueMindDomain ConfigurationStill logged in as global admin0:
Running a configuration testYou can test this configuration by simulating a XIVO event using CURL:
with:
Supported statuses are:
Uses and integrationTo know more about using and integrating telephony in BlueMind, please see user's guide pages: |
| Sv translation | ||||||||||||||||||||
|---|---|---|---|---|---|---|---|---|---|---|---|---|---|---|---|---|---|---|---|---|
| ||||||||||||||||||||
Xivo konfigurieren
Installieren des Xivo-Plugins für BlueMindVoraussetzungDer XUC-Dienst muss auf der Avencall-Seite installiert und auf Port 8090 erreichbar sein. Erstellen Sie die Datei
Verfahren
Konfiguration in BlueMindCTI-Server-Rolle hinzugefügt
Domain-KonfigurationWeiterhin als globaler Administrator admin0 eingeloggt:
FunktionsprüfungDie korrekte Funktion kann getestet werden, indem ein XIVO-Termin über CURL simuliert wird:
mit:
Die unterstützten Zustände sind:
Verwendung und IntegrationWeitere Informationen über die Nutzung und Integration von Telefonie in BlueMind erhalten Sie in den entsprechenden Seiten des Benutzerhandbuchs: |
Vue d'ensemble
Gestion des contenus
Apps