
Historique de la page
...
| Sv translation | |||||||||||||||||||||||||||||||||||||||||
|---|---|---|---|---|---|---|---|---|---|---|---|---|---|---|---|---|---|---|---|---|---|---|---|---|---|---|---|---|---|---|---|---|---|---|---|---|---|---|---|---|---|
| |||||||||||||||||||||||||||||||||||||||||
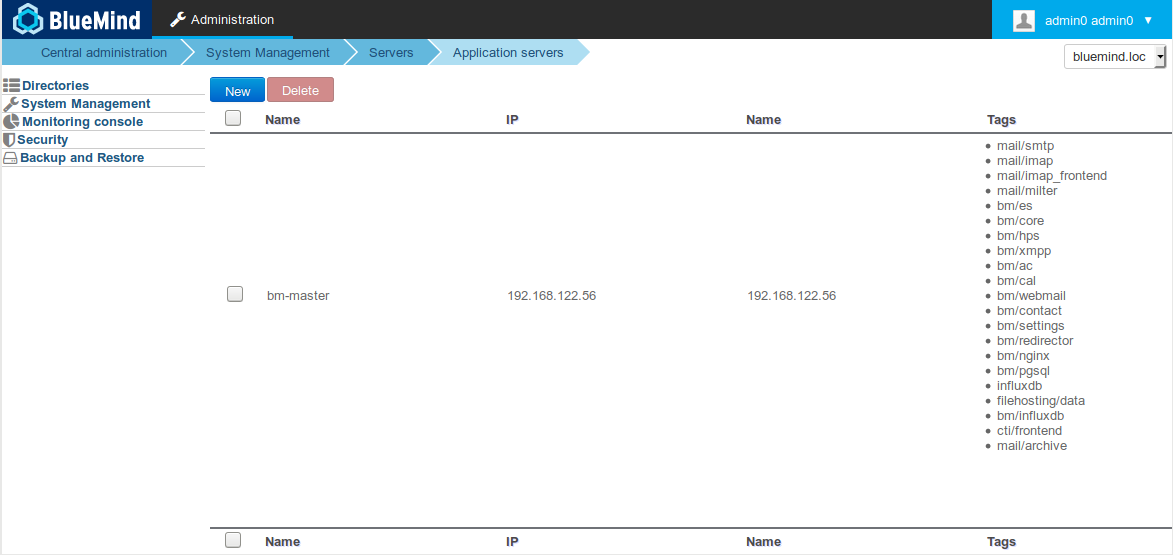
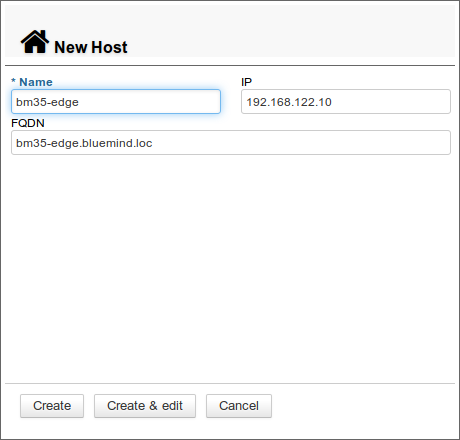
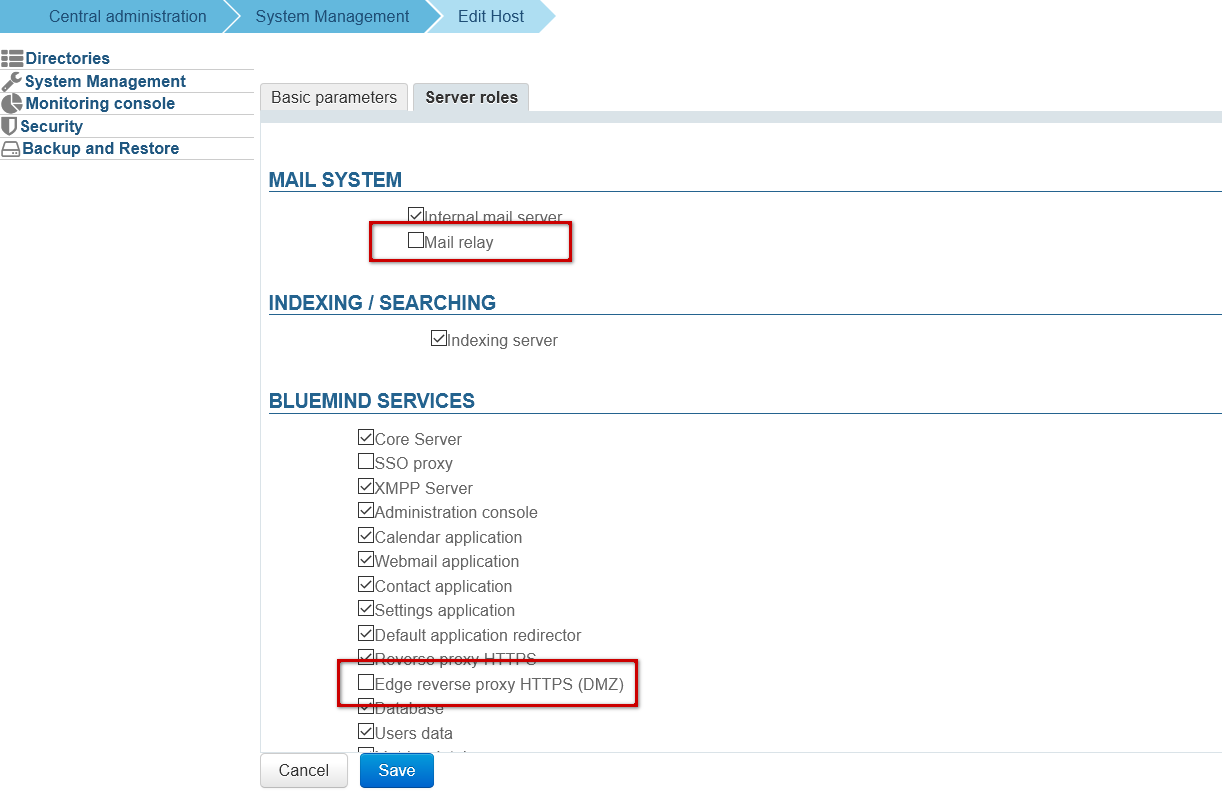
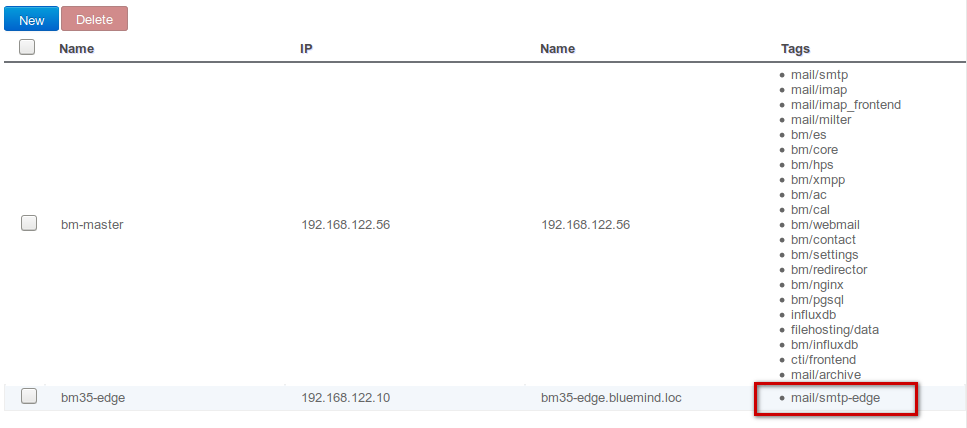
Roll-out procedure
NginxSetting up web access
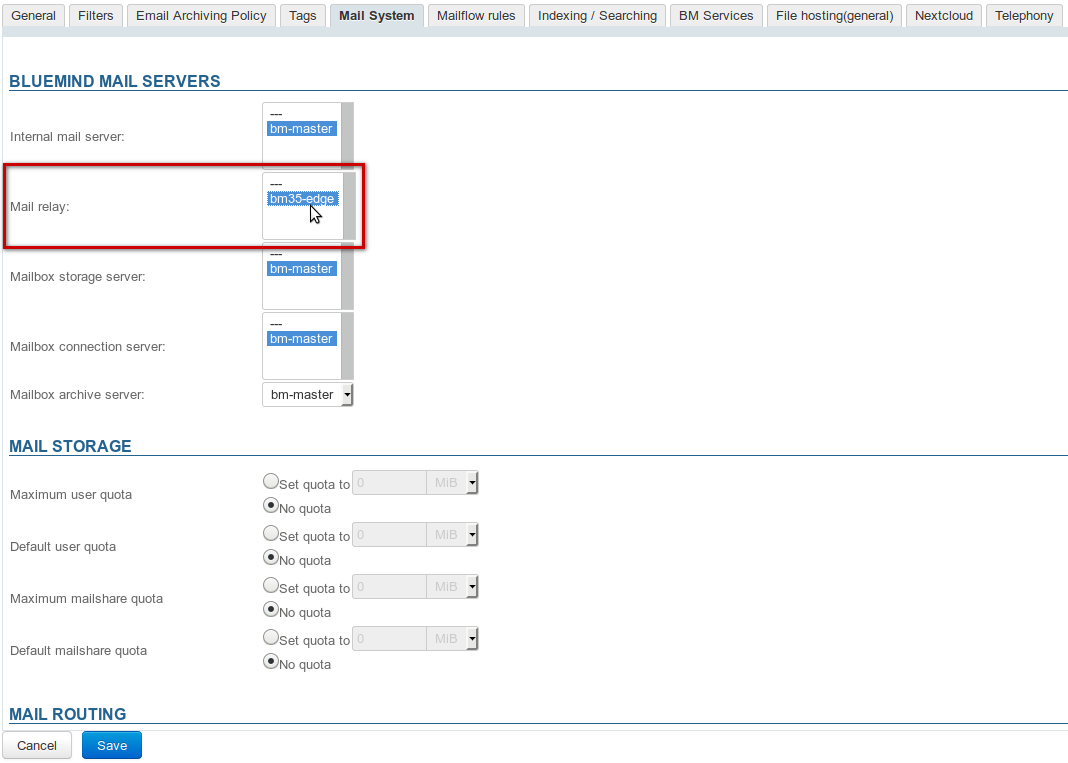
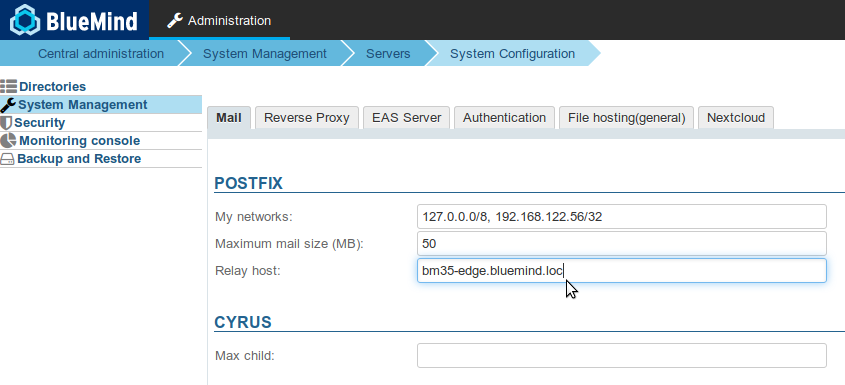
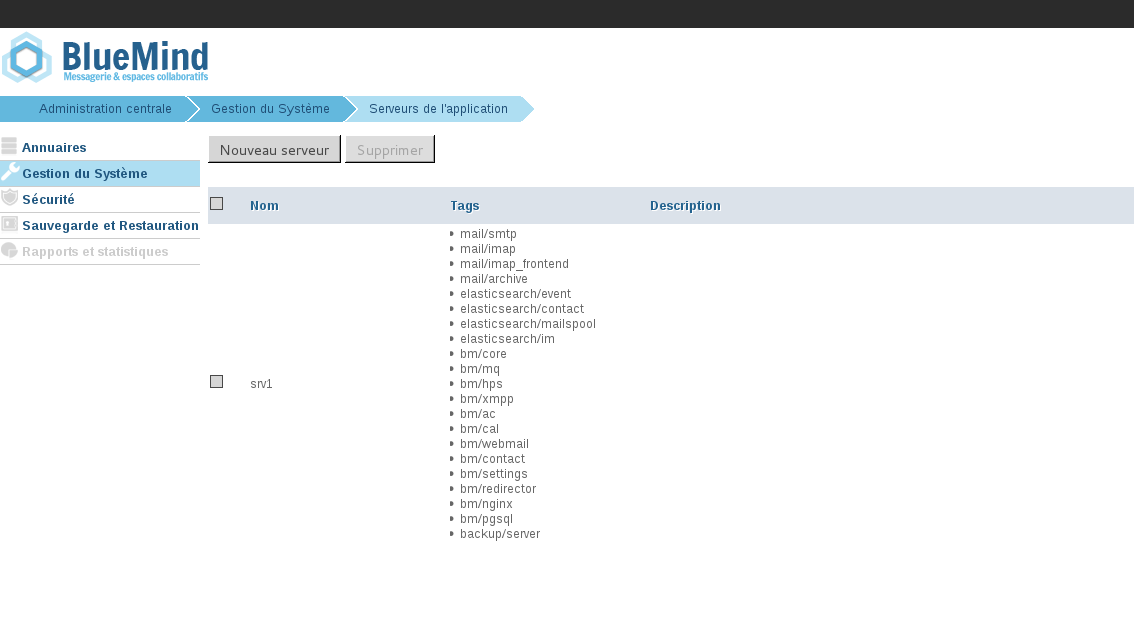
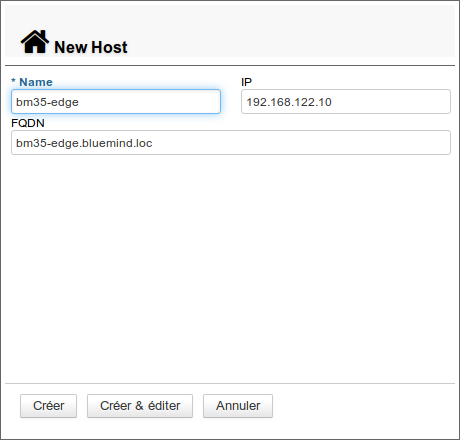
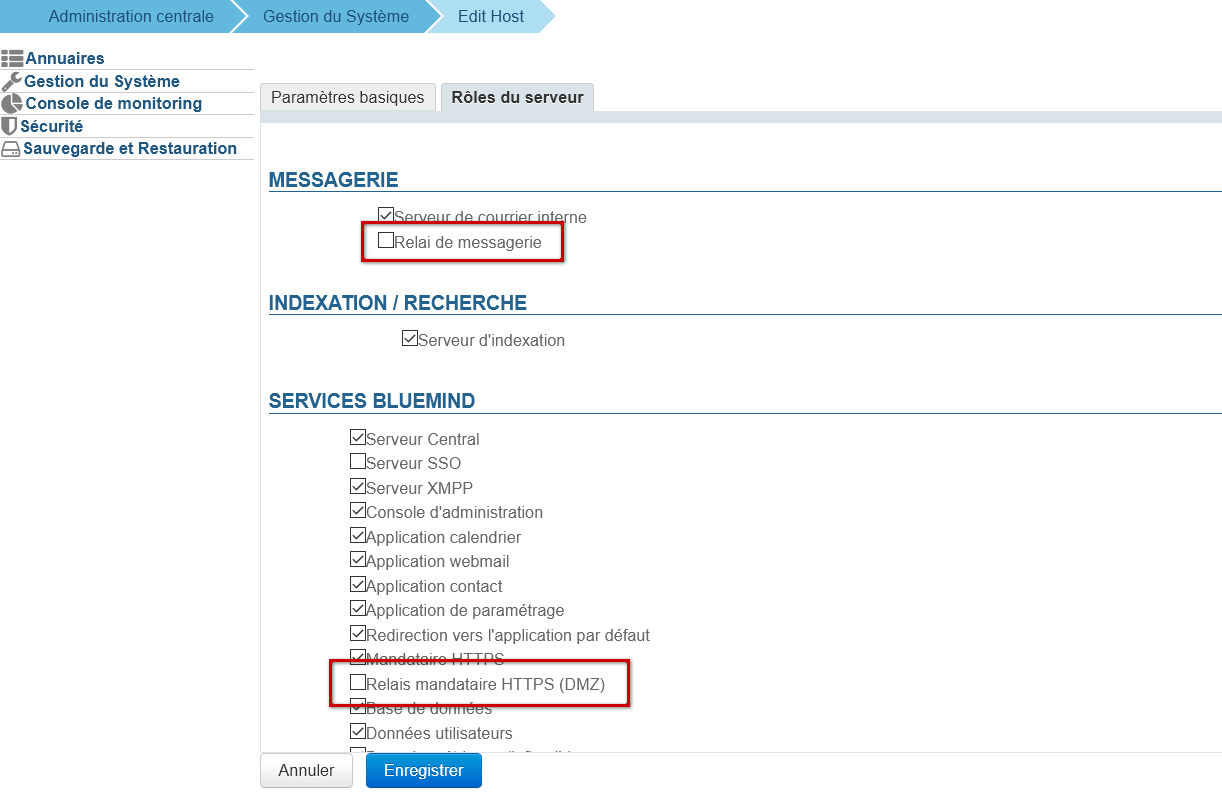
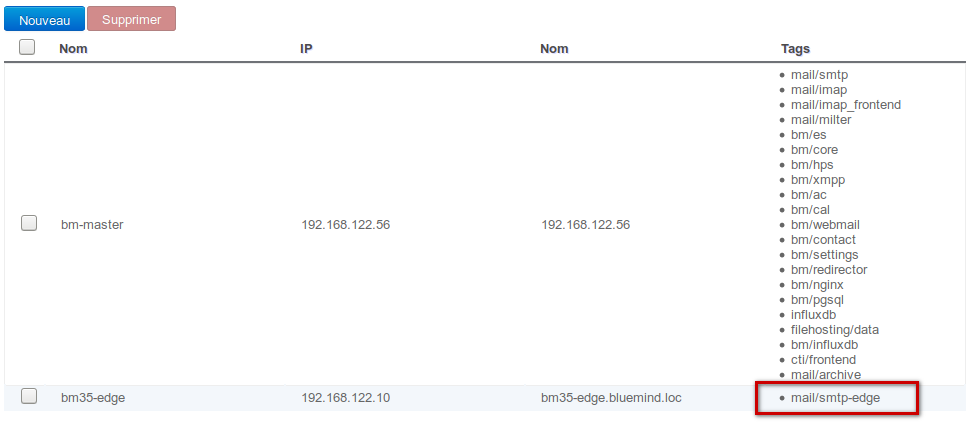
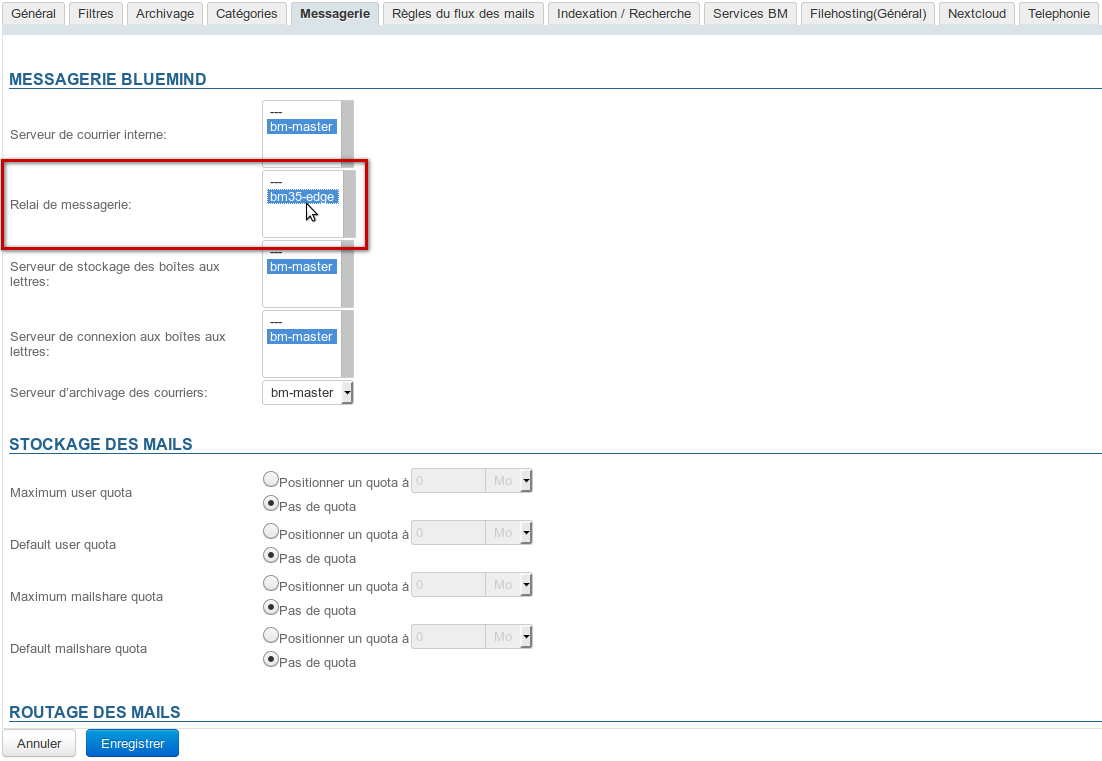
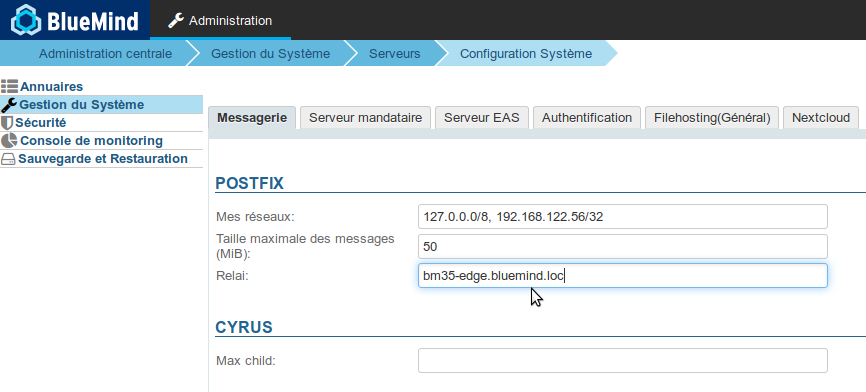
Setting up the mail service
Setting up XMPPFor the server to manage the XMPP flow:
Apache Proxy
You can also use Apache as a proxy instead of Nginx. To do this, you need a version of Apache equal to or above 2.4 and enable the following modules:
VirtualHost example for Apache:
|
| Sv translation | |||||||||||||||||||||||||||||||||||||||||||||
|---|---|---|---|---|---|---|---|---|---|---|---|---|---|---|---|---|---|---|---|---|---|---|---|---|---|---|---|---|---|---|---|---|---|---|---|---|---|---|---|---|---|---|---|---|---|
| |||||||||||||||||||||||||||||||||||||||||||||
Ablauf der Bereitstellung
NginxKonfigurieren des Webzugriffs
Messaging-Konfiguration
XMPP-KonfigurationUm zu erreichen, dass der Server das XMPP-Stream-Management unterstützt:
Apache-Proxy
Es ist auch möglich, Apache als Proxy anstelle von Nginx zu verwenden. Dazu müssen Sie eine Version >=2.4 von Apache verwenden und die folgenden Module aktivieren:
VirtualHost-Beispiel für Apache:
|
Vue d'ensemble
Gestion des contenus
Apps