
Historique de la page
| Sv translation | |||||||||||||||||||||||||||
|---|---|---|---|---|---|---|---|---|---|---|---|---|---|---|---|---|---|---|---|---|---|---|---|---|---|---|---|
| |||||||||||||||||||||||||||
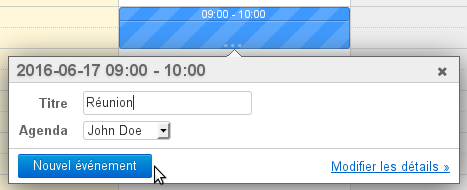
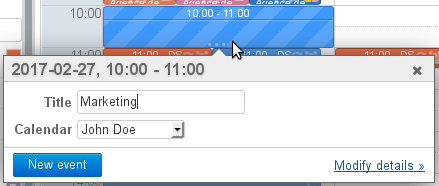
Création de la réunionCréer l'événementCommencez par créer l'événement dans l'agenda, soit en création complète en cliquant sur "Nouvel événement" soit en création rapide en pré-définissant l'horaire auquel vous souhaitez organiser votre réunion puis en accédant à la création complète grâce au lien "Modifier les détails" :
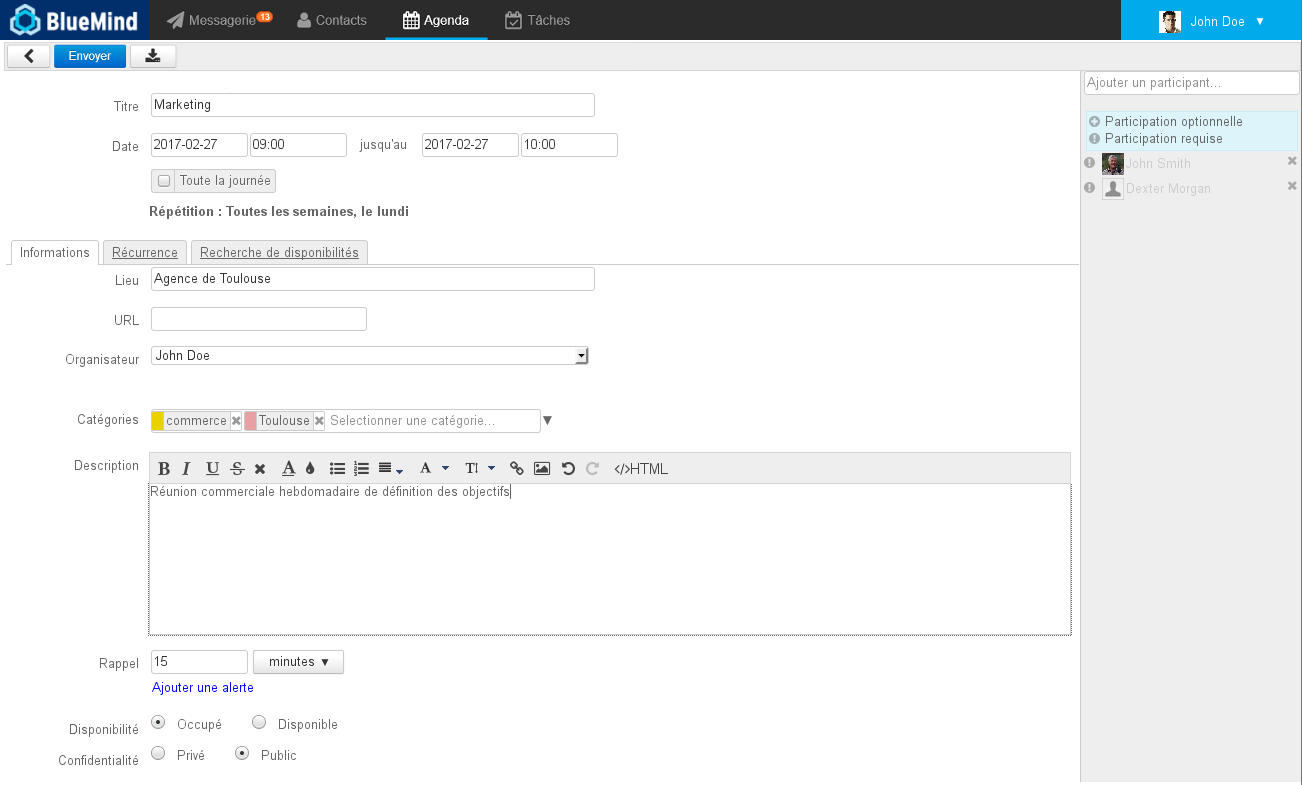
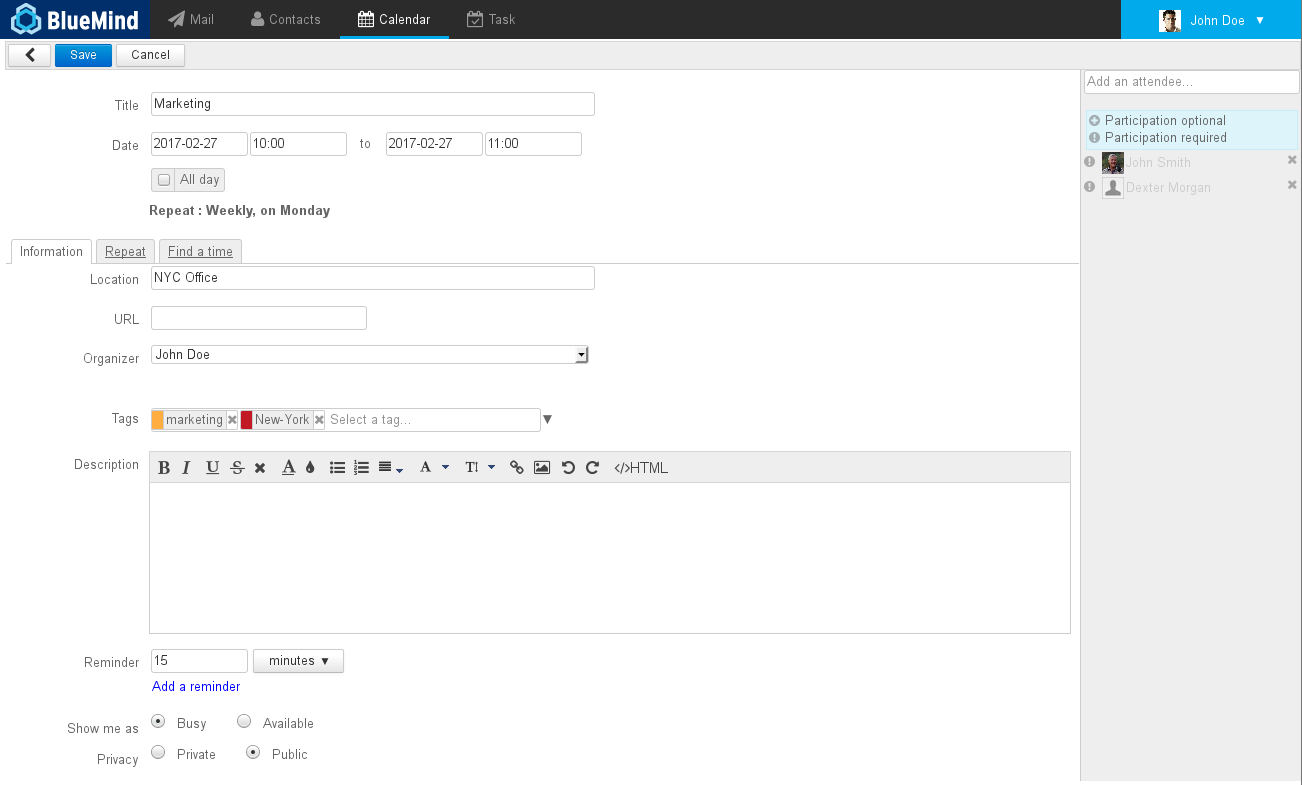
Dans l'écran de création du rendez-vous, renseigner les informations souhaitées : lieu, étiquettes, description, etc.
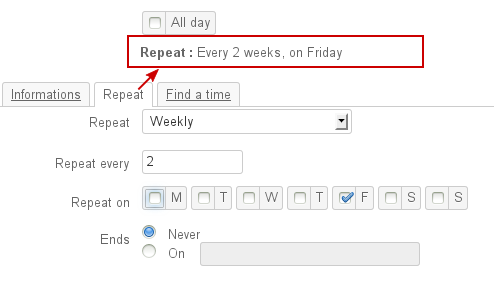
Définir une récurrenceSi vous souhaitez organiser une réunion régulière, rendez-vous dans l'onglet "Récurrence" afin de définir la fréquence de la réunion :
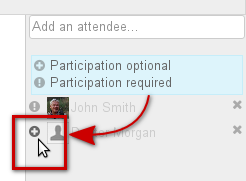
Inviter les participantsDans la partie droite de la page, ajoutez les utilisateurs ou groupes que vous souhaitez inviter. Vous pouvez leur indiquer si leur présence est requise (choix par défaut) ou optionnelle en cliquant sur l'icône devant leur nom après les avoir ajoutés : Réserver des ressourcesPour réserver une ressource, il suffit de l'inviter à la réunion de la même façon qu'un participant.
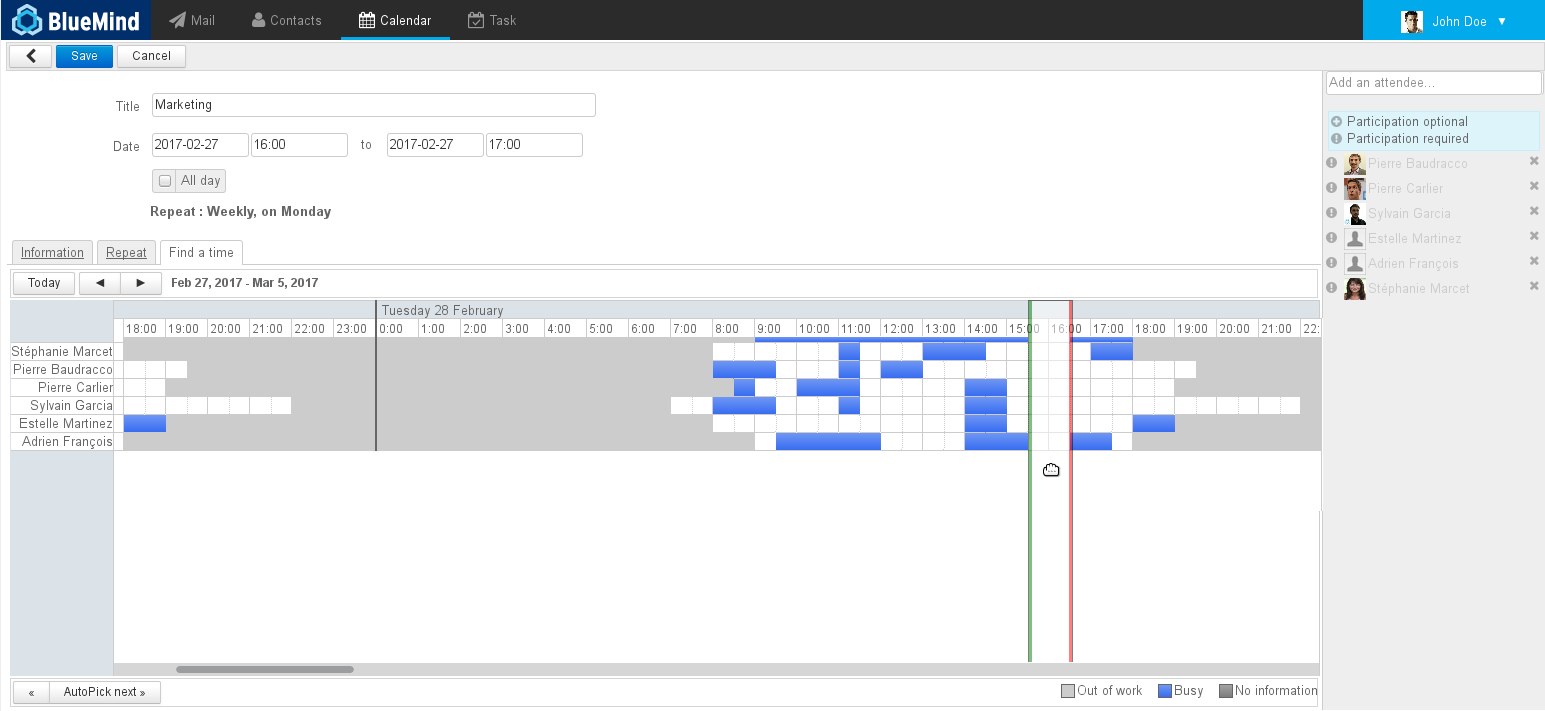
Rechercher un créneau disponibleSi un ou plusieurs participants ne sont pas disponible pour le créneau prédéfini, ou si vous souhaitez en chercher un autre, vous pouvez utiliser l'outil de recherche de disponibilités via l'onglet idoine :
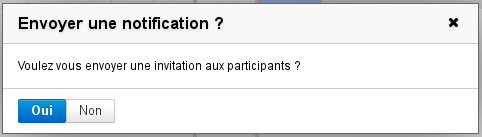
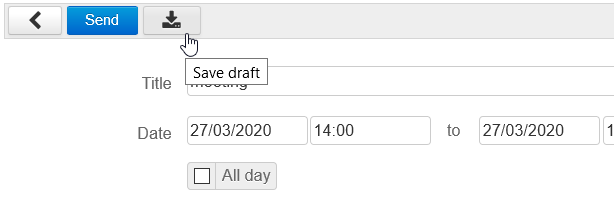
Envoyer l'invitationUne fois la réunion paramétrée, il suffit de valider pour faut envoyer l'invitation à chacun des participants ainsi qu'une demande de réservation de ressource.Pour cela, cliquez . À partir de la version 4.2, l'interface de BlueMind a été revue et clarifiée, l'organisateur qui crée une réunion a les choix suivants :
Lors de la modification d'une réunion, là aussi dans une volonté de limiter les erreurs et décalages possibles, l'enregistrement en tant que brouillon n'est plus possible. L'organisateur qui modifie une réunion a les choix suivants :
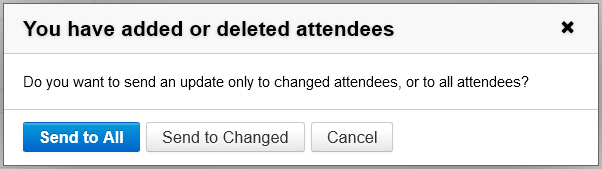
Lorsque la seule modification apportée à une réunion est l’ajout et/ou la suppression d’un ou plusieurs participants, une popup propose 2 possibilités :
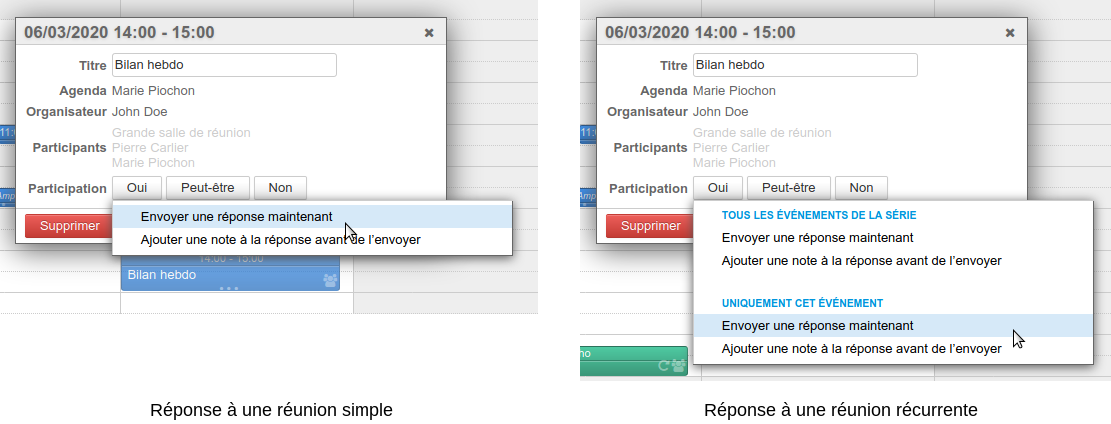
Gérer les participationsRéception des avis de participationRéponses à une réunionLorsqu'un participant valide, refuse, met en attente (réponse «peut-être») l'organisateur de la réunion en est informé par email.
Le participant peut tout de même toujours envoyer une réponse simple ou ajouter une note à celle-ci. Dans le cas d'une réunion récurrente, il conserve aussi la possibilité de répondre pour l'ensemble de la série ou une occurrence seulement :
Consulter le statut de participationUn participant autre que l'organisateur ne voit pas dans sa version de la réunion les statuts des autres participants. Pour les voir, il doit consulter la version de la réunion de l'organisateur, s'il a les droits de lecture sur l'agenda de celui-ci :
Inviter/retirer des participantsPour inviter de nouveaux participants ou exclure des personnes déjà invitées, il suffit d'éditer l'événement :
Lorsque la seule modification apportée à une réunion est l’ajout et/ou la suppression d’un ou plusieurs participants, une popup propose 2 possibilités :
|


| Sv translation | |||||||||||||||||||||||||||
|---|---|---|---|---|---|---|---|---|---|---|---|---|---|---|---|---|---|---|---|---|---|---|---|---|---|---|---|
| |||||||||||||||||||||||||||
Creating a meetingCreating an eventFirst create an event in the calendar, either the regular way, by clicking . Either click "New event", or using the use quick-create feature, by selecting – select the event's duration in the calendar and then accessing the event details by clicking click "Modify details" to open the event creation window:
In the event creation window, fill in the relevant information: location, tags, description, etc.
Scheduling a recurrenceIf you'd like to organize a recurring meeting, go to the "Repeat" tab to set the meeting's periodicity:
InvitingparticipantspeopleIn the right-hand side of the page, add the users or groups you want to invite. You can choose for their participation to be required (default) or optional, by clicking the icon shown before their name after they are added:
Booking resourcesTo book a resource, simply add it to the meeting as you would another participantattendee.
Searching for an available time slotIf one or several participants attendees are not available during the selected time slot, or if you want to look for another one, you can use the availability search tool in the "Find a time" tab:
This tab allows you to view busy or available time slots for the participants attendees and resources invited.
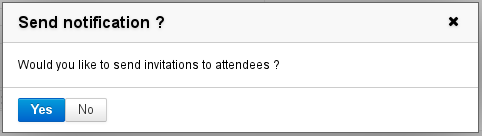
Sending invitationsOnce the meeting's parameters are set, simply validate to you must send an invitation to each participant as well as a resource booking request. To do this, click "Save" at the top of the page and the following dialog box opens:
attendee.
In an effort to limit errors and inconsistencies, saving event modifications as draft is no longer possible. The organizer who makes changes to an event has the following choices:
When the change made only adds/removes one or several attendees, a popup window offers 2 options:
Managing participationParticipationnoticesnotificationsWhen a participant an attendee accepts, declines or puts on hold an invitation (replies "maybe"), the meeting's organizer is informed by email.If a participant later modifies their attendance notified by email.
Attendees can still send simple responses or add a note to the response. For recurring meetings, they can still respond for the whole series or one occurence only:
Viewing participation statusesParticipants Attendees other than the organizer cannot see other participantsattendees' attendance participation statuses in their version of the event. To see them, they must consult the organizer's version – provided they have reading privileges over that calendar:
Inviting/removingparticipantsattendeesTo invite new participants attendees or to exclude inviteessome, simply edit the event:
When the change made only concerns adding/removing one or several attendees, a popup window offers 2 options:
|

Vue d'ensemble
Gestion des contenus
Apps