
Historique de la page
...
| Sv translation | ||||||||||||||||||||
|---|---|---|---|---|---|---|---|---|---|---|---|---|---|---|---|---|---|---|---|---|
| ||||||||||||||||||||
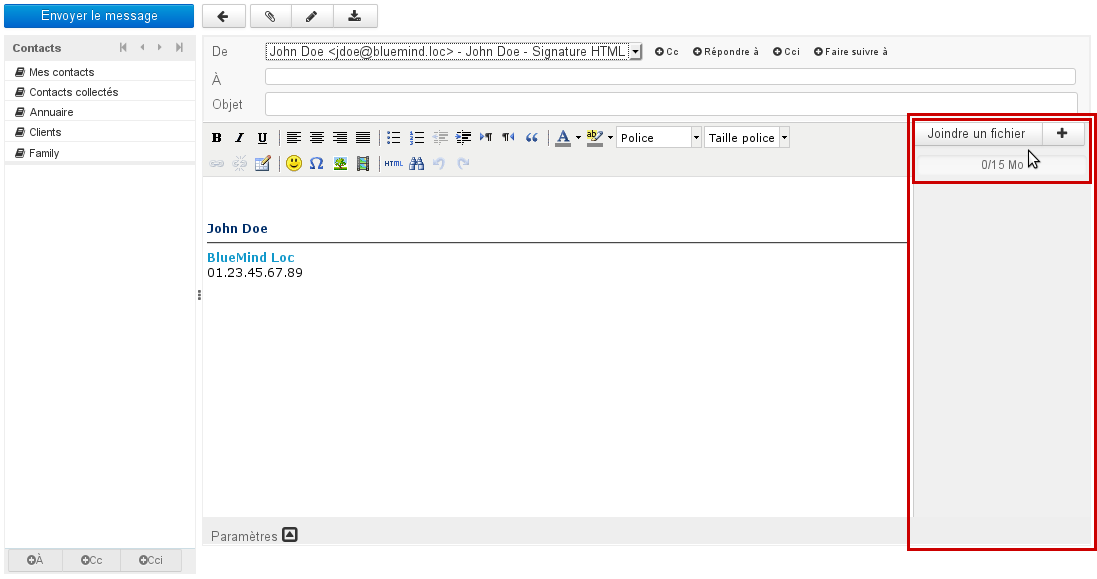
Attaching files in webmailFiles can be attached to messages either by clicking the "Attach a file" button or by dragging and dropping it in the right-hand area of the composer:
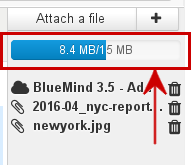
Attaching files using drag and dropIn the file browser, drag and drop one or several attachments into the right-hand pane of the composer. The files are then either physically attached in the message or shown as hyperlinks, depending on the automatic detachment file size set by the administrator:
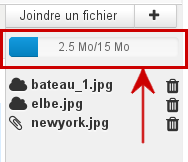
The icon before each file shows whether it is attached or linked:
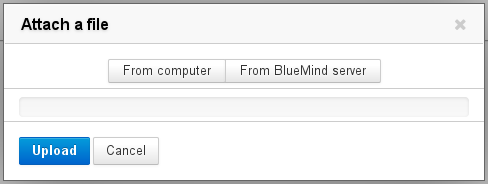
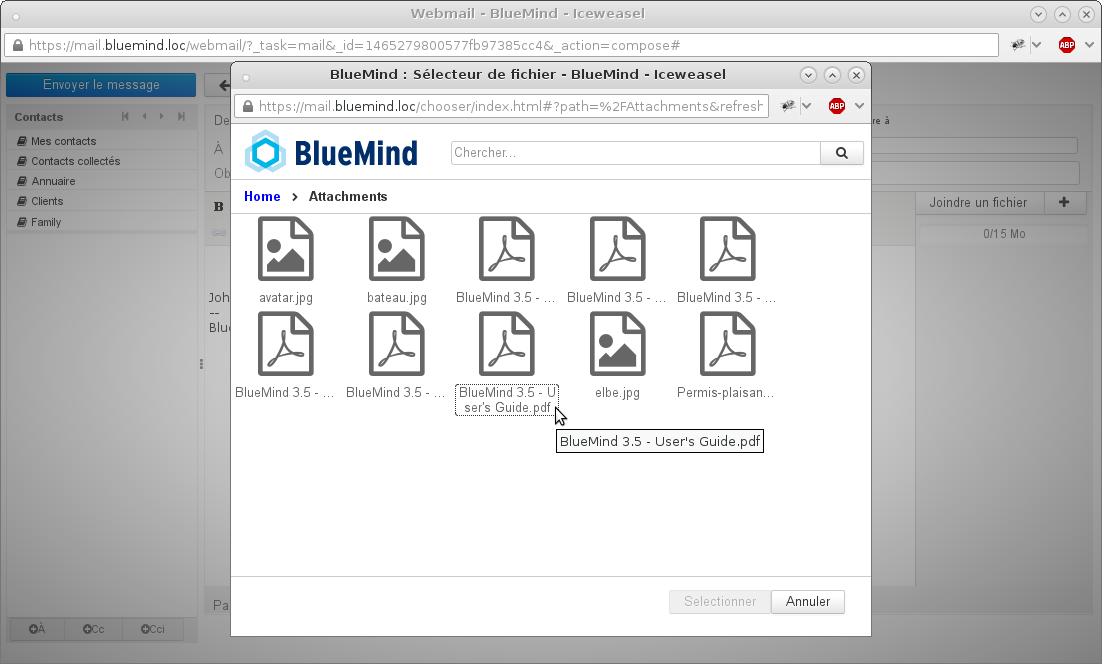
The Attaching files using the "Attach a file" buttonClicking the "Attach a file" or
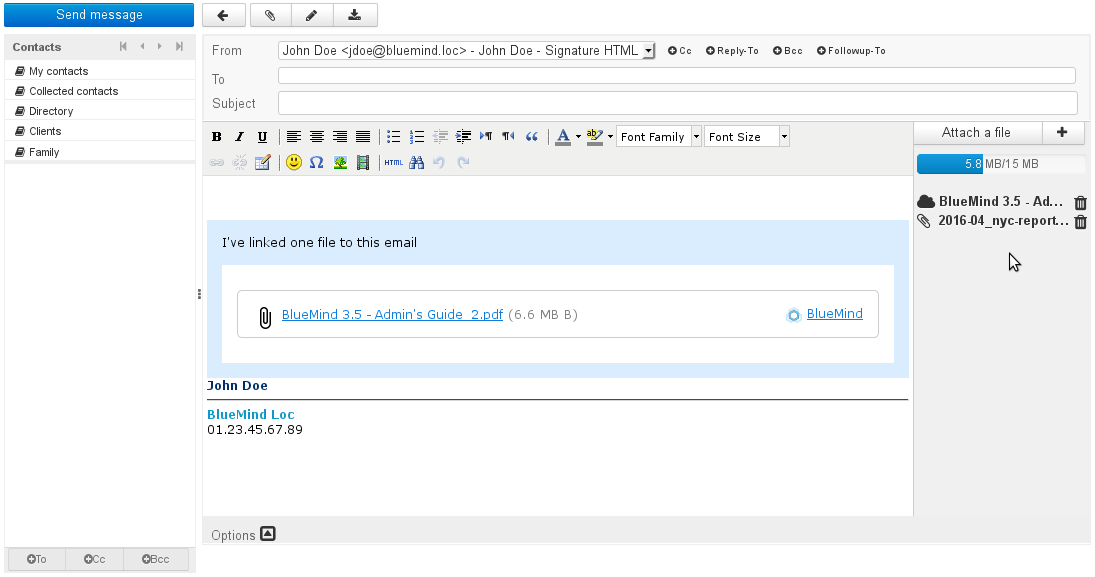
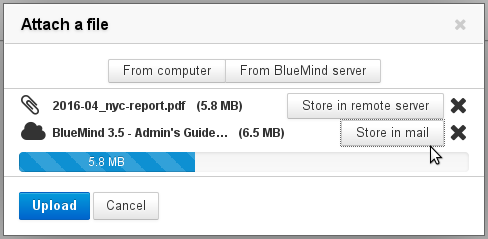
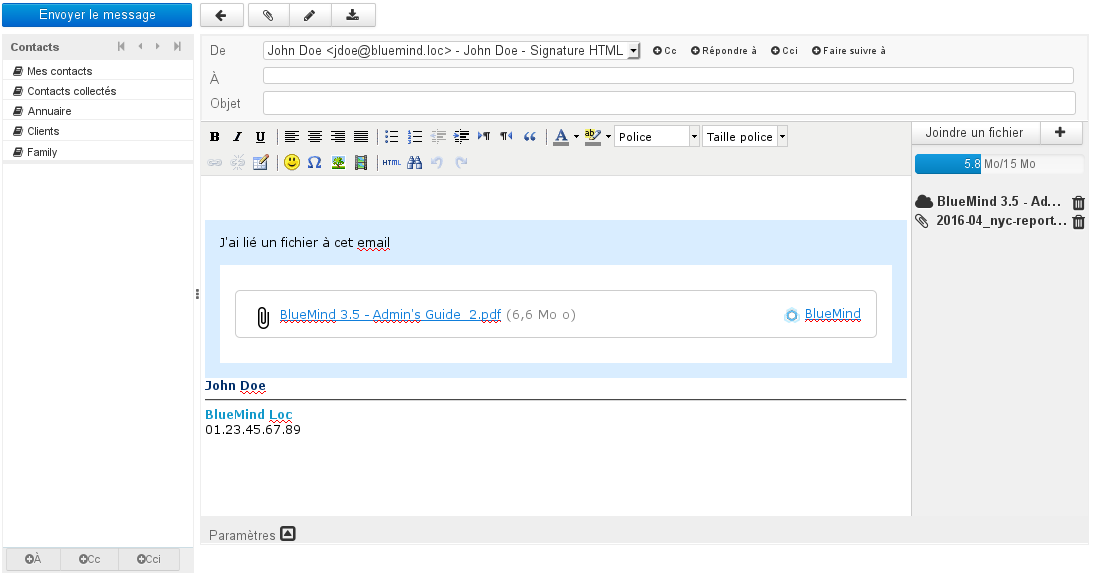
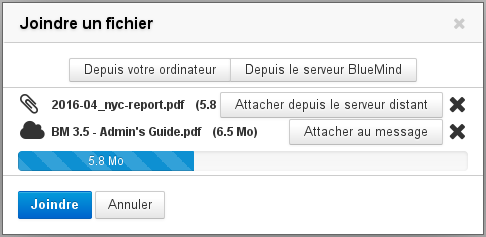
Once selected, files are automatically added to your message. A button allows you to detach each file manually ("Store in remote server"):
Once all files are selected, click the "Upload" button to confirm and attach them. Detached files are then sent to the server and the download box is added to the message as appropriate. Physical file attachments are shown in the right-hand pane of the message:
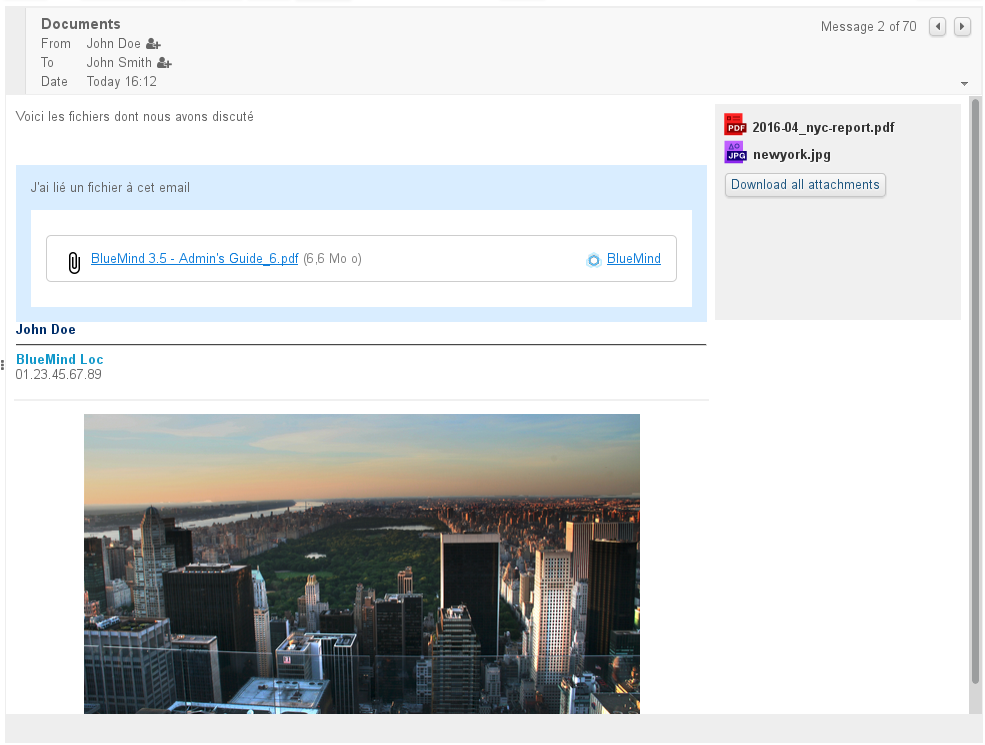
Viewing attachmentsWhen you receive a message, physical attachments are shown as a list to the right of the message while linked attachments are shown in a blue box within the message:
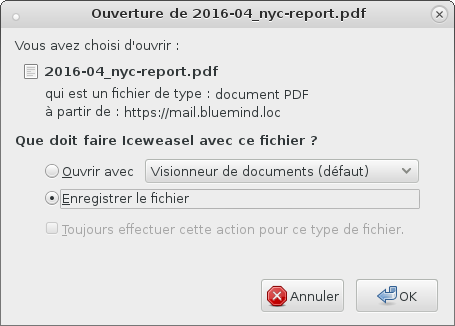
Click the file's name to download the attachment.
Linking attachments in thick clientsThe BlueMind connector allows users of Thunderbird to use the linked attachments feature. For more information on how it works, please visit the dedicated page Synchronisation avec Thunderbird.
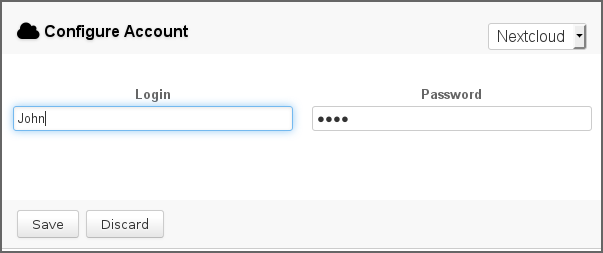
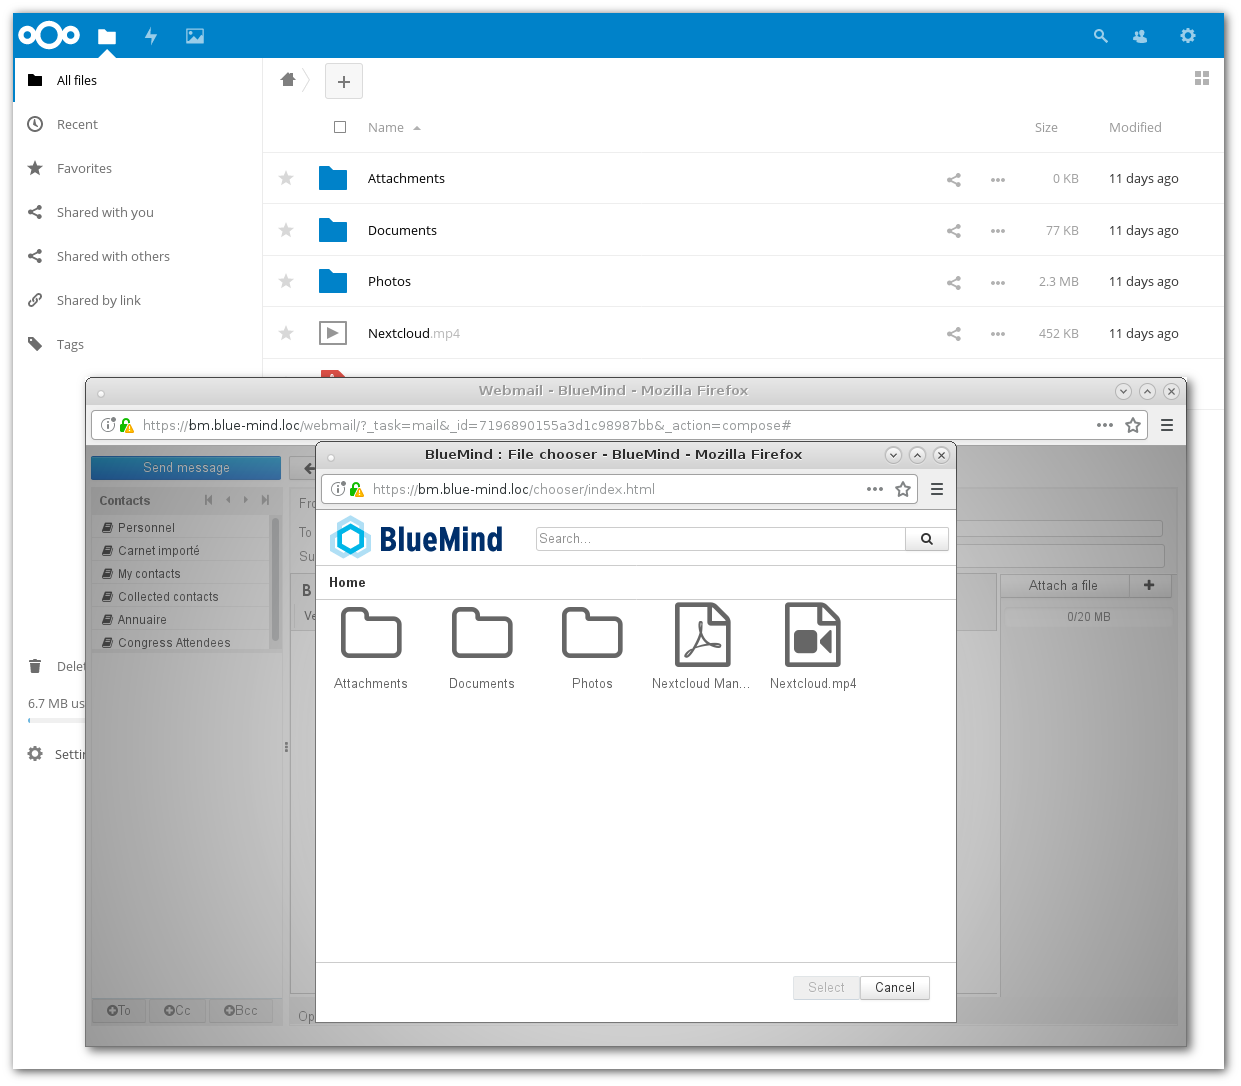
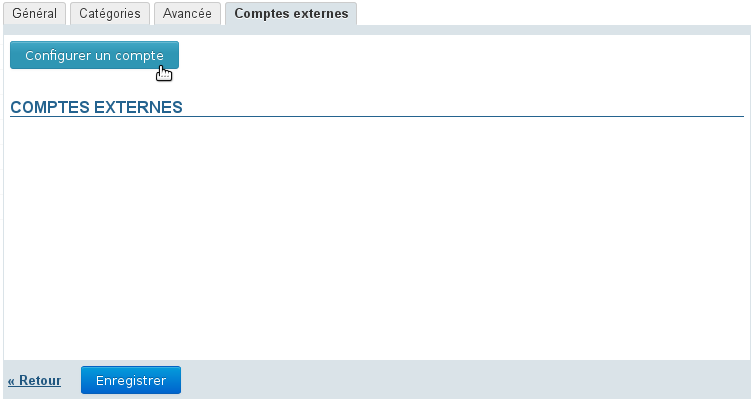
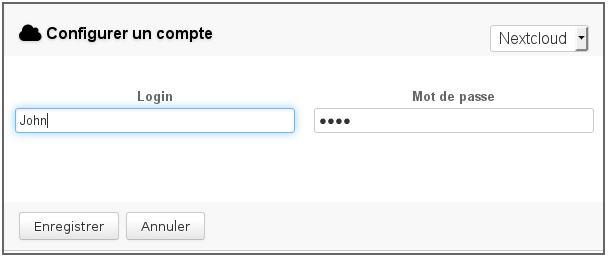
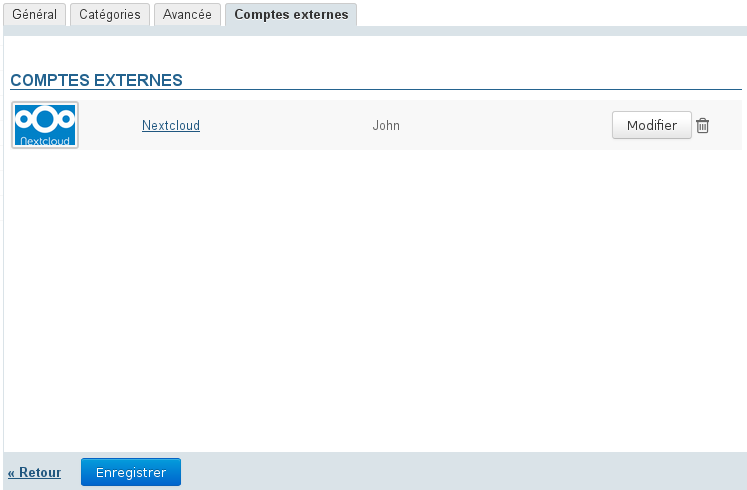
Connecting a NextCloud accountYou can connect a NextCloud account if it is installed and operational on the domain.
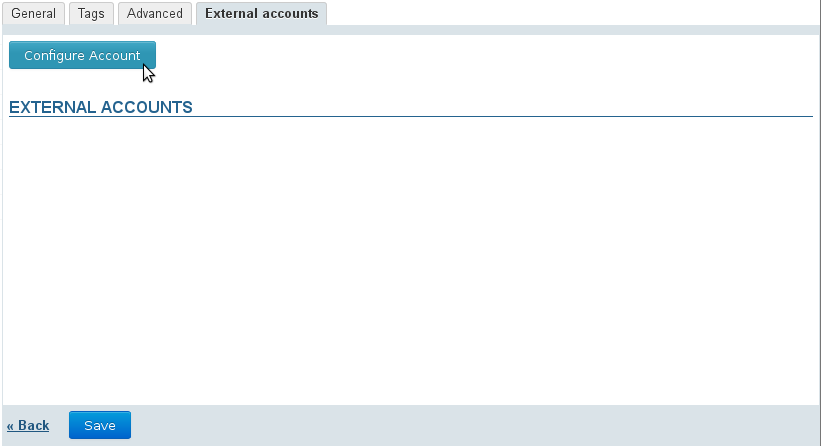
In user preferences, go to My account > "External accounts" tab
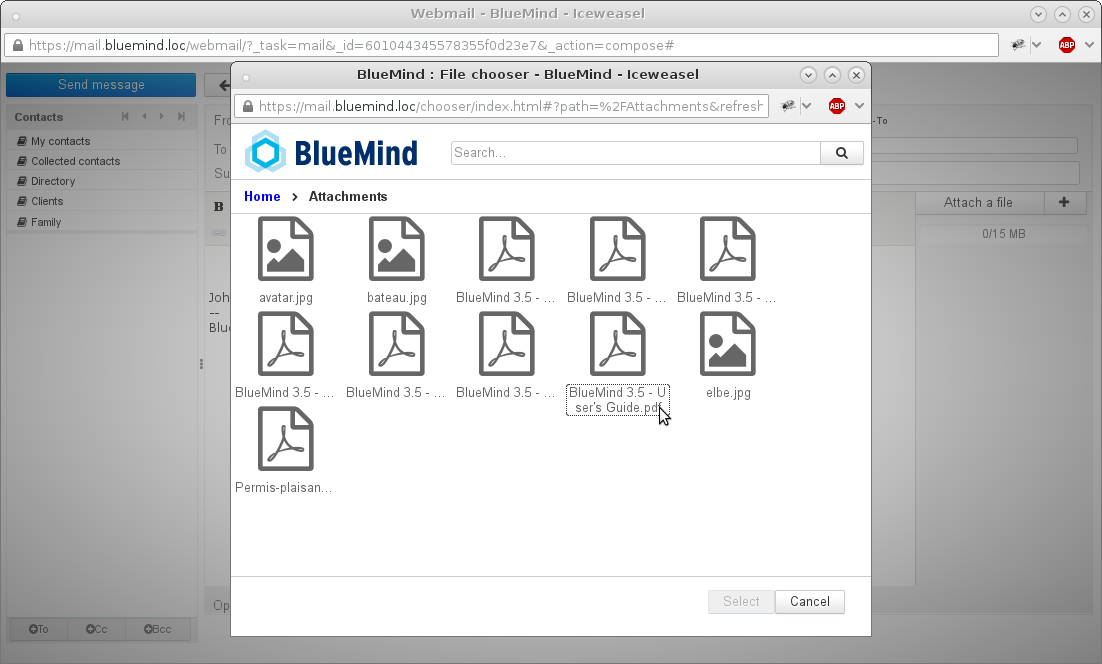
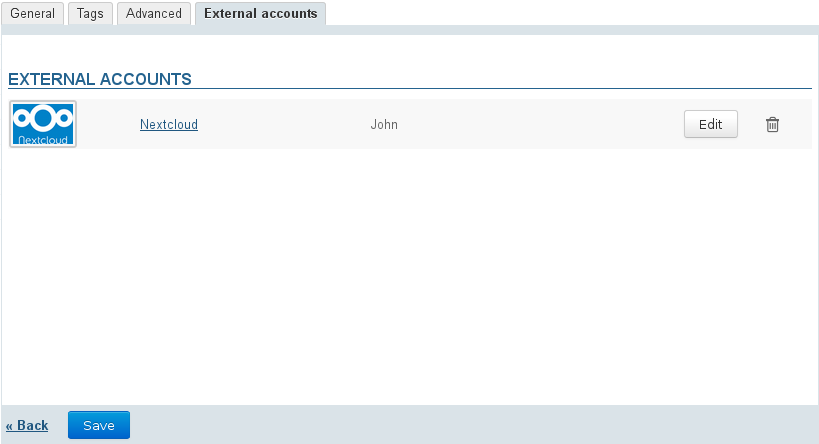
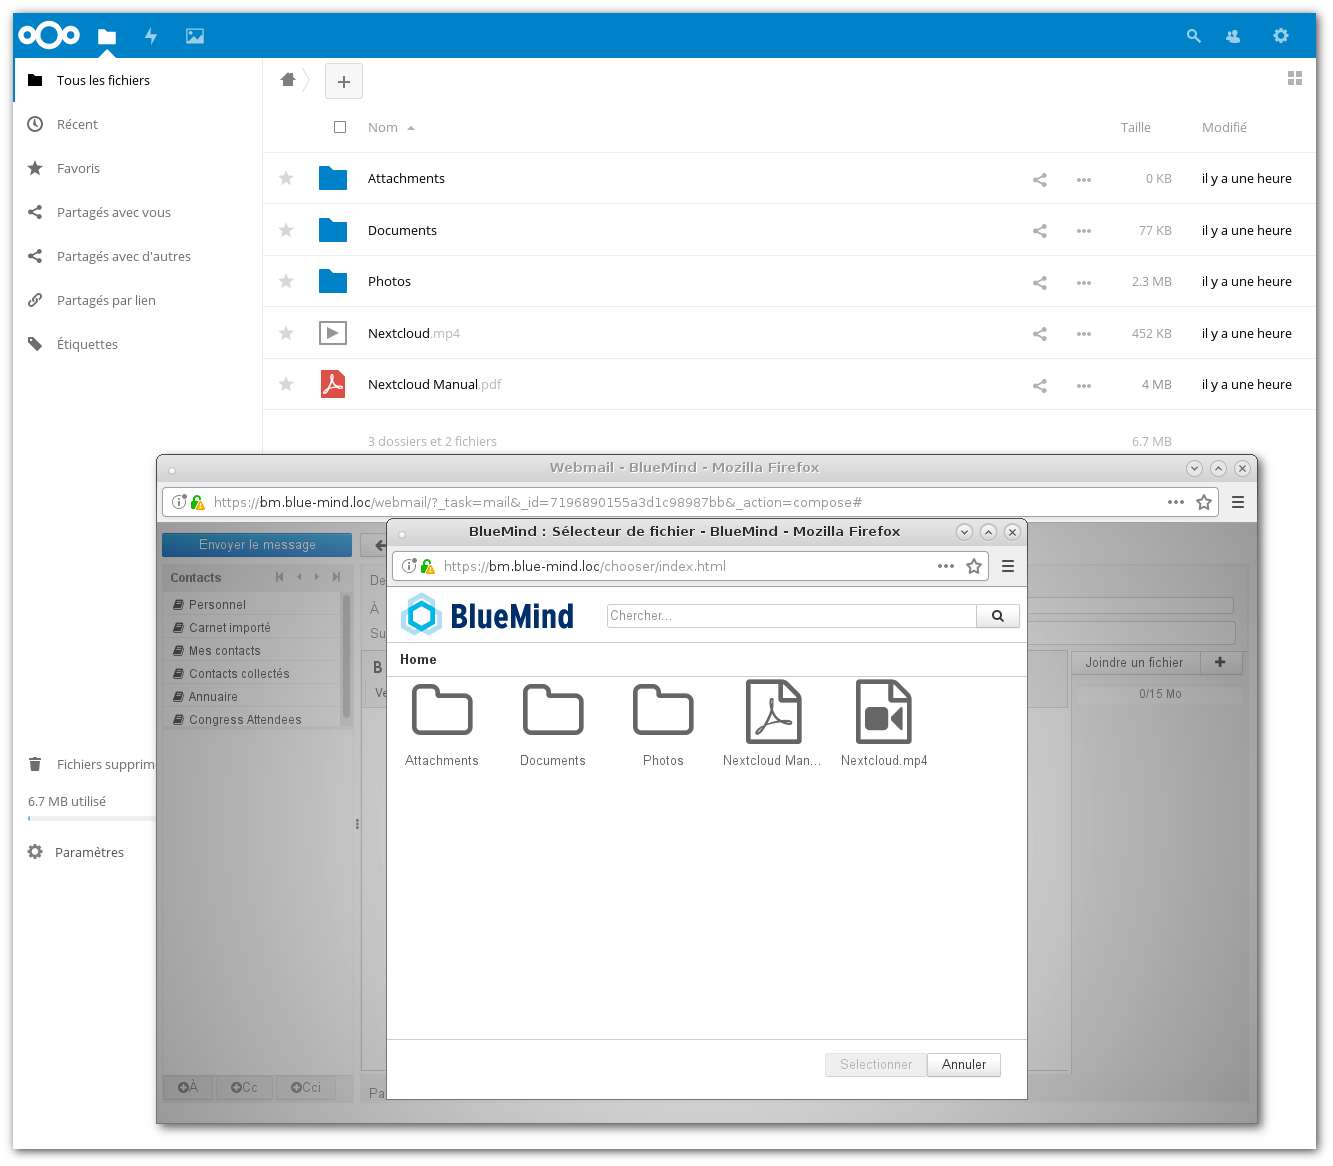
From then on, linked attachments work in the same way but the BlueMind file chooser now shows NextCloud account files as well as their folder structure:
|


| Sv translation | ||||||||||||||||||||
|---|---|---|---|---|---|---|---|---|---|---|---|---|---|---|---|---|---|---|---|---|
| ||||||||||||||||||||
Hinzufügen von Anlagen mit WebmailerEine Anlage kann einer Nachricht entweder durch Klicken auf die Schaltfläche "Datei anfügen" oder durch Ziehen und Ablegen im rechten Bereich der Nachrichtenerstellung hinzugefügt werden:
Hinzufügen durch Ziehen und AblegenSie können eine oder mehrere Anlagen aus einem Dateibrowser in den rechten Bereich der Nachrichtenerstellung ziehen und dort ablegen. Die Dateien werden dann entweder als eingebettete Anlage oder als Download-Link (je nach dem Schwellenwert, den der Administrator für das automatische Abtrennen eingestellt hat) mit der Nachricht verknüpft:
Das Piktogramm vor jeder Anlage zeigt an, ob sie eingebettet oder verlinkt ist:
Mit dem Symbol Hinzufügen mit der Schaltfläche "Datei anfügen"Durch Klicken auf die Schaltflächen "Datei anfügen" und
Sobald die Datei(en) ausgewählt ist/sind, wird/werden sie automatisch in die Nachricht eingebettet. Eine Schaltfläche gestattet das manuelle Abtrennen jeder einzelnen Anlage:
Klicken Sie nach der Auswahl der Dateien auf die Schaltfläche "Hochladen", um zu bestätigen. Die abzutrennenden Dateien werden dann an den Server gesendet und der Download-Link wird in die Nachricht eingefügt. Die Anlagen sind auf der rechten Seite der Nachrichtenerstellung zu sehen:
Anzeigen von AnlagenBeim Empfang einer Nachricht werden in die Nachricht eingebettete Anlagen auf der rechten Seite der Nachricht aufgelistet, die Download-Links für abgetrennte Anlagen werden in einem Feld in der Nachricht aufgeführt:
Klicken Sie auf den Dateinamen, um die Anlage auf die übliche Weise herunterzuladen:
Abtrennen von Anlagen bei Fat ClientsDer BlueMind Connector ermöglicht Thunderbird-Benutzern ebenfalls den Zugriff auf die Funktion zum Abtrennen von Anlagen. Weitere Informationen zur Funktionsweise finden Sie auf der Seite zu Ihrer Client-Software: Synchronisierung mit Thunderbird.
Verbindung mit einem NextCloud-KontoEs ist möglich, ein NextCloud-Konto zu verbinden, wenn es auf der Domain installiert und funktionsfähig ist.
Rufen Sie in der Verwaltung der Benutzereinstellungen "Mein Konto" die Registerkarte "Externe Konten" auf.
Die folgenden Schritte entsprechen dem üblichen Verlauf des Abtrennens von Anlagen, wobei die BlueMind-Dateiauswahl jetzt die Dateien des NextCloud-Kontos und ihre Baumstruktur zeigt:
|

Vue d'ensemble
Gestion des contenus
Apps