
Historique de la page
...
| Sv translation | ||||||||||||||||||||
|---|---|---|---|---|---|---|---|---|---|---|---|---|---|---|---|---|---|---|---|---|
| ||||||||||||||||||||
Configuring Xivo
Installing the XiVO plugin for BlueMindPrerequisiteThe XUC service must be installed on the Avencall server and set up on port 8090.
Procedure
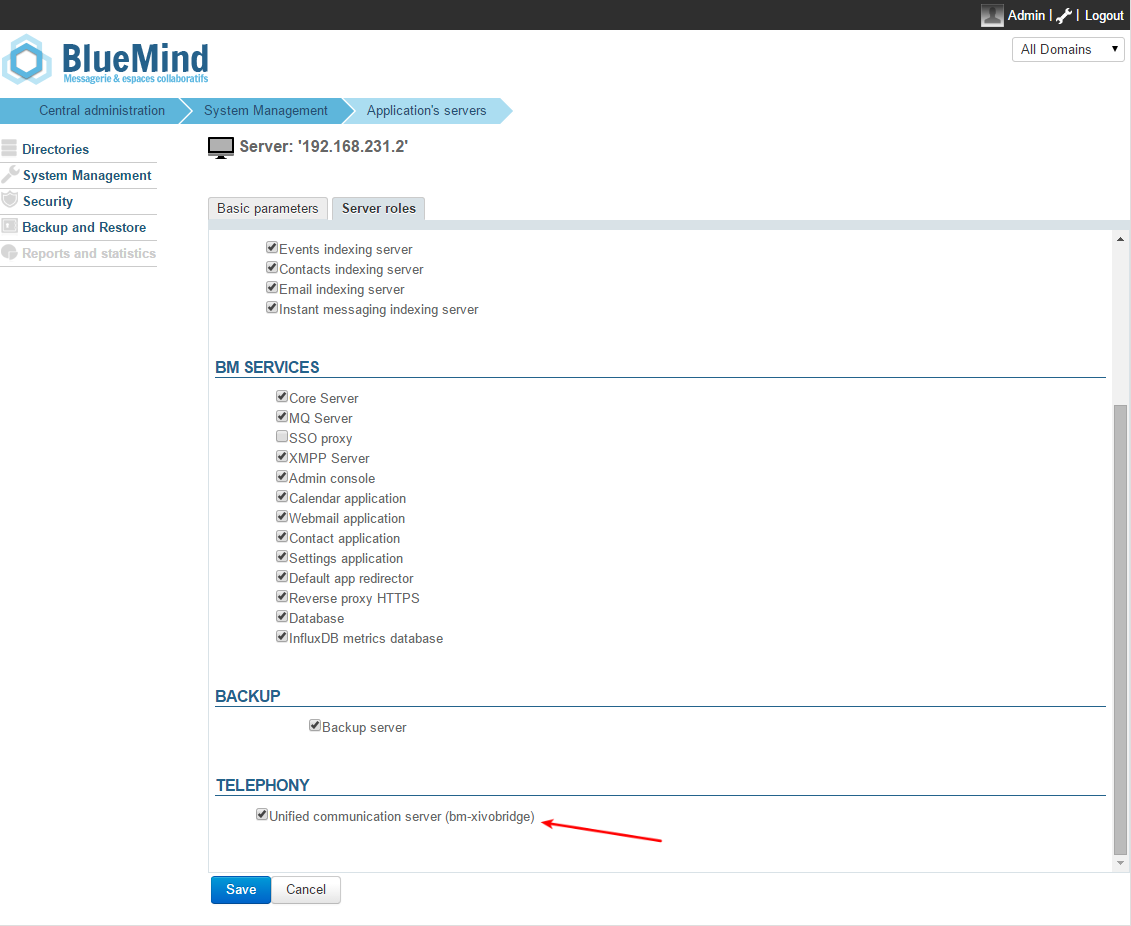
Configuration in BlueMindAdding the CTI server role
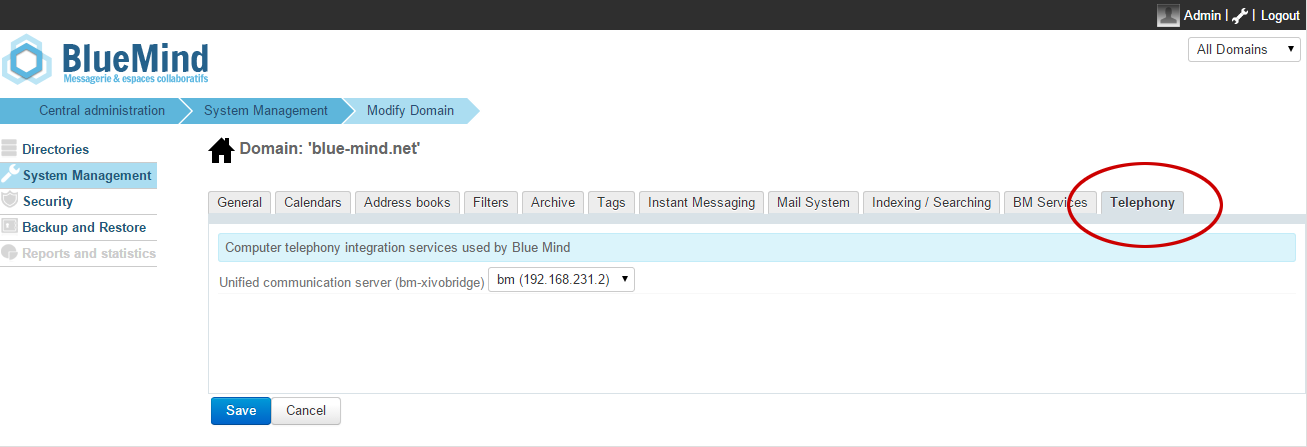
Domain ConfigurationStill logged in as global admin0:
Running a configuration testYou can test this configuration by simulating a XIVO event using CURL:
with:
Supported statuses are:
Uses and integrationTo know more about using and integrating telephony in BlueMind, please see user's guide pages: |

...
Vue d'ensemble
Gestion des contenus
Apps