
Historique de la page
...
| Sv translation | ||||||||||||
|---|---|---|---|---|---|---|---|---|---|---|---|---|
| ||||||||||||
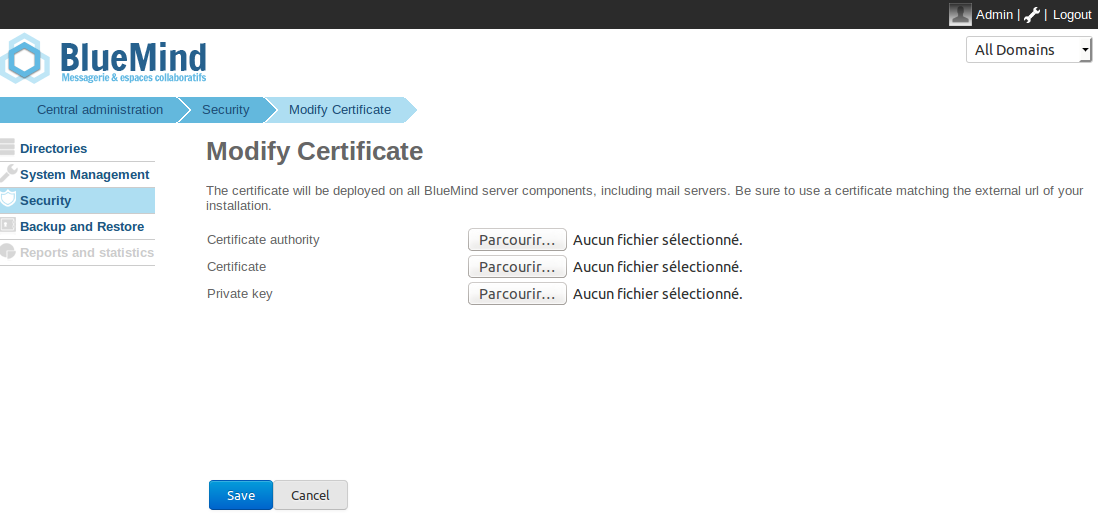
PrerequisitesEnvironmentEmail relies heavily on certificates and their proper management. For example, your email will not work if your certificates expire. You must also make sure that the certificates correspond to your email's external-url, otherwise this email will not work. Files requiredTo In order to set up an SSL certificate, you need the following files:
If your certificate is in P12 format, you must generate the certificate and the private key in PEM format using the commands:
Installing the certificate
|
| Sv translation | ||||||
|---|---|---|---|---|---|---|
| ||||||
VoraussetzungenUm ein SSL-Zertifikat einrichten zu können, müssen Sie über folgende 3 Dateien verfügen:
Wenn Ihr Zertifikat im P12-Format vorliegt, müssen Sie das Zertifikat und den privaten Schlüssel im PEM-Format mit den Befehlen erzeugen:
Installieren des Zertifikats
|
Vue d'ensemble
Gestion des contenus
Apps