
Historique de la page
...
| Sv translation | ||||||||||||
|---|---|---|---|---|---|---|---|---|---|---|---|---|
| ||||||||||||
Finding your way around the calendarThe BlueMind Calendar's default view is made up of:
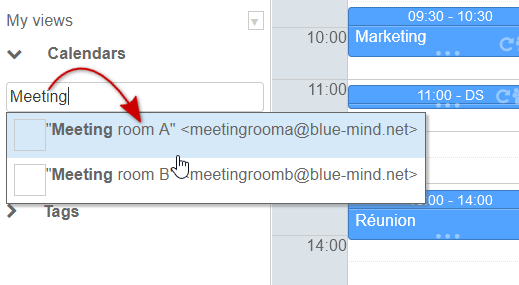
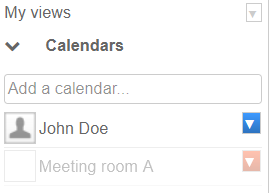
CalendarsSelecting calendarsThe list of calendars currently displayed is shown to the left of the page, in
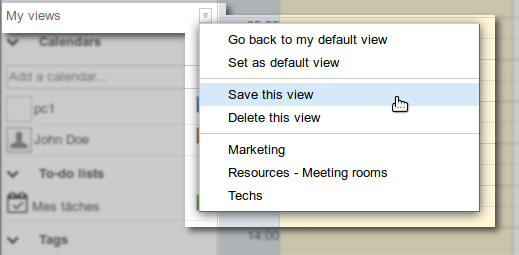
Managing viewsBlueMind allows you to save one or several groups of calendars as views. E.g. you can display with a single click all resource calendars, salespeople's calendars, board members calendars or you might want to group a branch's or a team's calendars together. Once you've added the calendars you want to the current view, open the menu "My views" and click "Save this view":
To find out more about calendar views, go to the page Sharing calendars and Calendar > Views EventsViewing eventsEvents or "appointments" are shown in the color of the calendar they belong to with their key information: At the top of the event, its time and title. At the bottom of the event a series of icons give you a quick overview of its characteristics:
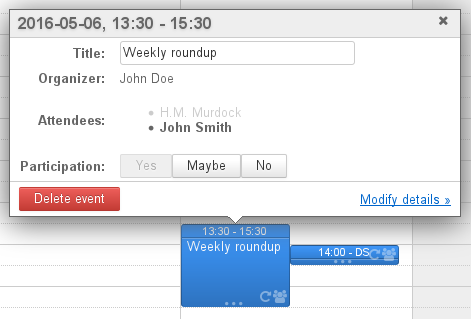
Click the event to show more details: organizer (if different from the owner of the calendar viewed), calendar concerned (if different from the user's), participants, participation edition buttons, etc.
This dialog box gives you access to more information as well as the event editing box thanks to the "Detail" link (or "Modify details" if you have read and write privileges for this calendar). Creating eventsTo create an event:
To find out more about creating events and available options, go to the page Events - §1 Creating appointments For more information about organizing and managing events and participants, go to the page Organizing a meeting. TagsTags allow you to assign one or several keywords to both events and contacts, as tags are common to both applications. You can view and edit the list of tags in user preferences > "My account" > "Tags" tab. Shared tags, created by the domain administrator, are shown in bold with a lock at the beginning of the list. These cannot be modified by users. To assign one or several tags to an event, use the appropriate box in the event's editing form, "Information" tab:
Event tags can be seen in the main calendar view, see above § 2.1 Viewing events. To find out more about working with tags, go to the page Tags. CalendarsSelecting calendarsThe list of calendars currently displayed is shown to the left of the page, in
Managing viewsBlueMind allows you to save one or several groups of calendars as views. E.g. you can display with a single click all resource calendars, salespeople's calendars, board members calendars or you might want to group a branch's or a team's calendars together. Once you've added the calendars you want to the current view, open the menu "My views" and click "Save this view":
To find out more about calendar views, go to the page Sharing calendars and Calendar > Views PrintingTo print the current view, open the Tools menu at the top right of the main display area:
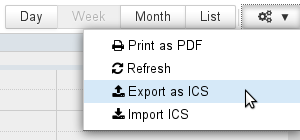
The printing dialog box offers you to print the current view, as a calendar or as a list, printing options allowing you to preview the selection: page orientation, black and white, event details in list view. To find out more about printing settings, go to the page Calendar. ICS exports and imports
To access these features, go to the Tools menu at the top right of the main area:
|


Vue d'ensemble
Gestion des contenus
Apps