
Historique de la page
...
| Sv translation | ||||||||||||||||||
|---|---|---|---|---|---|---|---|---|---|---|---|---|---|---|---|---|---|---|
| ||||||||||||||||||
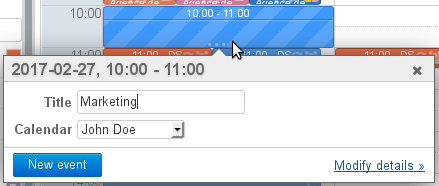
Creating a meetingCreating an eventFirst create an event in the calendar, either the regular way, by clicking "New event", or using the quick-create feature, by selecting the event's duration in the calendar and then accessing the event details by clicking "Modify details":
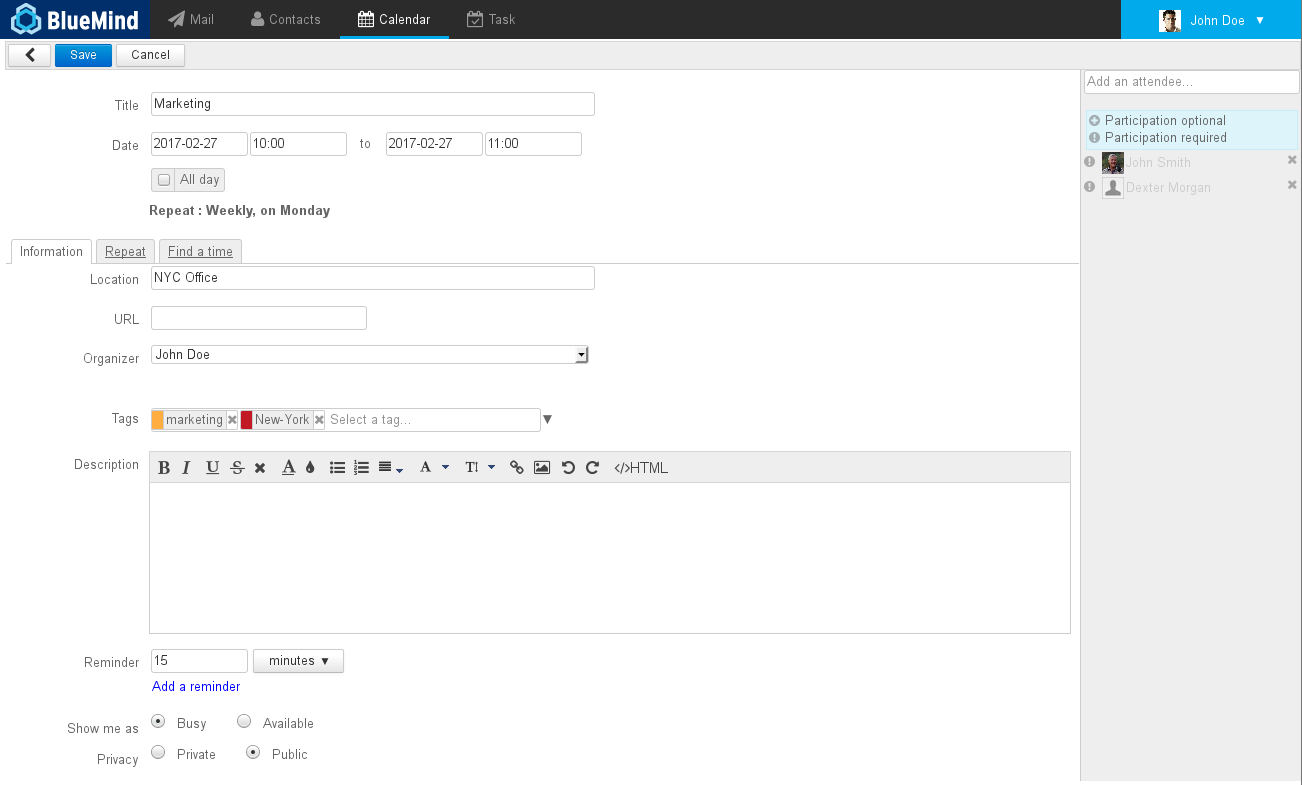
In the event creation window, fill in the relevant information: location, tags, description, etc.
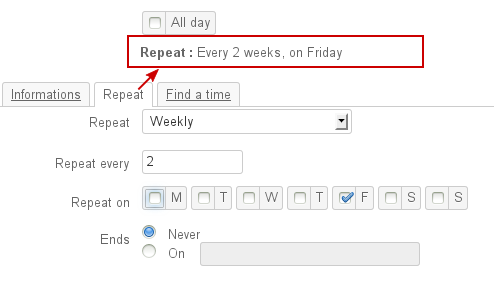
Scheduling a recurrenceIf you'd like to organize a recurring meeting, go to the "Repeat" tab to set the meeting's periodicity:
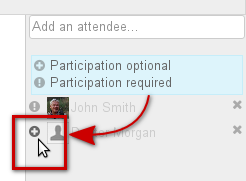
Inviting participantsIn the right-hand side of the page, add the users or groups you want to invite. You can choose for their participation to be required (default) or optional, by clicking the icon shown before their name after they are added:
Booking resourcesTo book a resource, simply add it to the meeting as you would another participant.
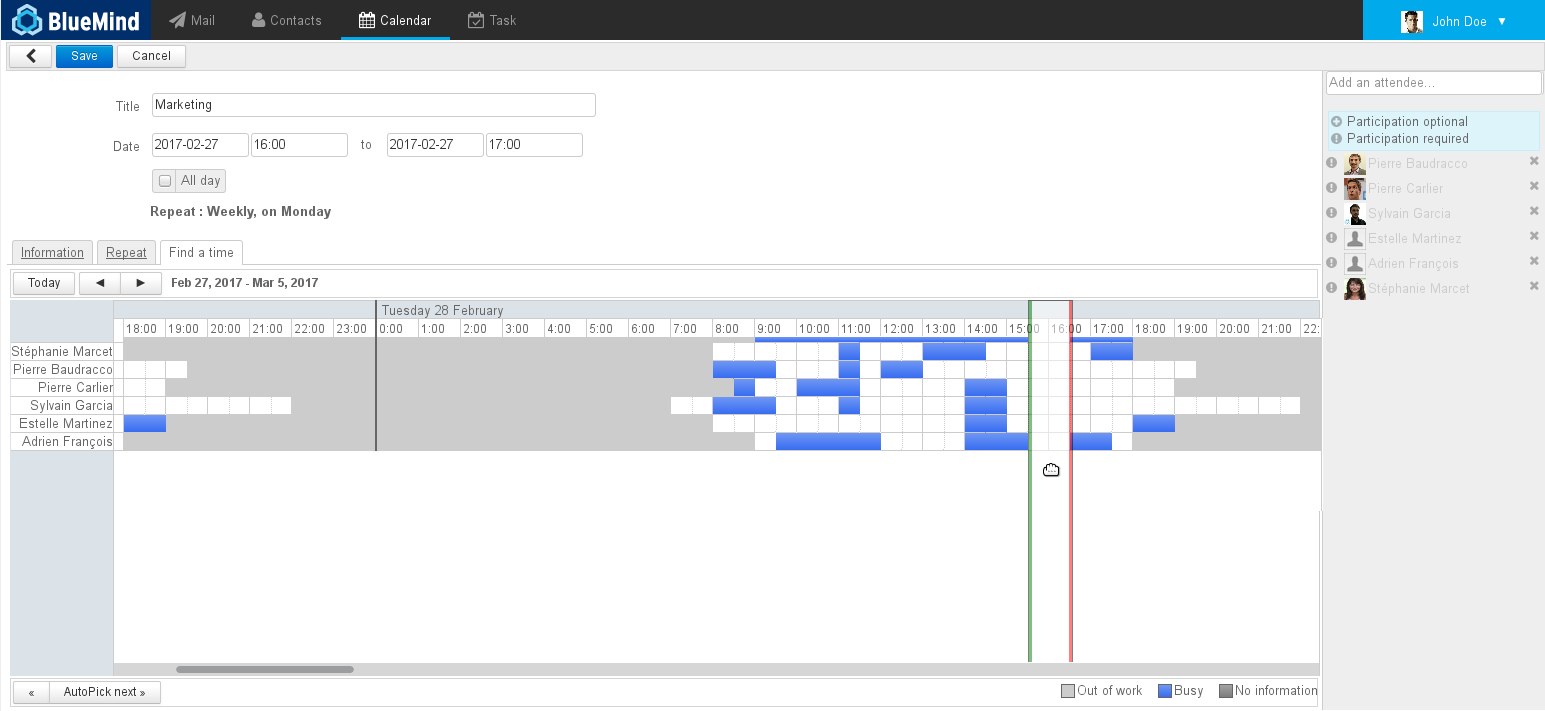
Searching for an available time slotIf one or several participants are not available during the selected time slot, or if you want to look for another one, you can use the availability search tool in the "Find a time" tab:
This tab allows you to view busy or available time slots for the participants and resources invited.
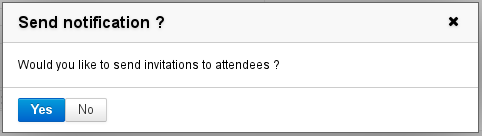
Sending invitationsOnce the meeting's parameters are set, simply validate to send an invitation to each participant as well as a resource booking request. To do this, click "Save" at the top of the page and the following dialog box opens:
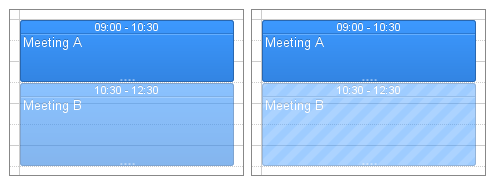
Managing participationParticipation noticesWhen a participant accepts, declines or puts on hold an invitation (replies "maybe"), the meeting's organizer is informed by email. If a participant later modifies their attendance status, they can choose whether or not to notify the meeting organizer. If they choose not to notify the organizer, then only their own version of the event is modified, the organizer's version is not updated and it will not show any changes. Viewing participation statusesParticipants other than the organizer cannot see other participants' attendance statuses in their version of the event. To see them, they must consult the organizer's version – provided they have reading privileges over that calendar:
Inviting/removing participantsTo invite new participants or to exclude invitees, simply edit the event:
|
Vue d'ensemble
Gestion des contenus
Apps