
Historique de la page
...
| Sv translation | |||||||||||||||||||||||||||
|---|---|---|---|---|---|---|---|---|---|---|---|---|---|---|---|---|---|---|---|---|---|---|---|---|---|---|---|
| |||||||||||||||||||||||||||
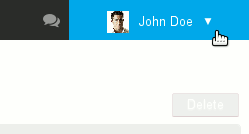
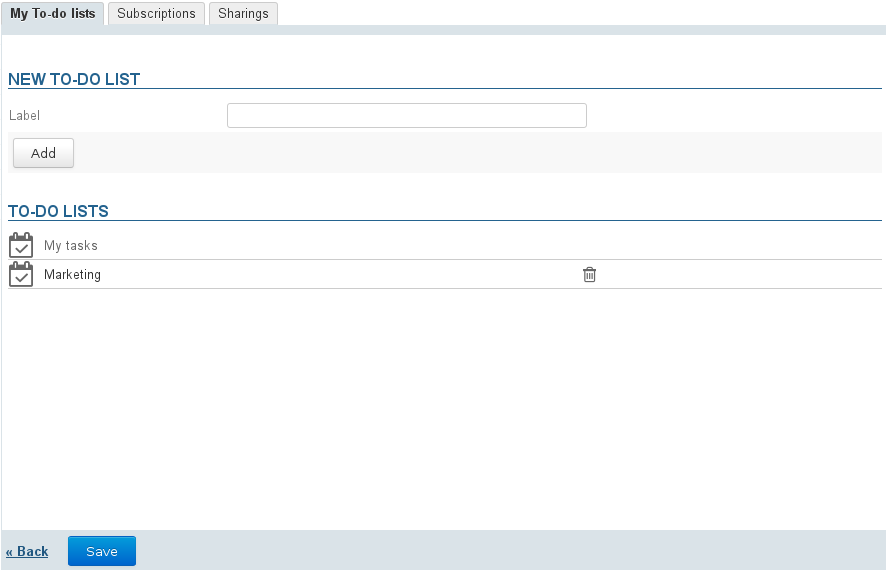
IntroductionTo access task preferences, go to "My Account" by clicking your username to the right of the navigation bar: To-do listsThe first tab allows you to manage your to-do lists, in addition to what you can do within the application itself:
By default, each user has a personal list named "My To-do List", which cannot be edited or deleted. Creating a to-do ListTo create a to-do list:
The list is shown below and is immediately available in the application. Editing to-do listsTo rename a list, click its name to open the text box:
Enter the new name and click the check mark at the end of the row to confirm, or type Enter or simply leave the box:
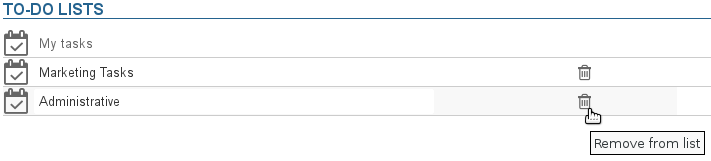
Deleting to-do listsTo delete a to-do list, click the
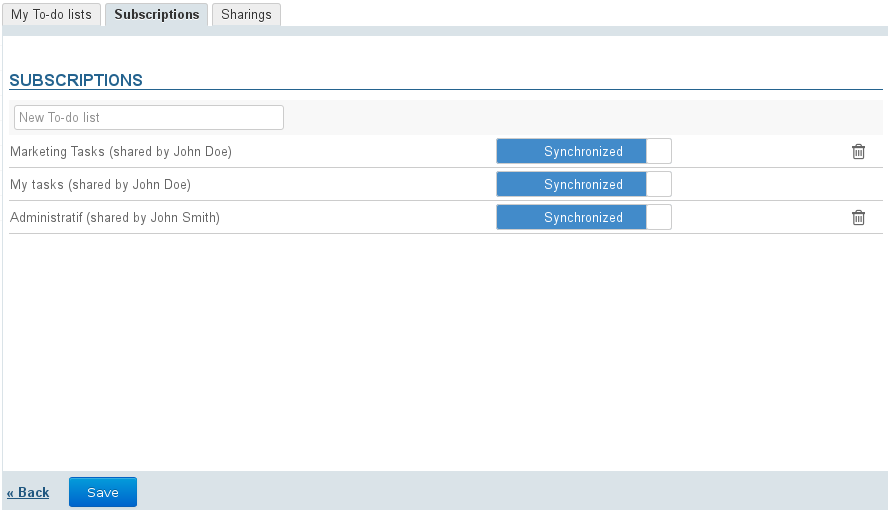
Subscribing to a to-do listThis tab allows you to subscribe to to-do lists or to access your lists to enable their synchronization for offline or third-party client (thick client software or mobile device):
When synchronization is enabled for a list, the data is downloaded into the software client. As a result:
To add a list:
To delete a list:
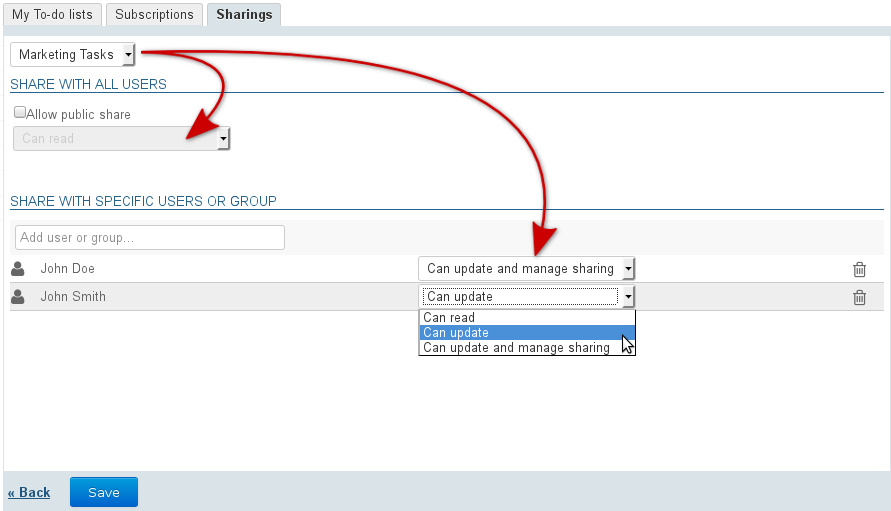
Managing SharingBlueMind allows you to share to-do lists with others to make them available for viewing or to create shared lists with read and write rights.
Possible sharing rights are:
To share a list:
| |||||||||||||||||||||||||||


Vue d'ensemble
Gestion des contenus
Apps