
Historique de la page
...
| Sv translation | |||||||||||||||||||||||||||||||||||||||
|---|---|---|---|---|---|---|---|---|---|---|---|---|---|---|---|---|---|---|---|---|---|---|---|---|---|---|---|---|---|---|---|---|---|---|---|---|---|---|---|
| |||||||||||||||||||||||||||||||||||||||
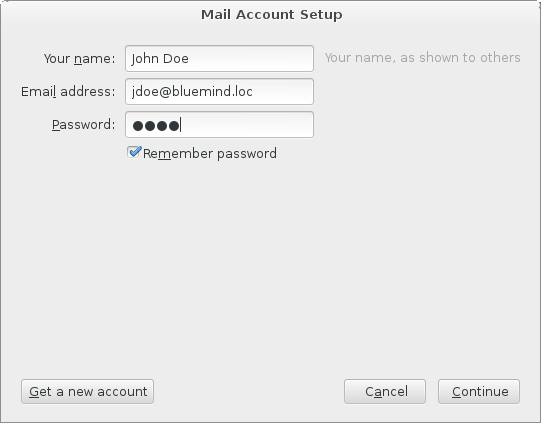
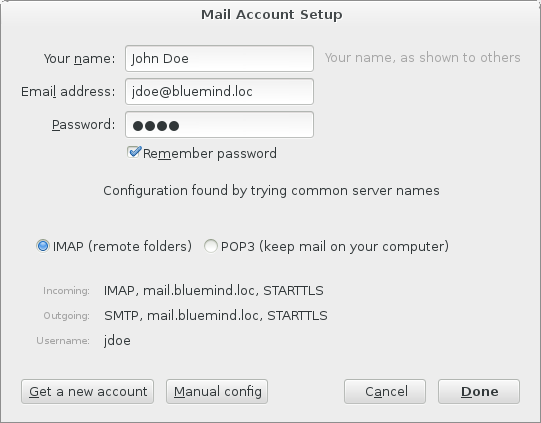
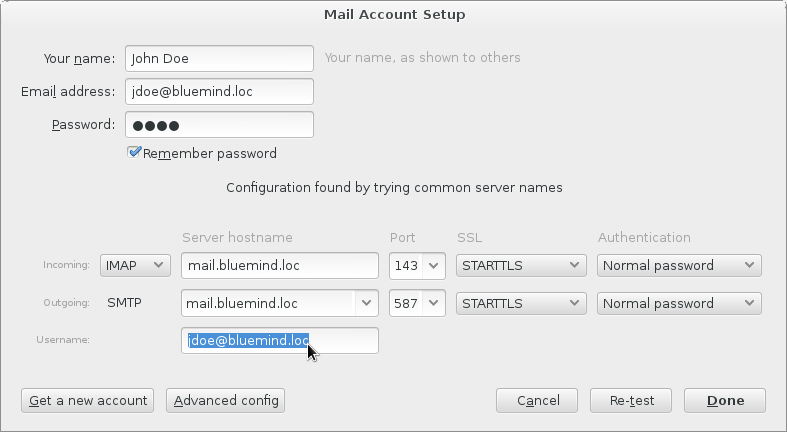
Setting up a user accountWhen you first open it, Thunderbird asks if you want a new email address and account. Choose "Skip this and use my existing email".
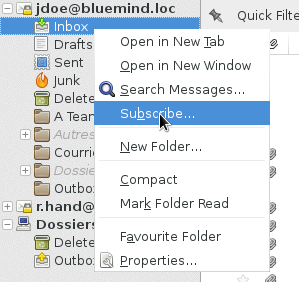
Connecting to a shared mailboxTo access a shared mailbox, you must subscribe to it in Thunderbird. To do this, right-click the left pane and choose "Subscribe" from the menu:
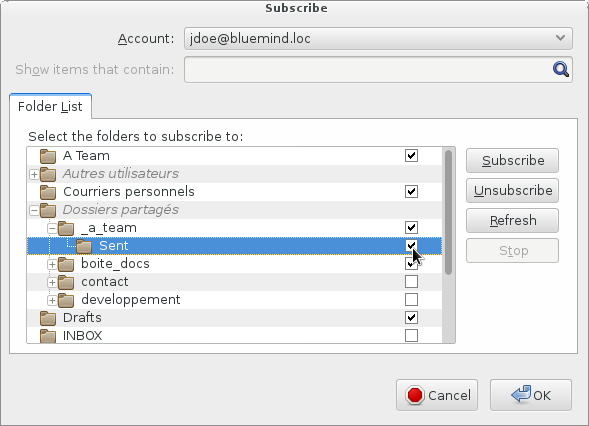
A window showing the list of files you have access to opens. Open the grayed out "Dossiers partagés" menu (double-click it or click the "+" sign at the beginning of the row) and check the box(es) corresponding to the folder(s) you want to subscribe to. Click "Ok" to finalize:
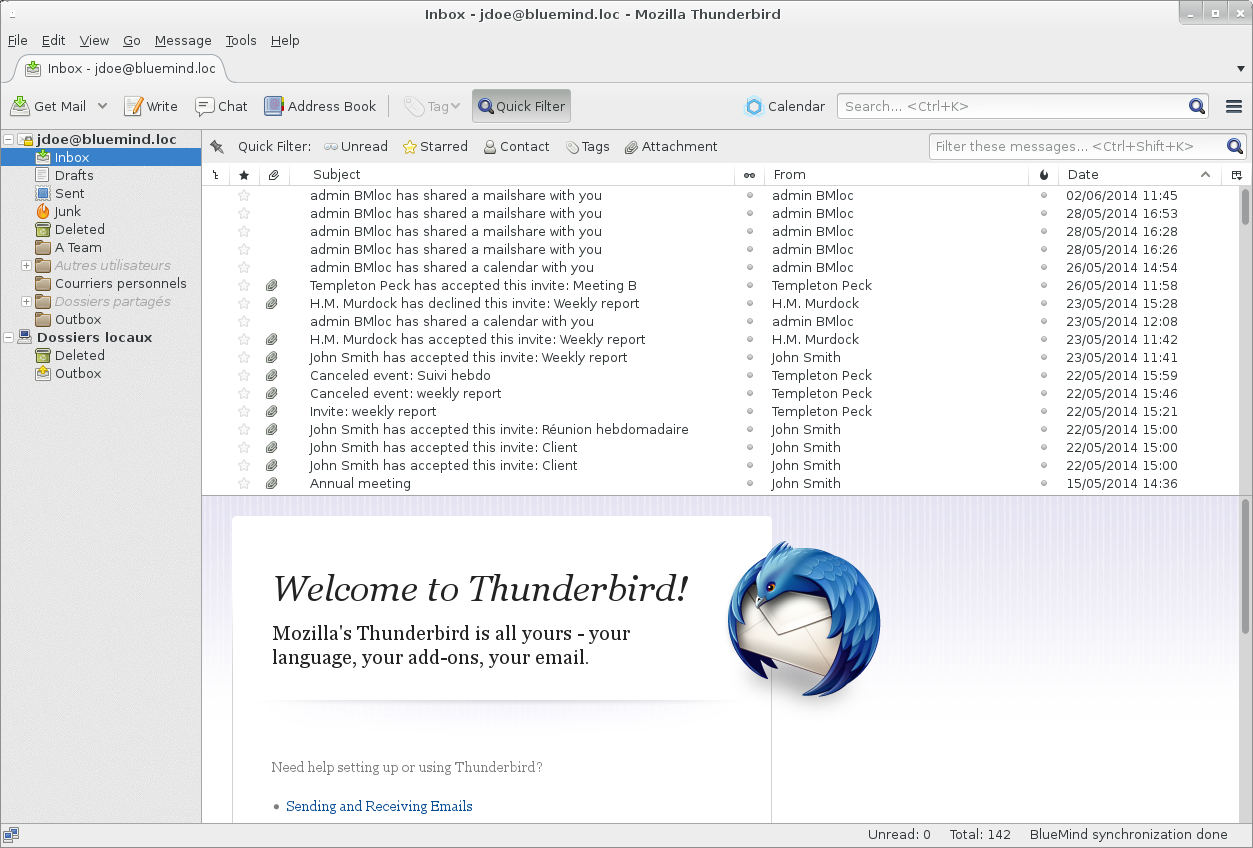
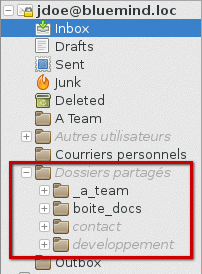
The shared mailbox is shown in the main window along with the other account folders, under a sub-menu called "Dossiers partagés".
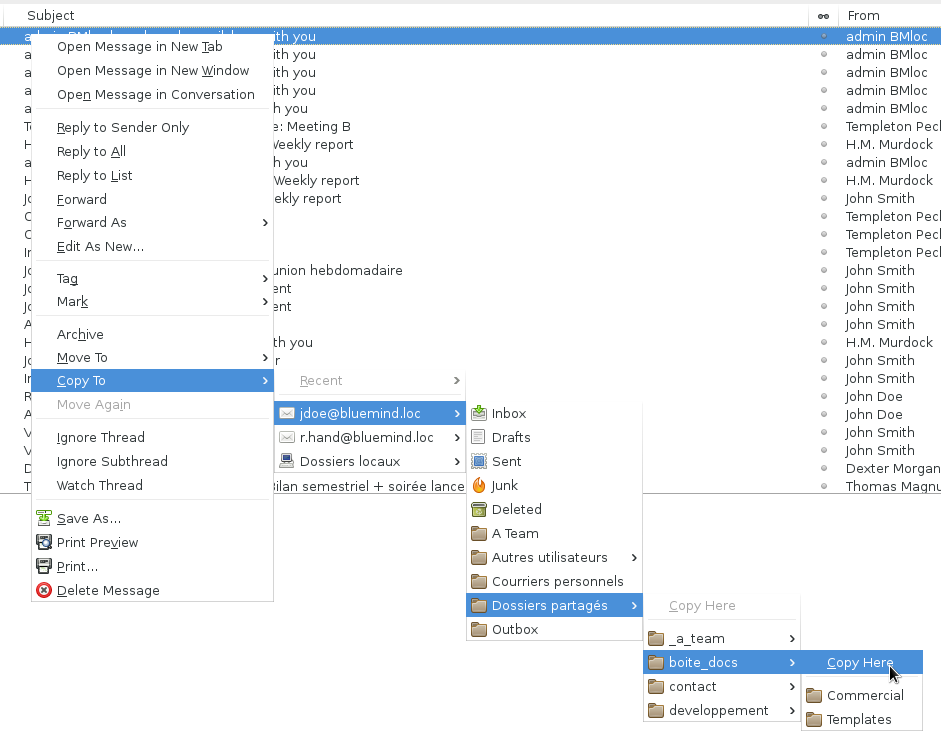
Depending on the rights you have on the shared mailbox, you can view the messages it contains or copy/move messages from your mailbox – from your "Inbox" folder, for example.
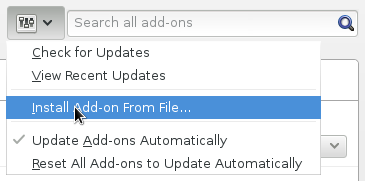
The BlueMind connectorThe BlueMind connector allows you to synchronize the BlueMind calendar and address book with Thunderbird. Installing the connectorTo install the BlueMind connector:
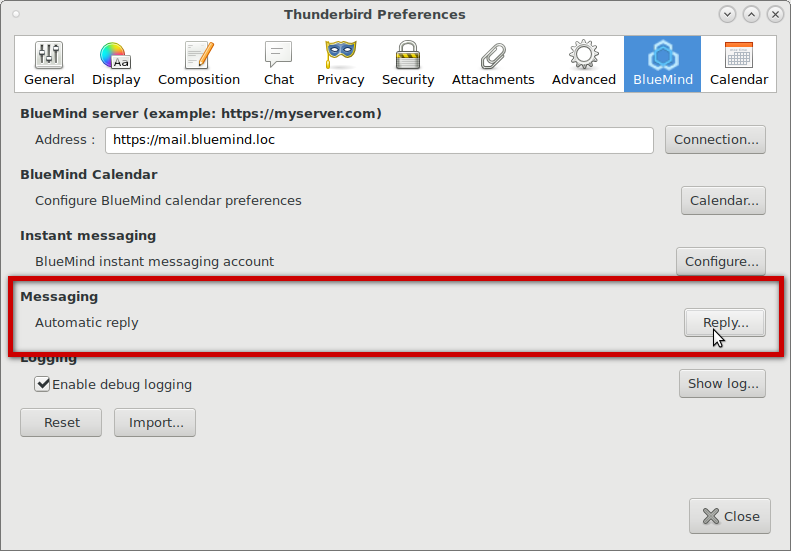
Working with the mail responder
To access responder settings:
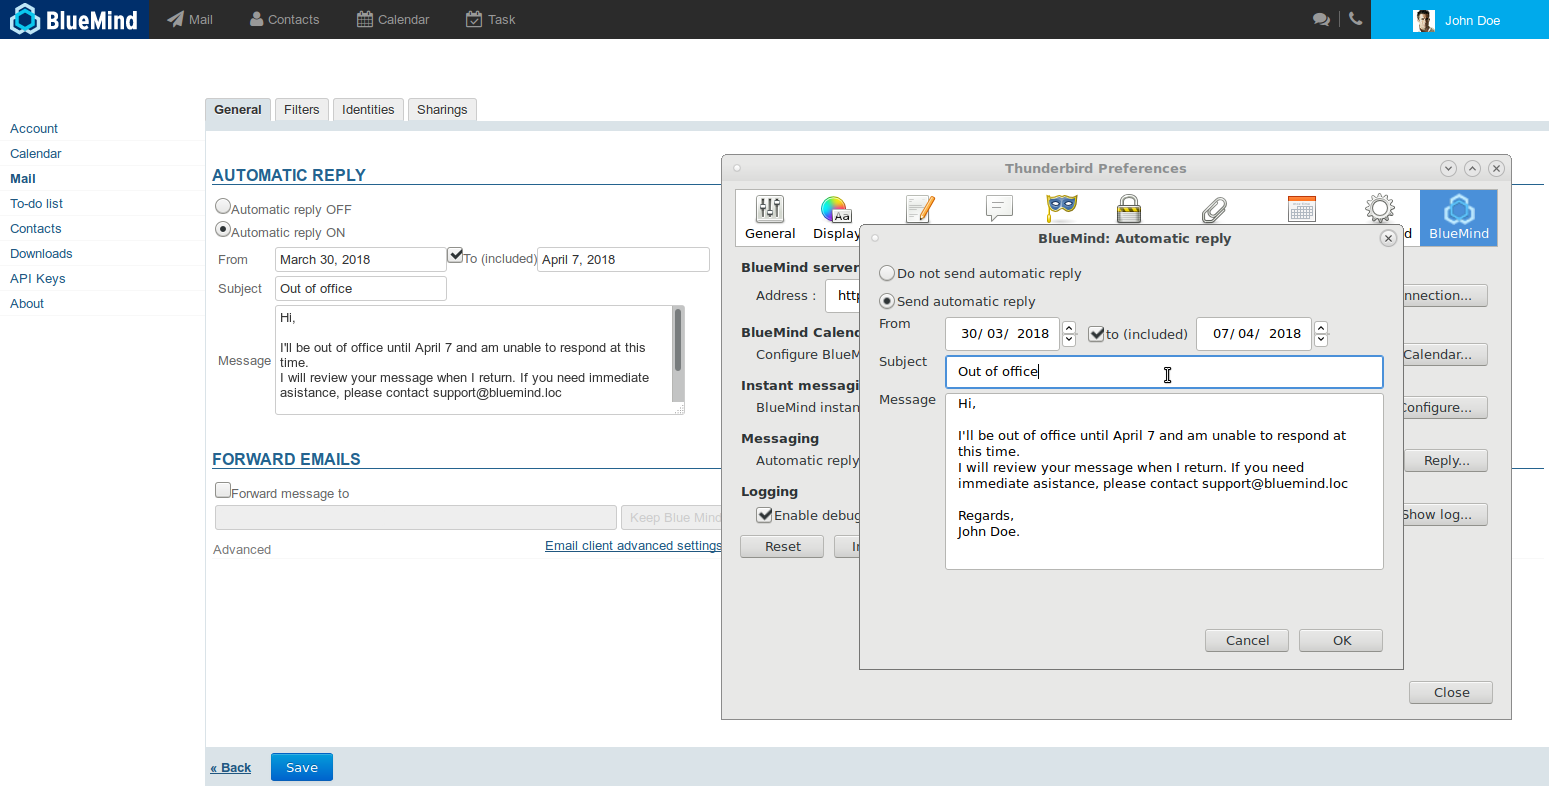
The data displayed is that currently set up in BlueMind:
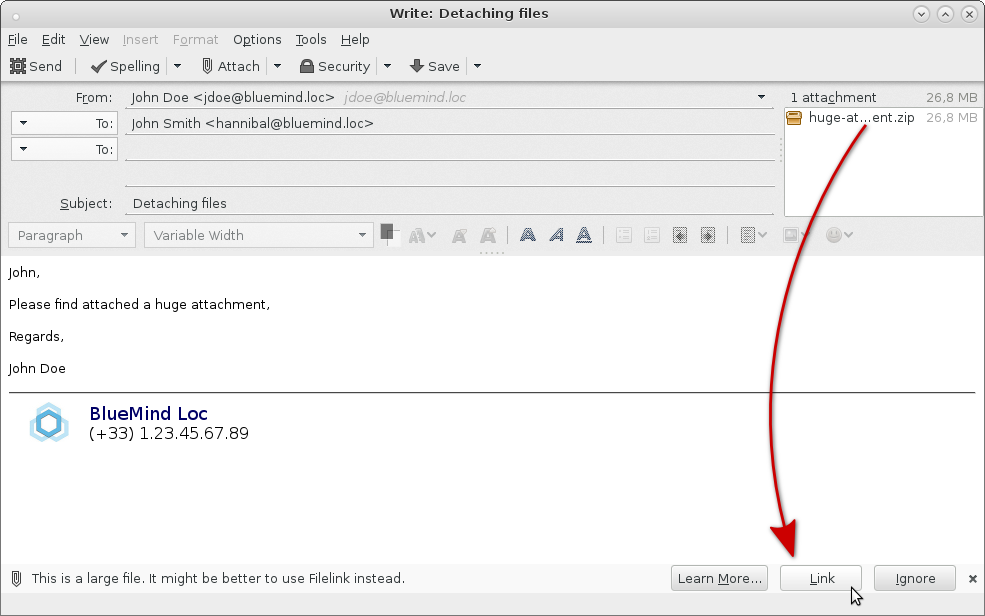
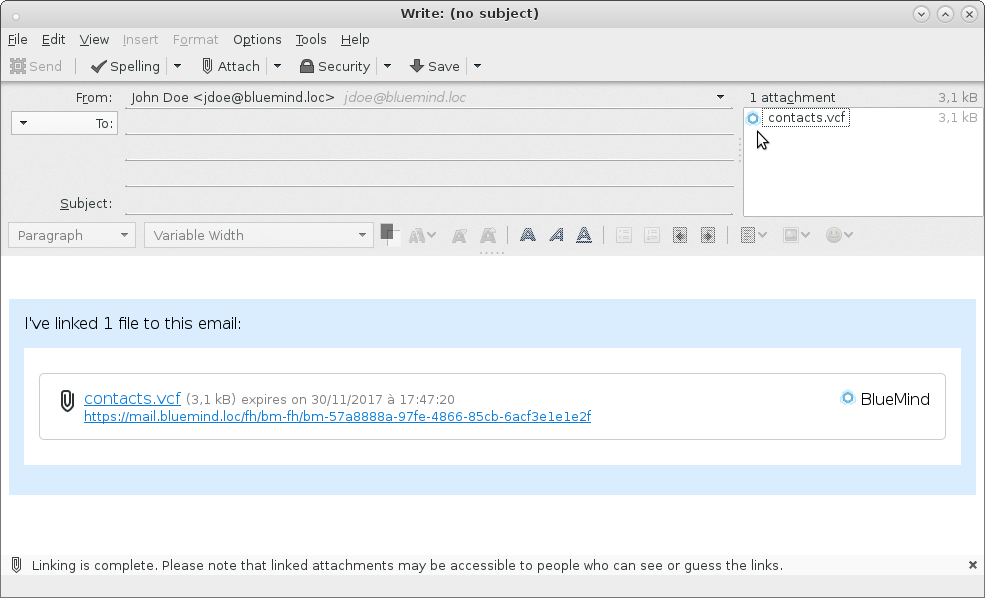
Once the responder has been set up as desired, click "OK" to save the changes. The new values are synchronized with BlueMind immediately and applied. For more detailed information on managing the responder, view the page on Mail preferences. Attaching files as linksOnce the connector is installed, you can access the link attachments feature in the compose message window. Working with linked attachmentsSimply attach your file as usual (using the attach button or drag and drop). If the file size exceeds the auto-detach size configured in BlueMind, Thunderbird gives you the option of linking the file:
The file is then automatically sent to the server and linked to the message:
Just like in BlueMind webmail, the download block will be displayed in the recipient's message, whatever email client they are using.
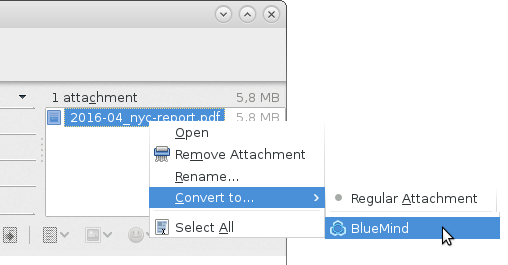
Forced detachmentTo detach an attachment from a message, right-click the file name and select Convert to > BlueMind:
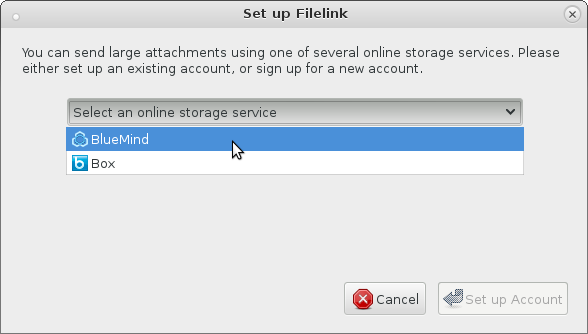
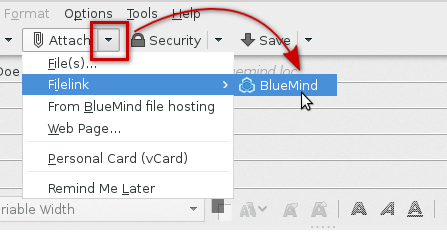
Conversely, to reattach a file that has been detached, select Convert to > Regular Attachment. The file is then added to the message and the download block is deleted. Files can also be added to messages as links rather than physically when they are first attached. To do this, click the arrow next to the "Attach" button to open the drop-down menu and select Filelink > BlueMind
Your system's file browser opens and once you've chosen a file, it is automatically and immediately sent to the server and added to the message as a link:
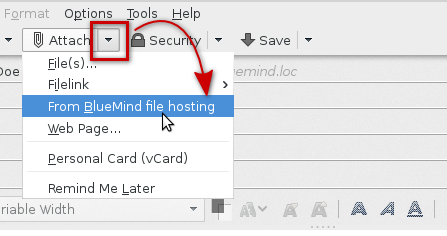
BlueMind file chooserJust like in BlueMind webmail, you can access the file browser to send files you already have in your online space (files you've already sent as links). To access them, click the arrow next to the "Attach" button in order to open the options menu and select "From BlueMind file hosting":
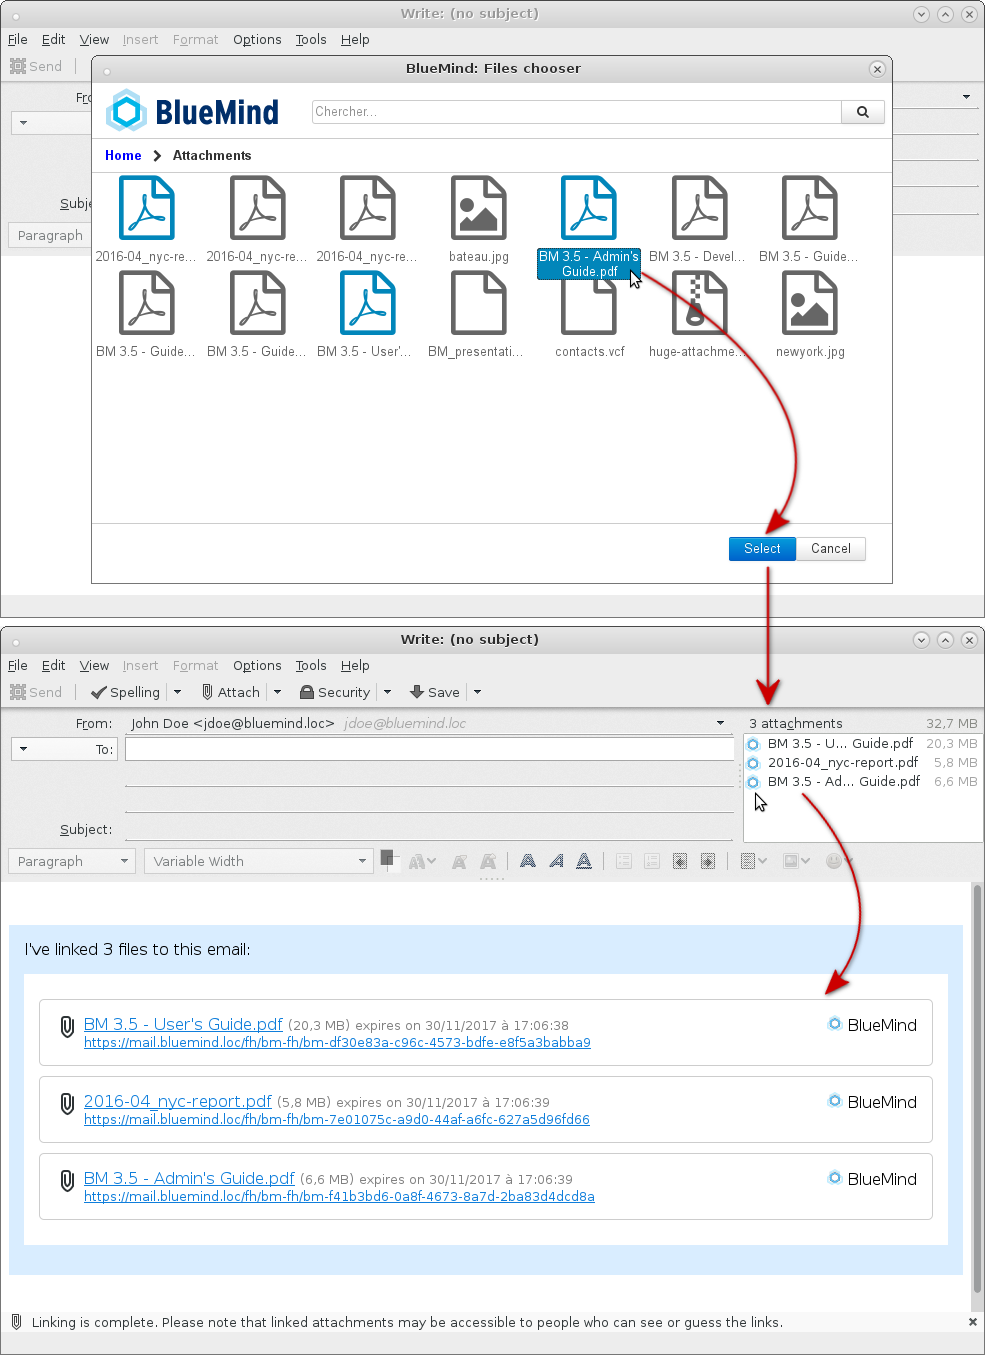
The BlueMind file browser opens, which allows you to select available files. Click one or several files and then the "Select" button to add them to the message:
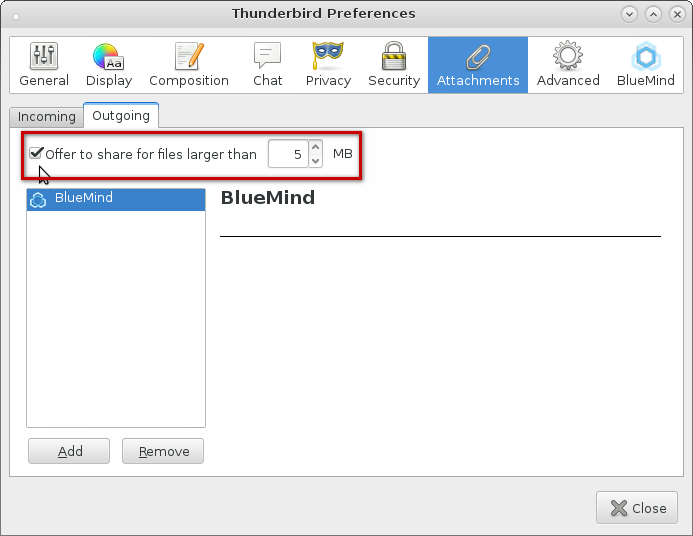
ConfigurationIn Thunderbird preferences, Attachments tab, you can choose to disable automatic file linking for files exceeding a certain size by checking or unchecking the dedicated box:
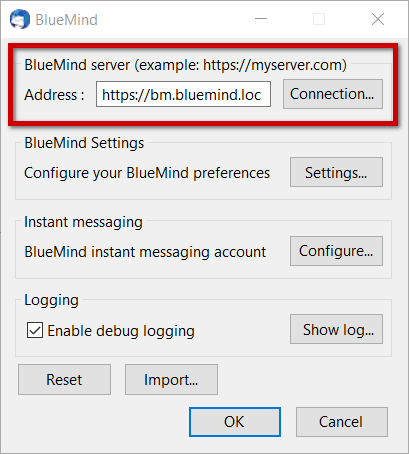
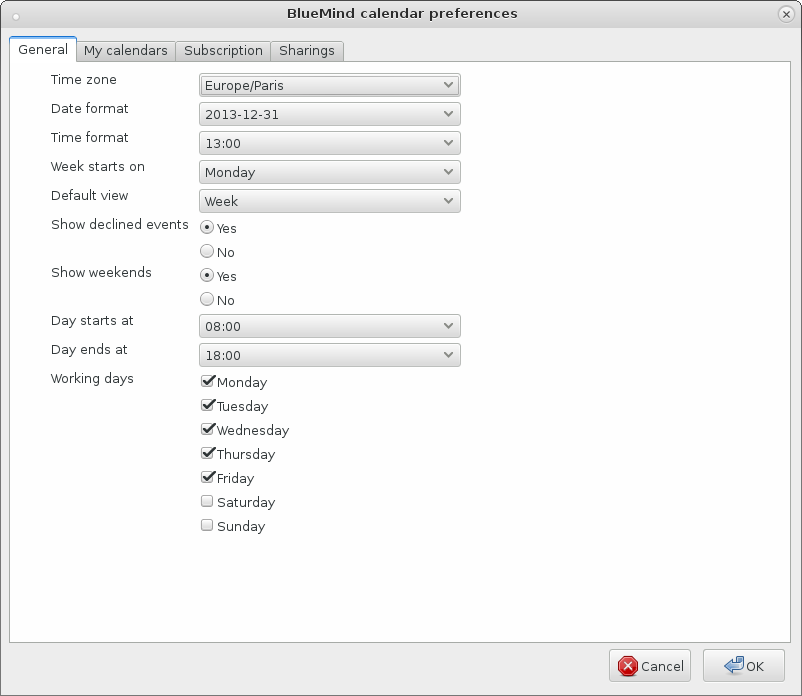
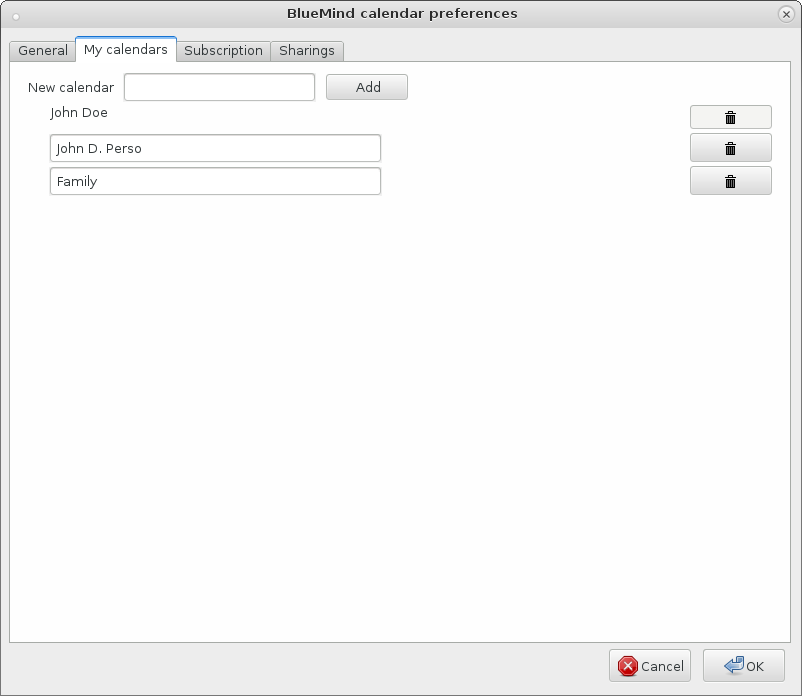
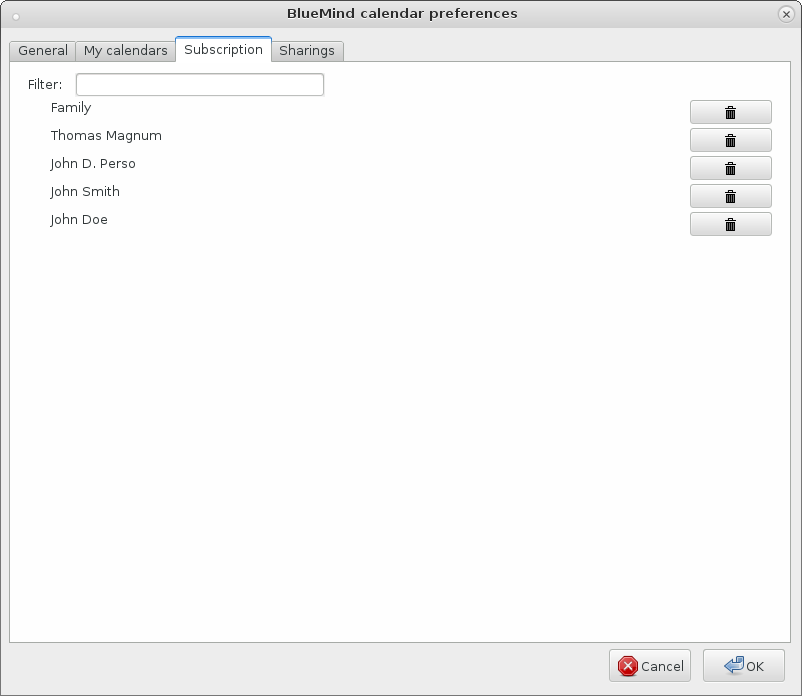
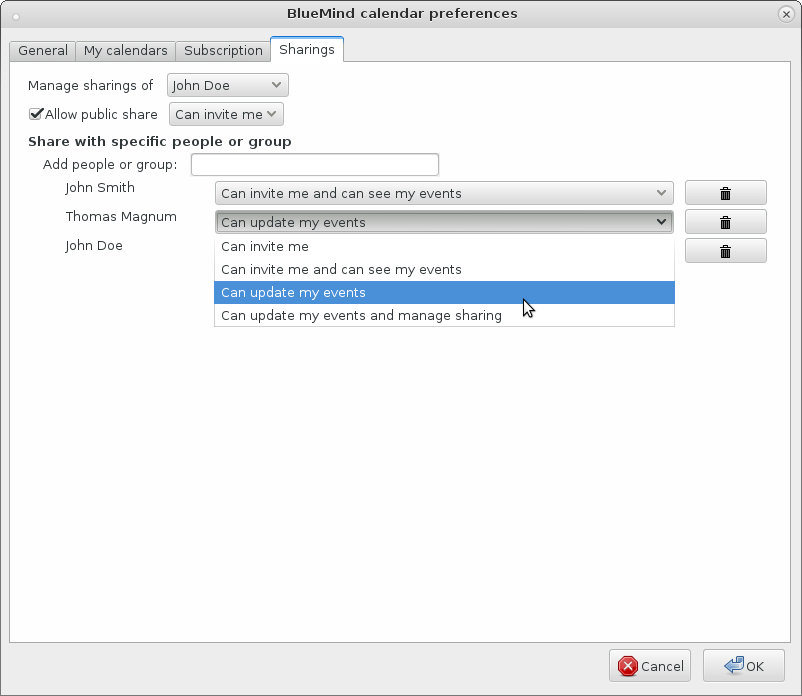
CalendarPreferencesCalendar preferences are synchronized with BlueMind's online preferences. To access preferences in Thunderbird go to Tools (or "Edit" depending on your operating system) > Preferences (or "Options", depending on your OS) > BlueMind. The preferences dialog box allows you to:
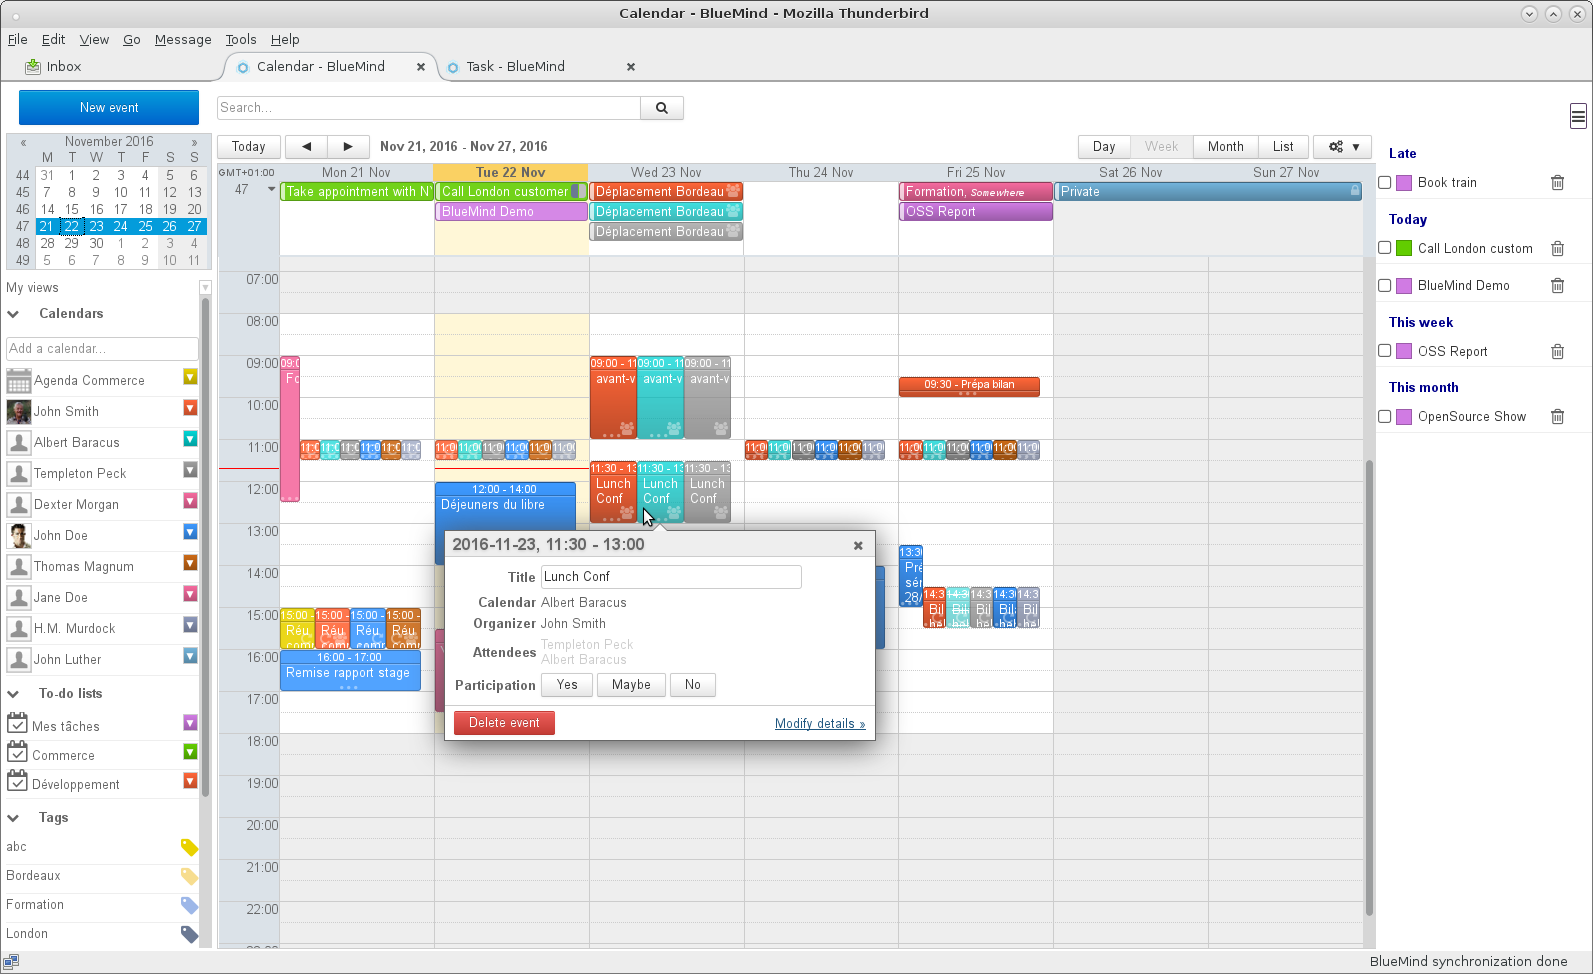
DisplayOnce the connector is installed and connected, you can access the Calendar through Tools > BlueMind > Calendar or by using the new button in the main window:
It is displayed and works the same way as the online calendar:
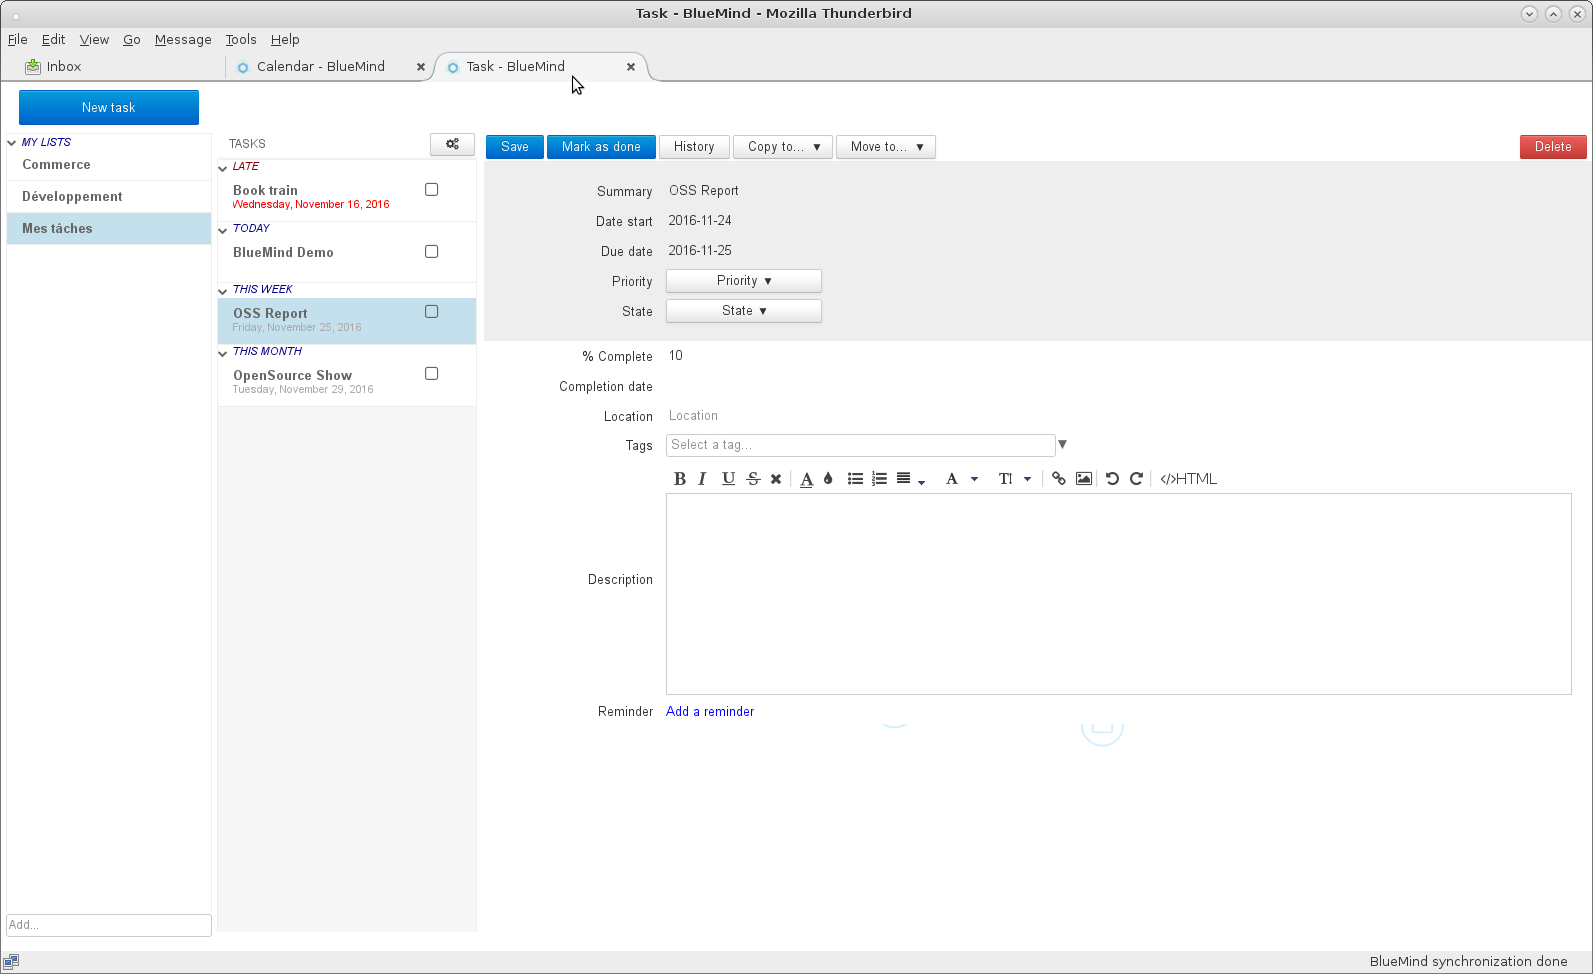
TasksJust like the calendar, tasks are available in a dedicated tab with the same UI as web-based BlueMind:
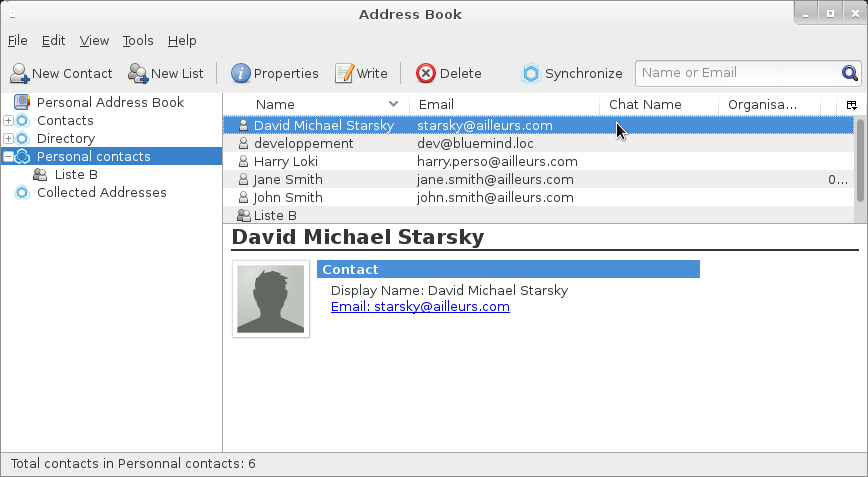
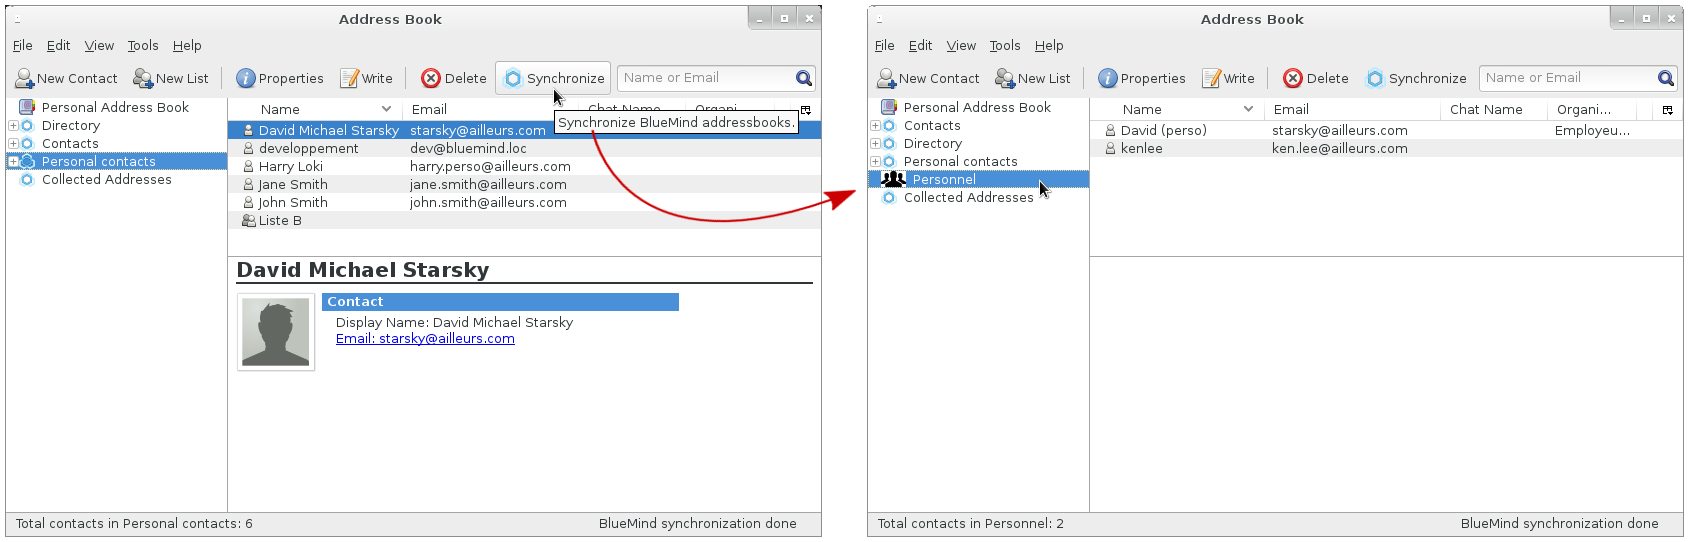
To find out more about how tasks work, go to the page: Tasks ContactsAll BlueMind user address books can be synchronized with Thunderbird and accessed via the address book window (Tools > Address Book):
The BlueMind Thunderbird UI does not support address book subscriptions yet. To see an address book in Thunderbird, you must first subscribe to it in BlueMind, whether it is a personal address book or an address book shared by another user. To add an address book subscription:
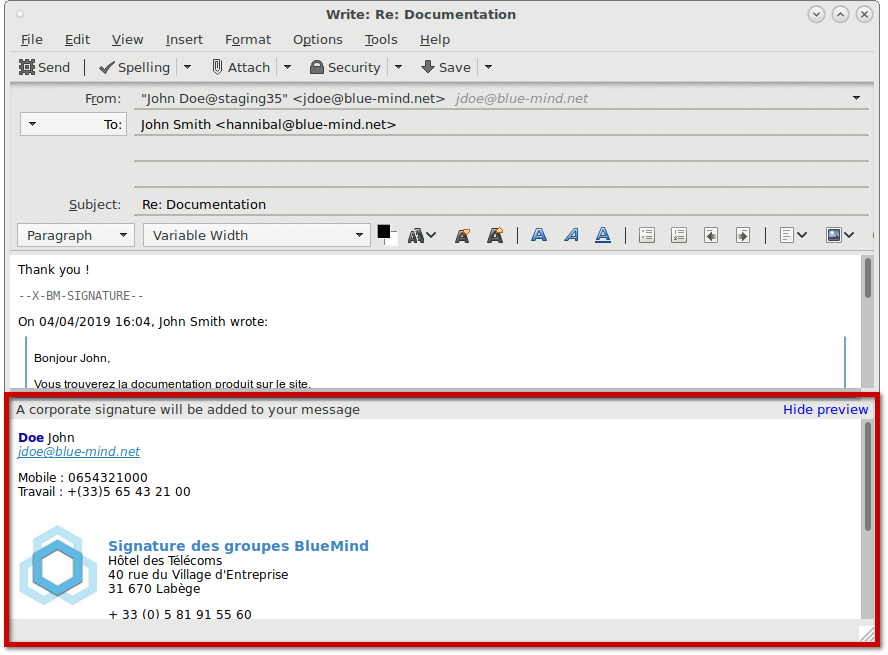
Signature d'entrepriseSi une signature d'entreprise est paramétrée, elle sera automatiquement ajoutée à la fin du message par le serveur après son envoi. Un aperçu est proposé dans la fenêtre de rédaction afin que l'utilisateur puisse voir qu'une signature sera présente et laquelle si plusieurs signatures sont paramétrées (signature interne, externe, pour un groupe, etc.) :
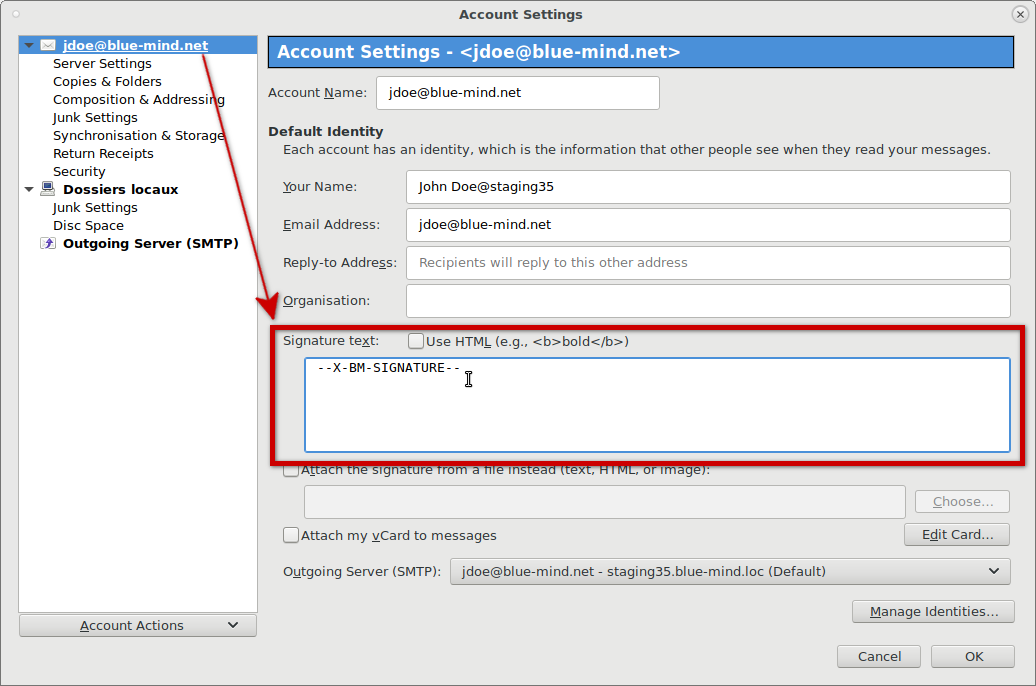
Placement de la signatureSi l'administrateur a choisi d'activer l'option adéquate, les utilisateurs peuvent choisir le placement de leur signature. Pour cela il faut ajouter la chaîne de caractère (tag) Afin de faciliter cette insertion, l'utilisateur peut paramétrer cette chaîne en tant que signature par défaut dans Thunderbird :
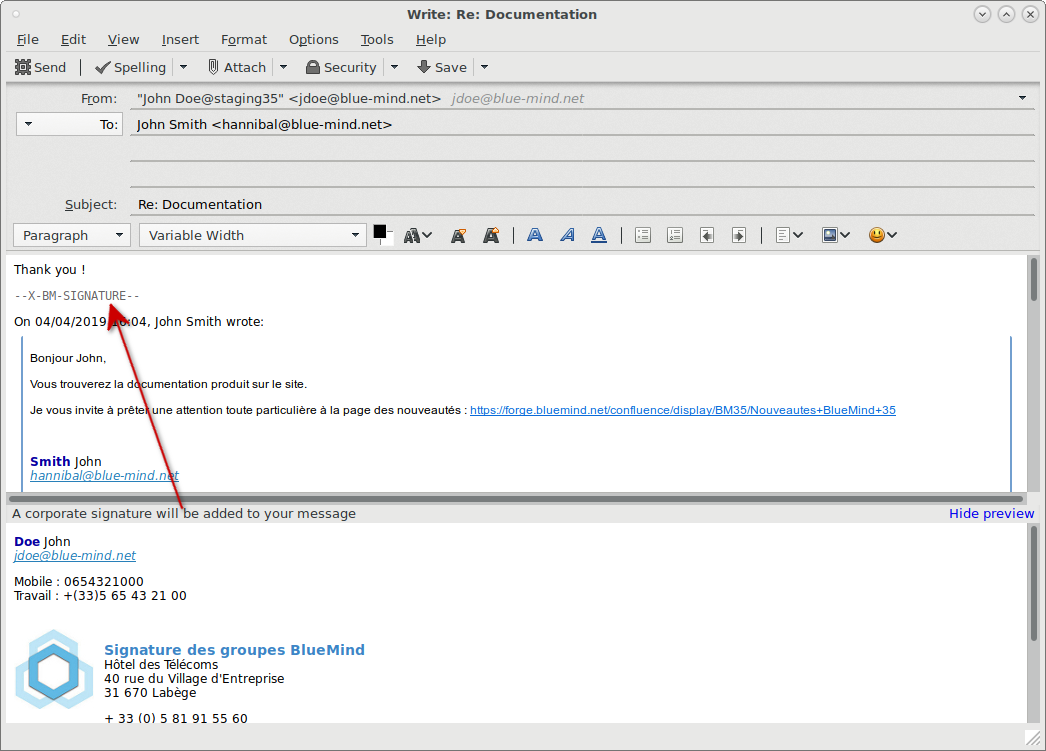
Lors de la rédaction d'un email ou de la réponse à un email, le tag est alors automatiquement placé dans le message :
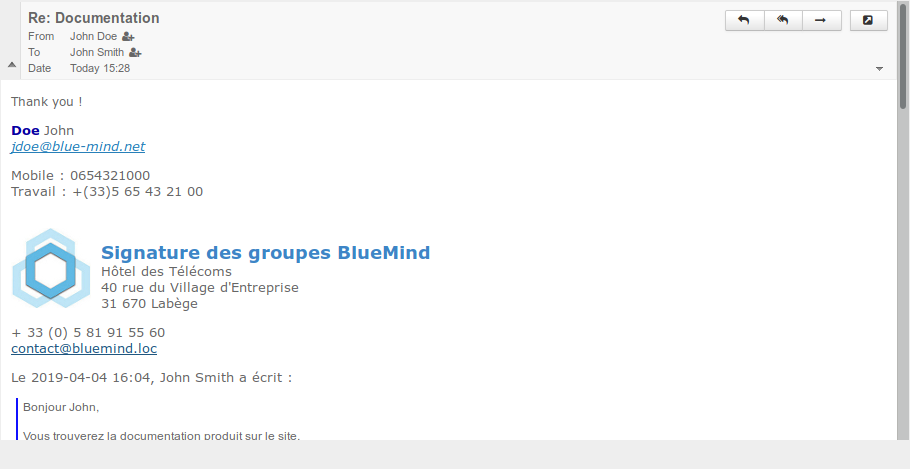
La signature est ensuite insérée par le serveur là où le tag se trouve :
Utilisation d'une signature personnelleContrairement au webmail, BlueMind ne peut pas détecter une signature personnelle afin de la remplacer lors de l'utilisation de Thunderbird. Ainsi, si une signature personnelle est utilisée dans Thunderbird, la signature d'entreprise sera ajoutée en plus de celle-ci aux messages. Il convient donc de ne pas utiliser de signature personnelle lorsqu'une signature d'entreprise est présente, à moins que celle-ci ne vienne apporter une information supplémentaire pertinente et souhaitée, ou d'utiliser en tant que signature le tag de placement (voir section précédente). |


Vue d'ensemble
Gestion des contenus
Apps